If you have a paste hose filled with material that does not flow, instead of ordering a new paste hose assembly you can replace the section of nylon hose and reuse the fittings. This process is beneficial for any used paste hoses that have been left unattended and dried out.
| Materials | ||
| Assembly | Part Number | Description |
| 100344 | 100796 | Hard Nylon Tubing, 3/8" OD |
| 100795 | Pinch Clamps, 3/8" to 7/16" ID | |
| Tools |
| Straight Jaw Hose Clamp Pliers |
| Vice |
| Flathead Screwdriver |
| Hammer |
| Utility Knife |
| Heat Gun or Hair Dryer |
Note: Users who do not have access to the hyperlinked provider above may source equivalent components from local suppliers, provided that the replacement items meet the same specifications.
- Cut the barbed fittings off of the used hose, ensure to cut roughly 5cm past the end of the fittings inside of the hose.
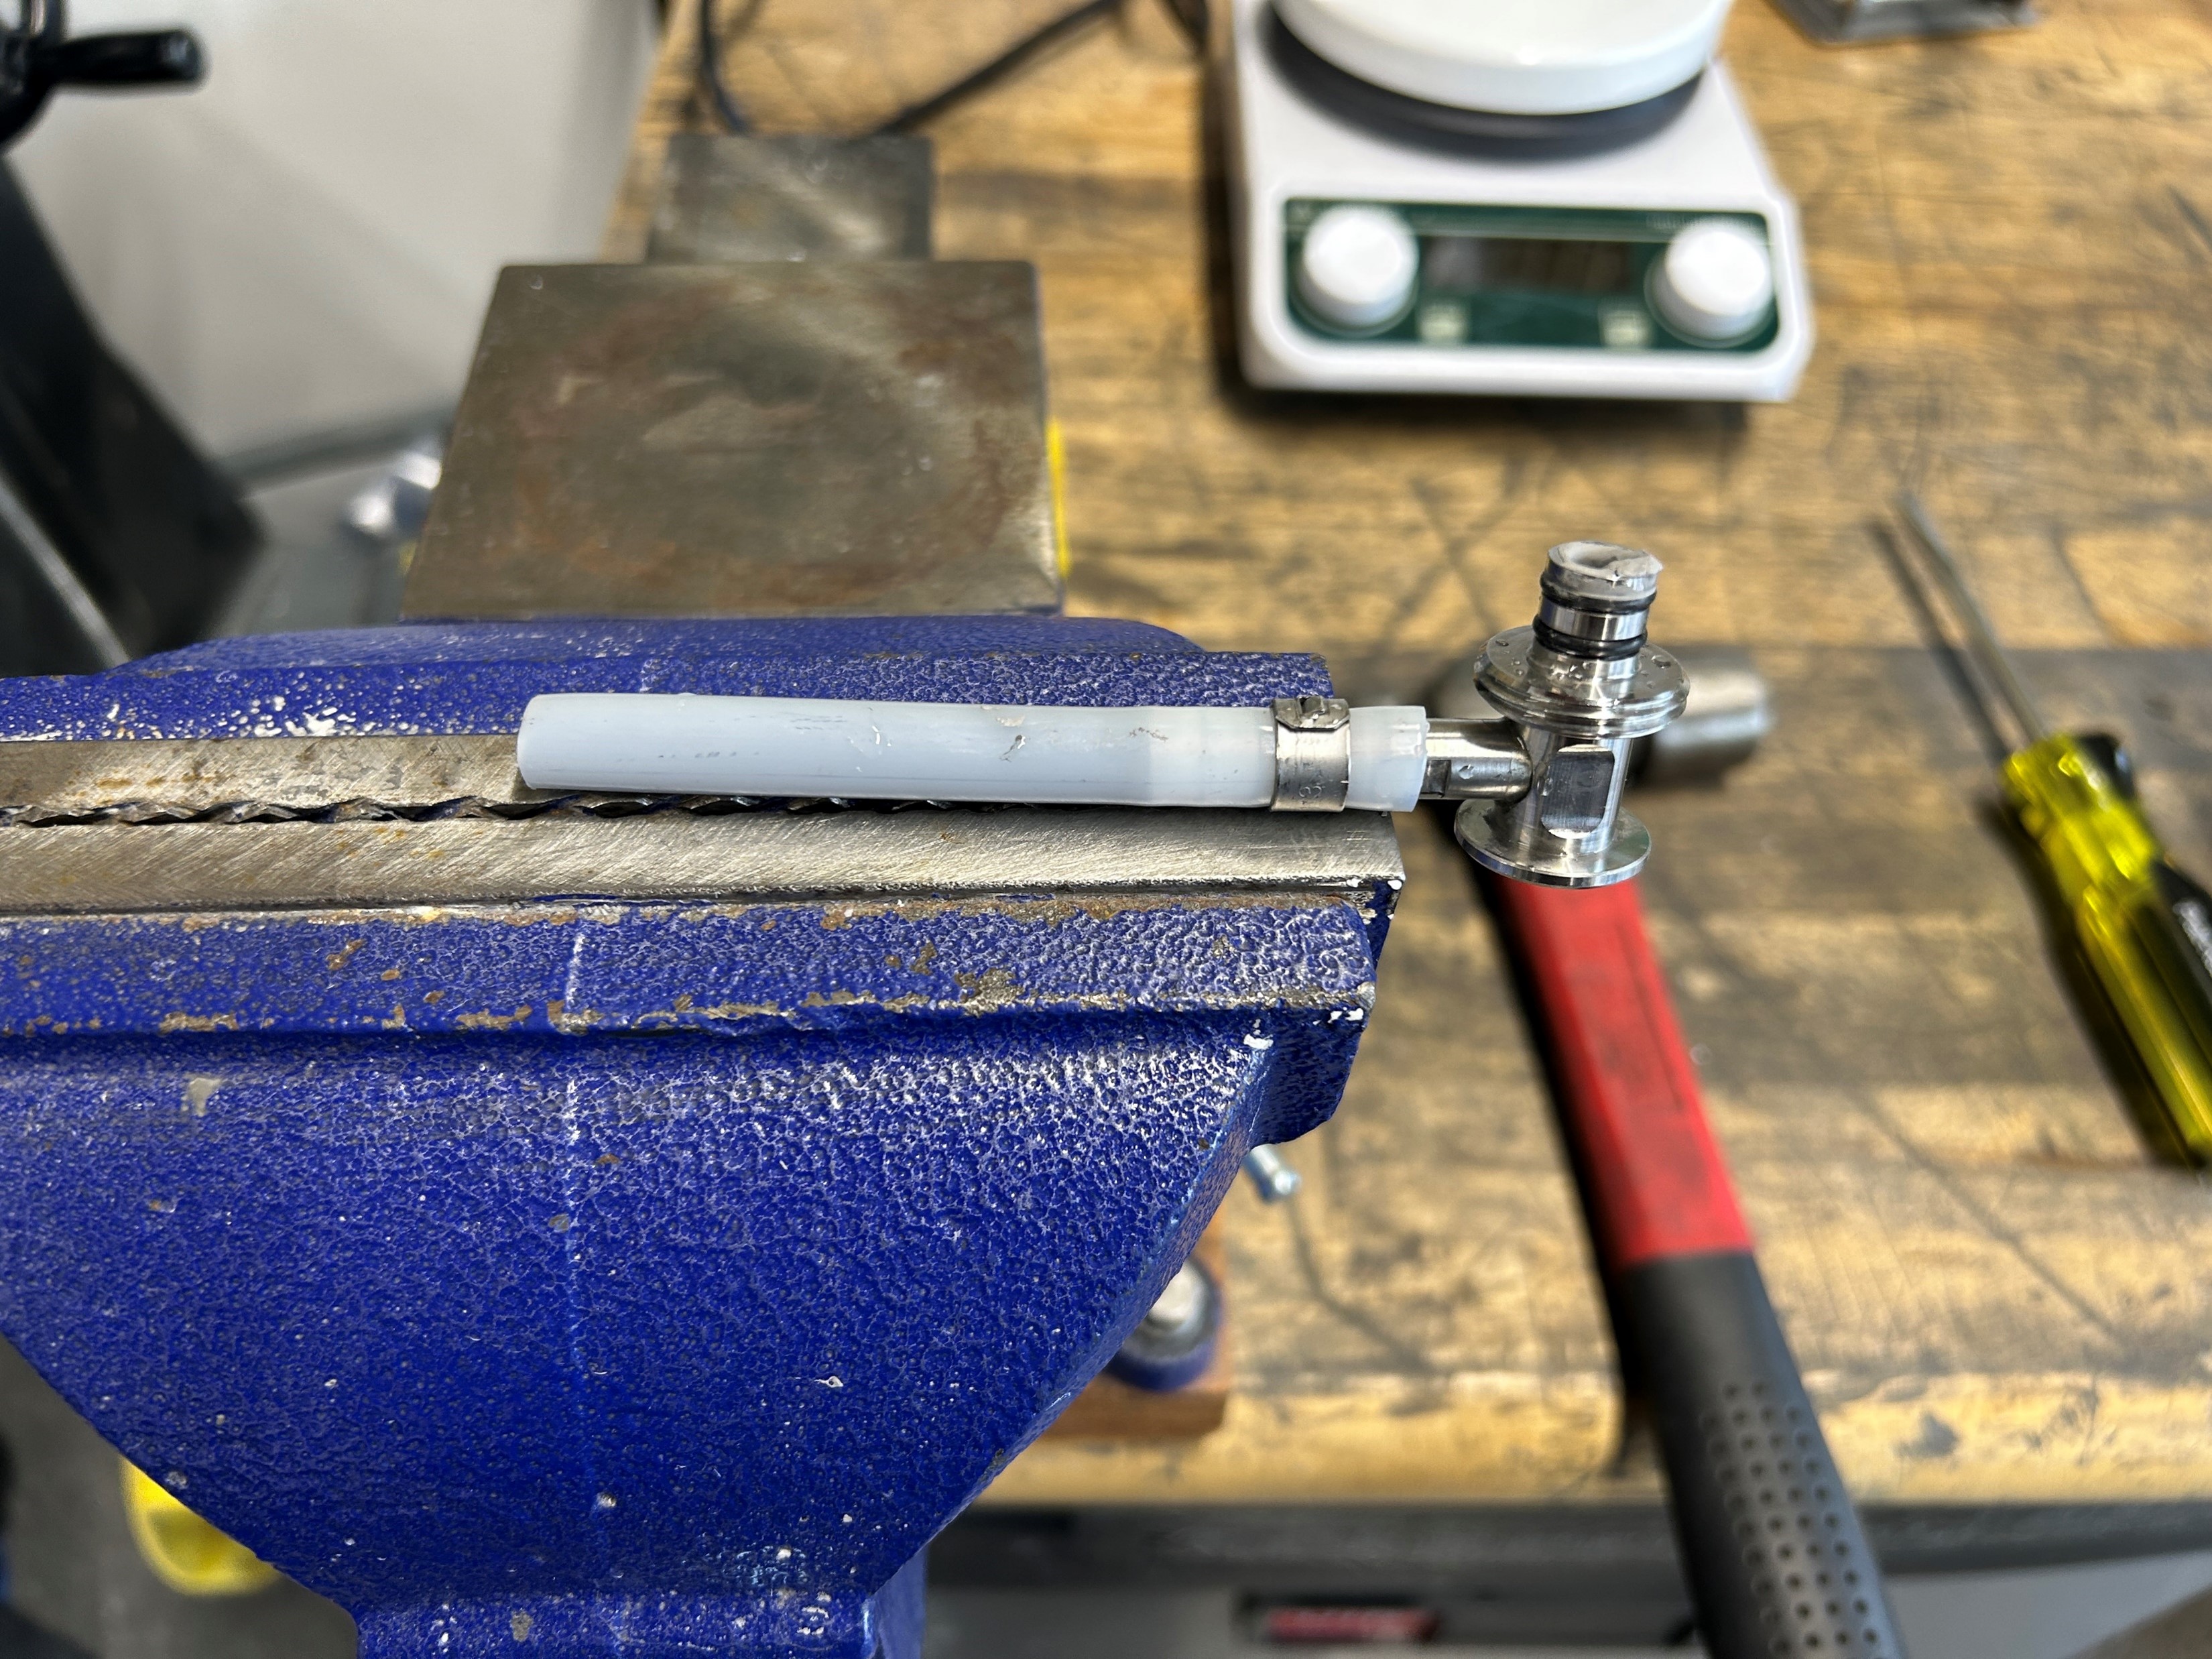
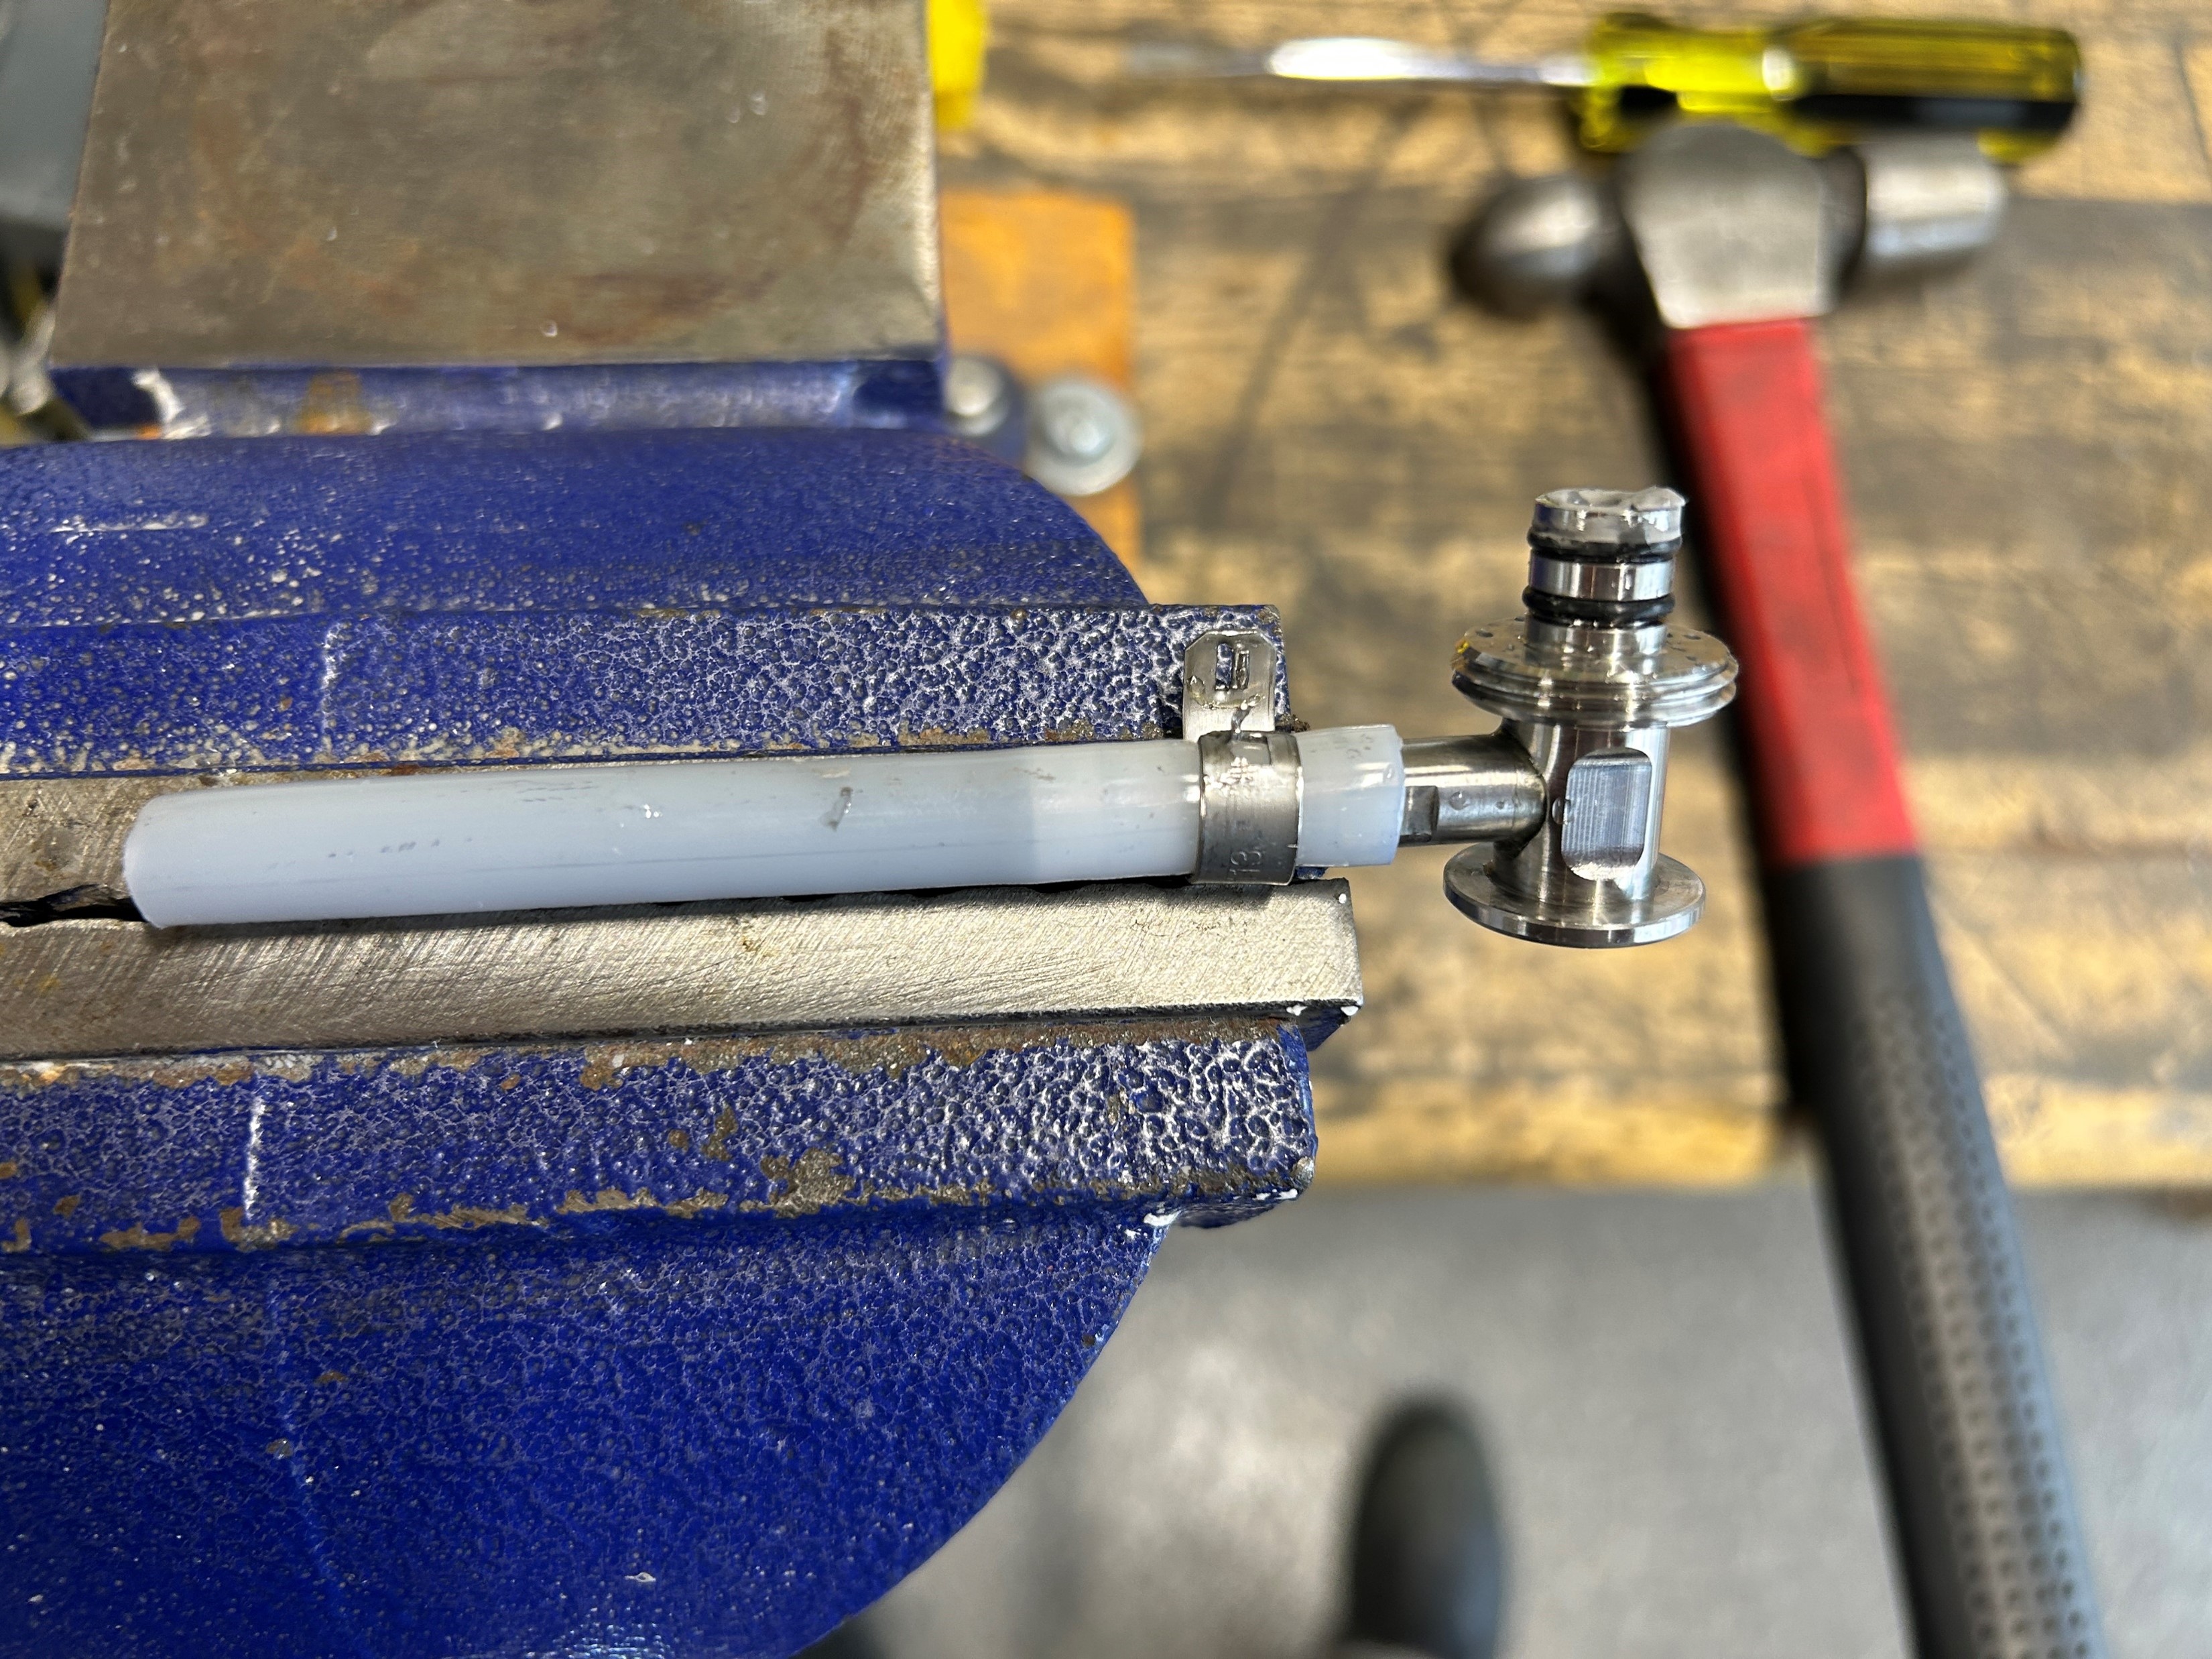
2. Use a vise to securely hold the removed fitting, try to position the fitting so that the vise grabs onto the existing pinch clamp.
|
|
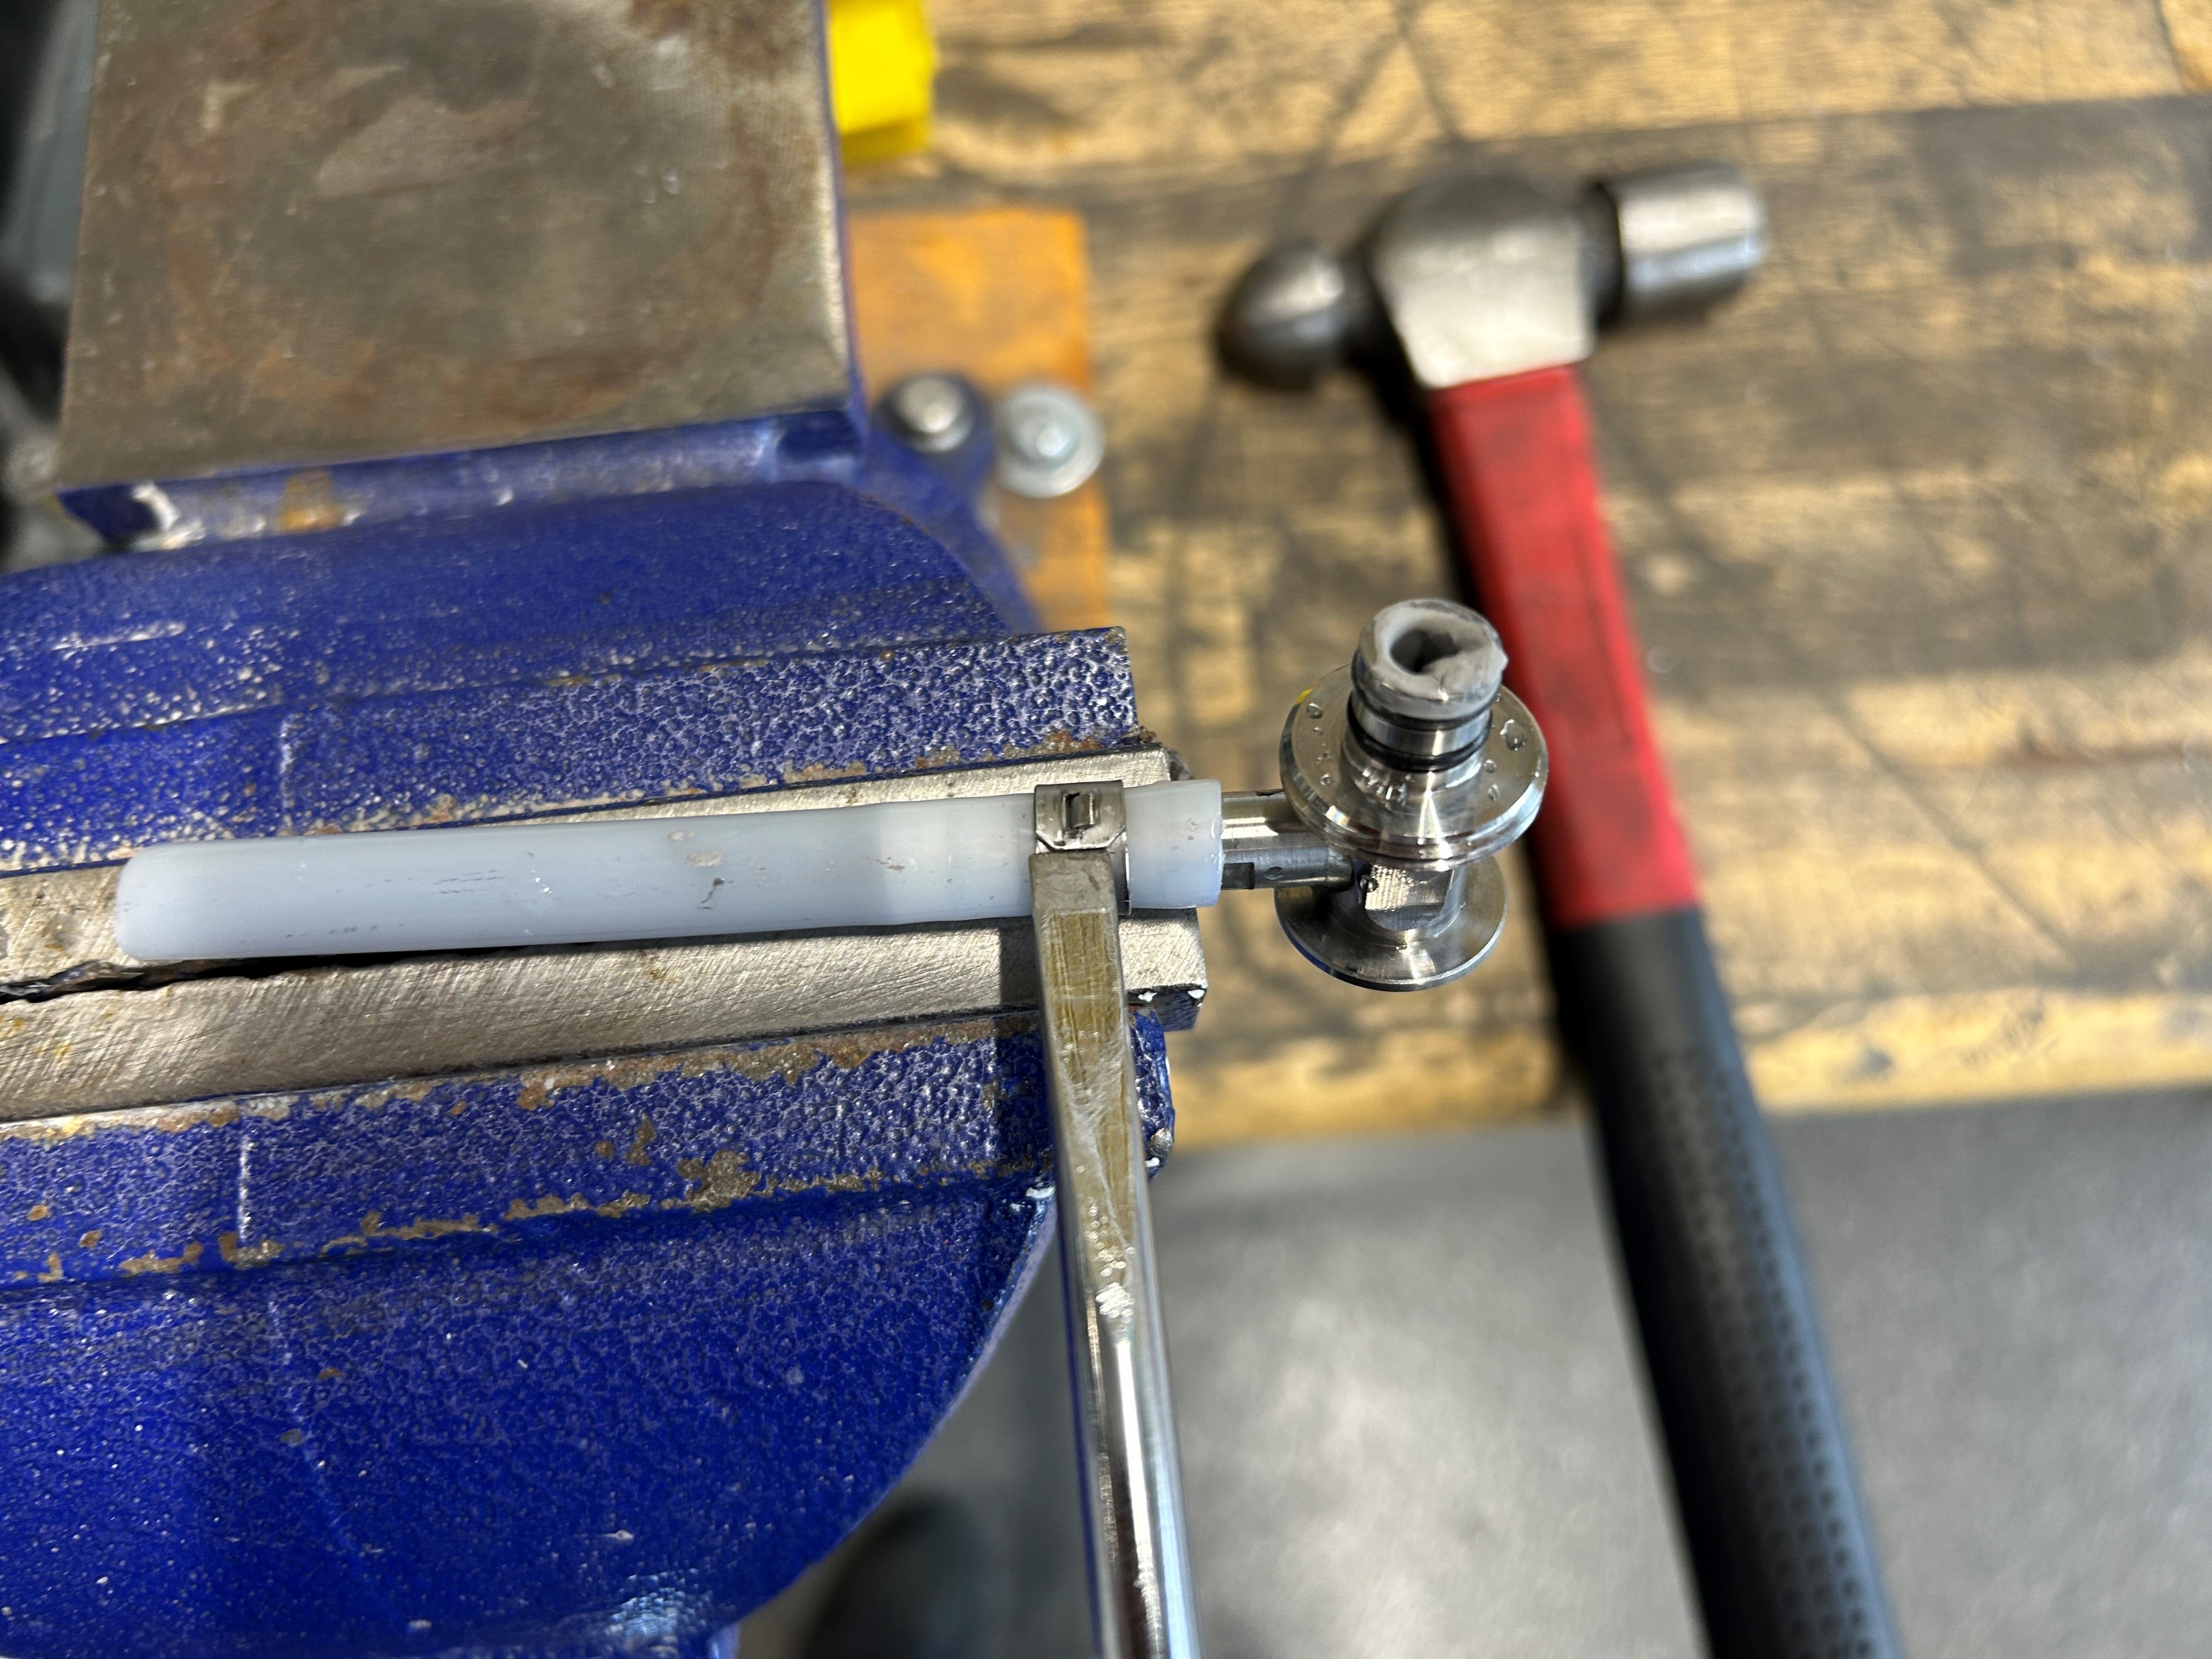
3. With a flathead screwdriver pry open the existing pinch clamp so that it can be removed; a hammer can be used on the screwdriver to encourage the pinch clamp to release.
|
|
4. Clamp the used fitting and hose in the vise so that the used hose can be removed from the fitting. Use a utility knife and cut along the length of the hose, be careful not to cut too deep as you risk potentially marring the surface of the barbs.
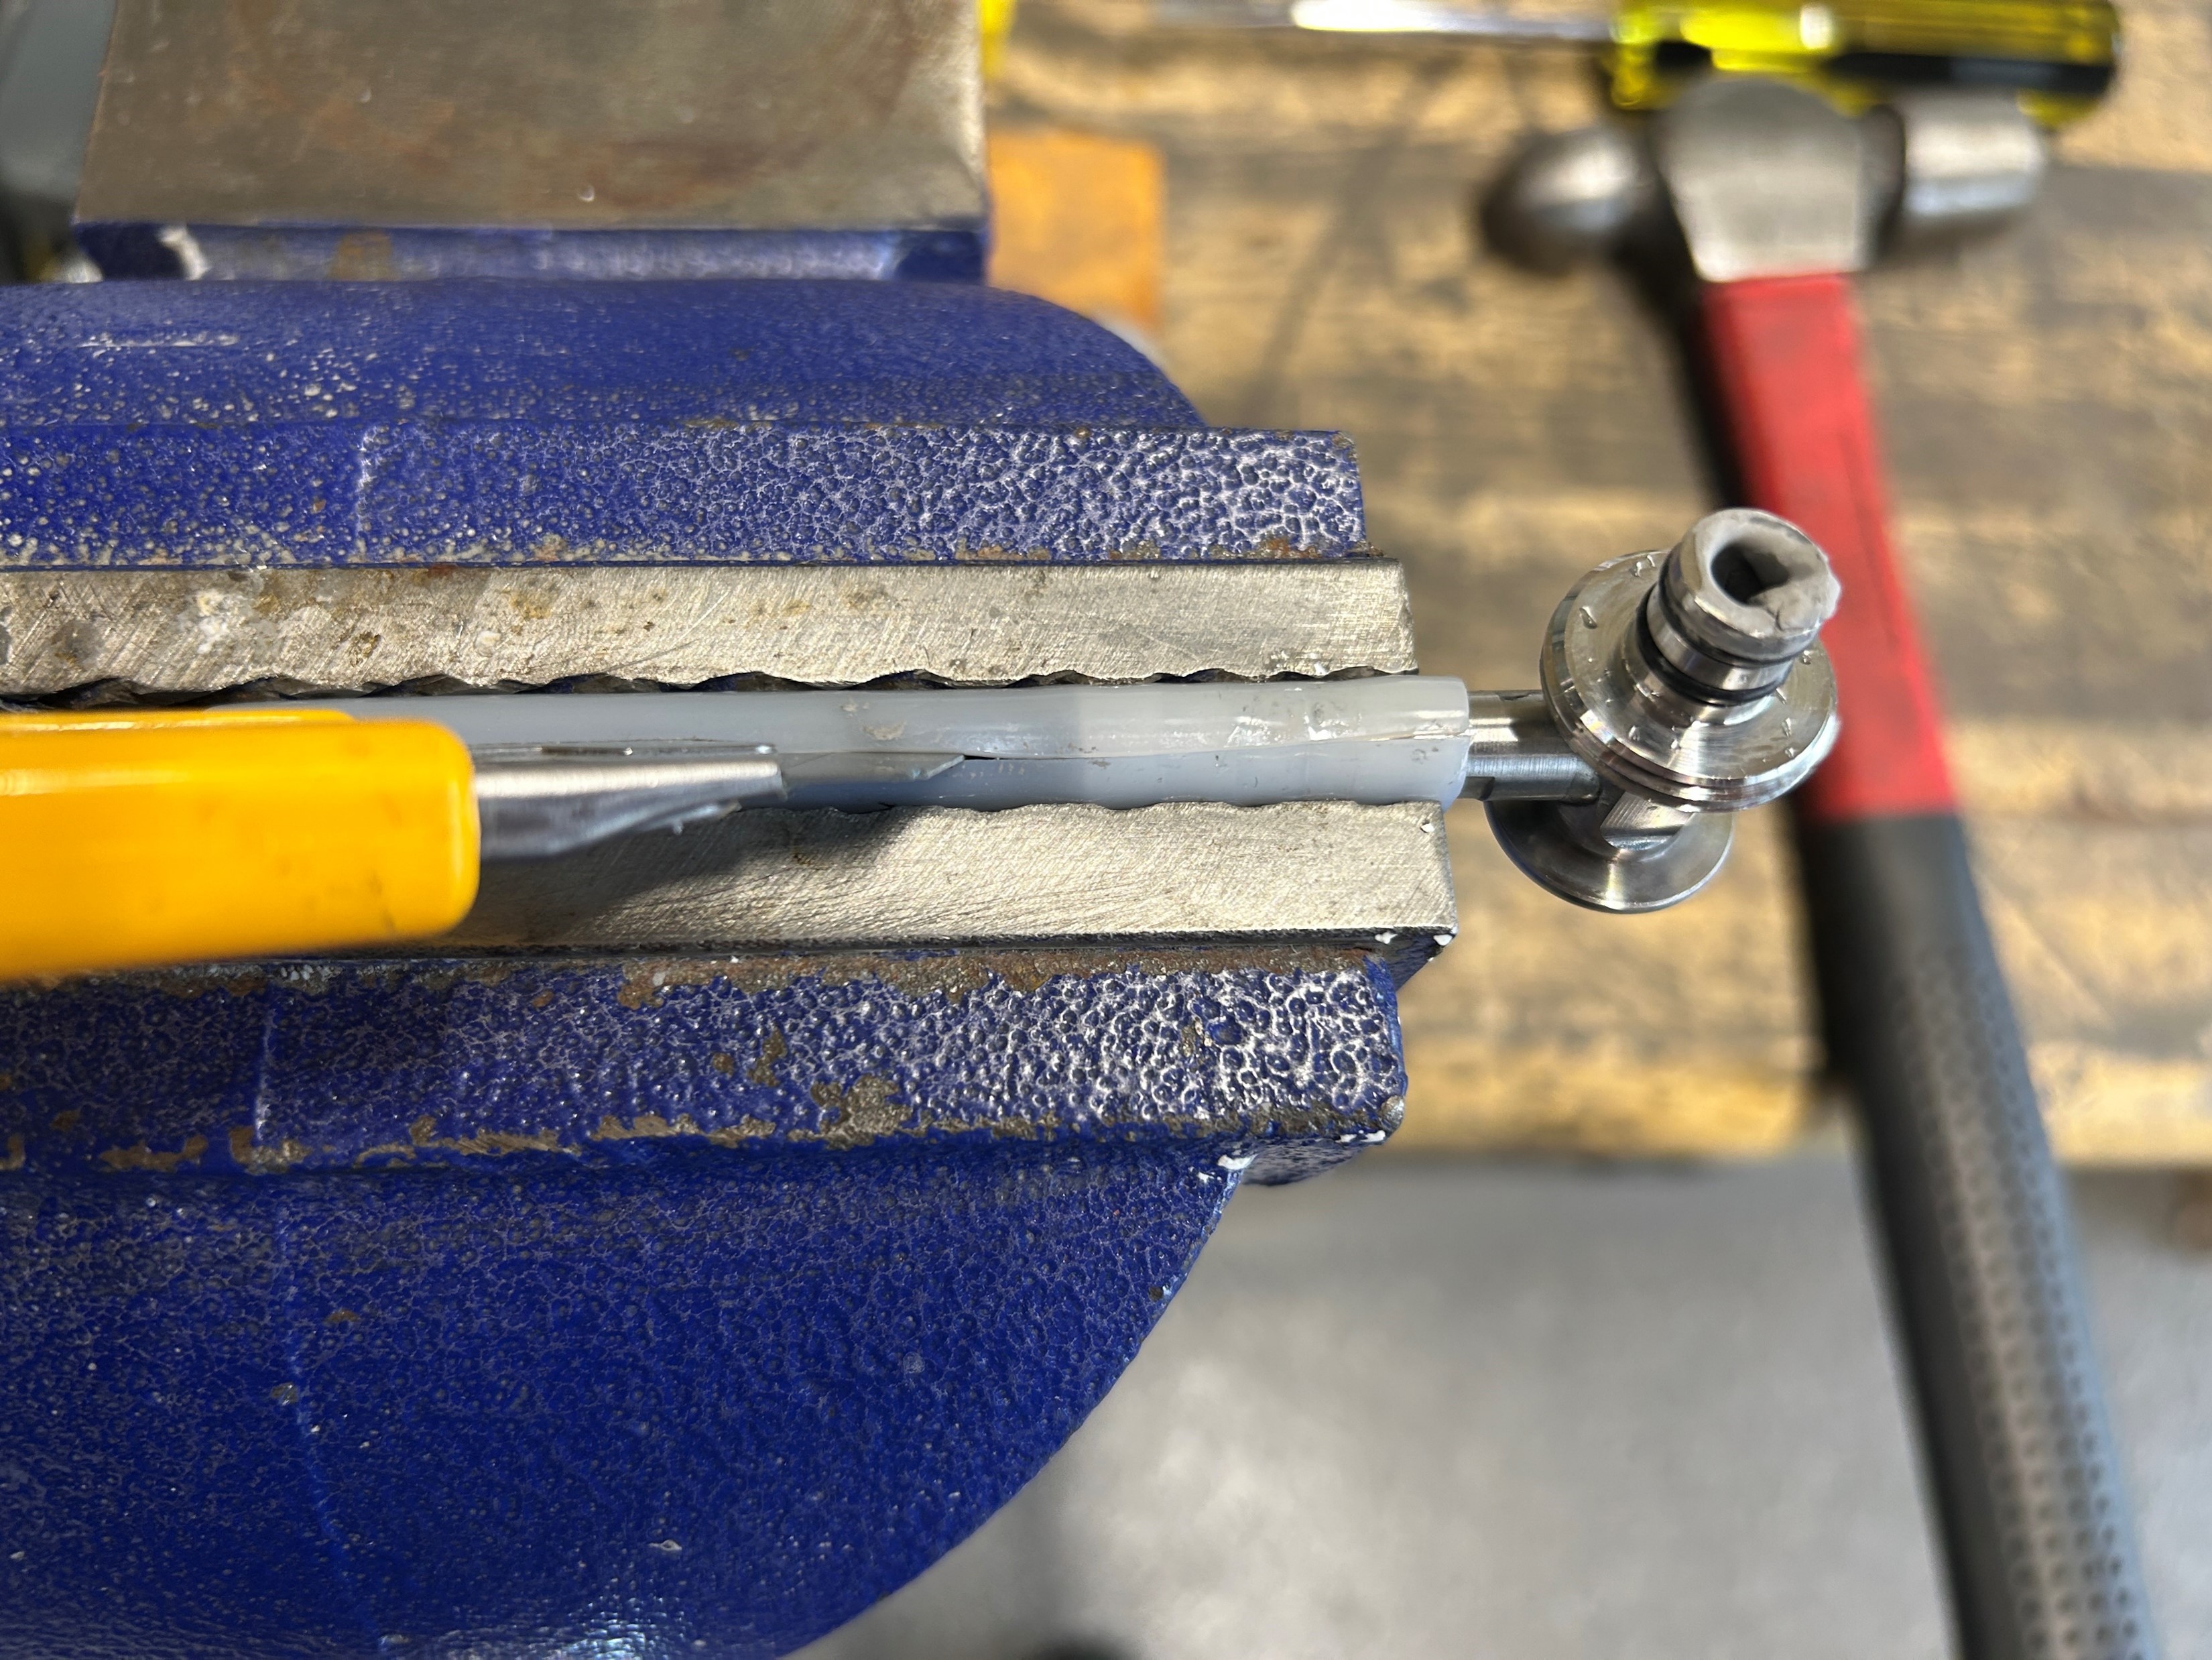
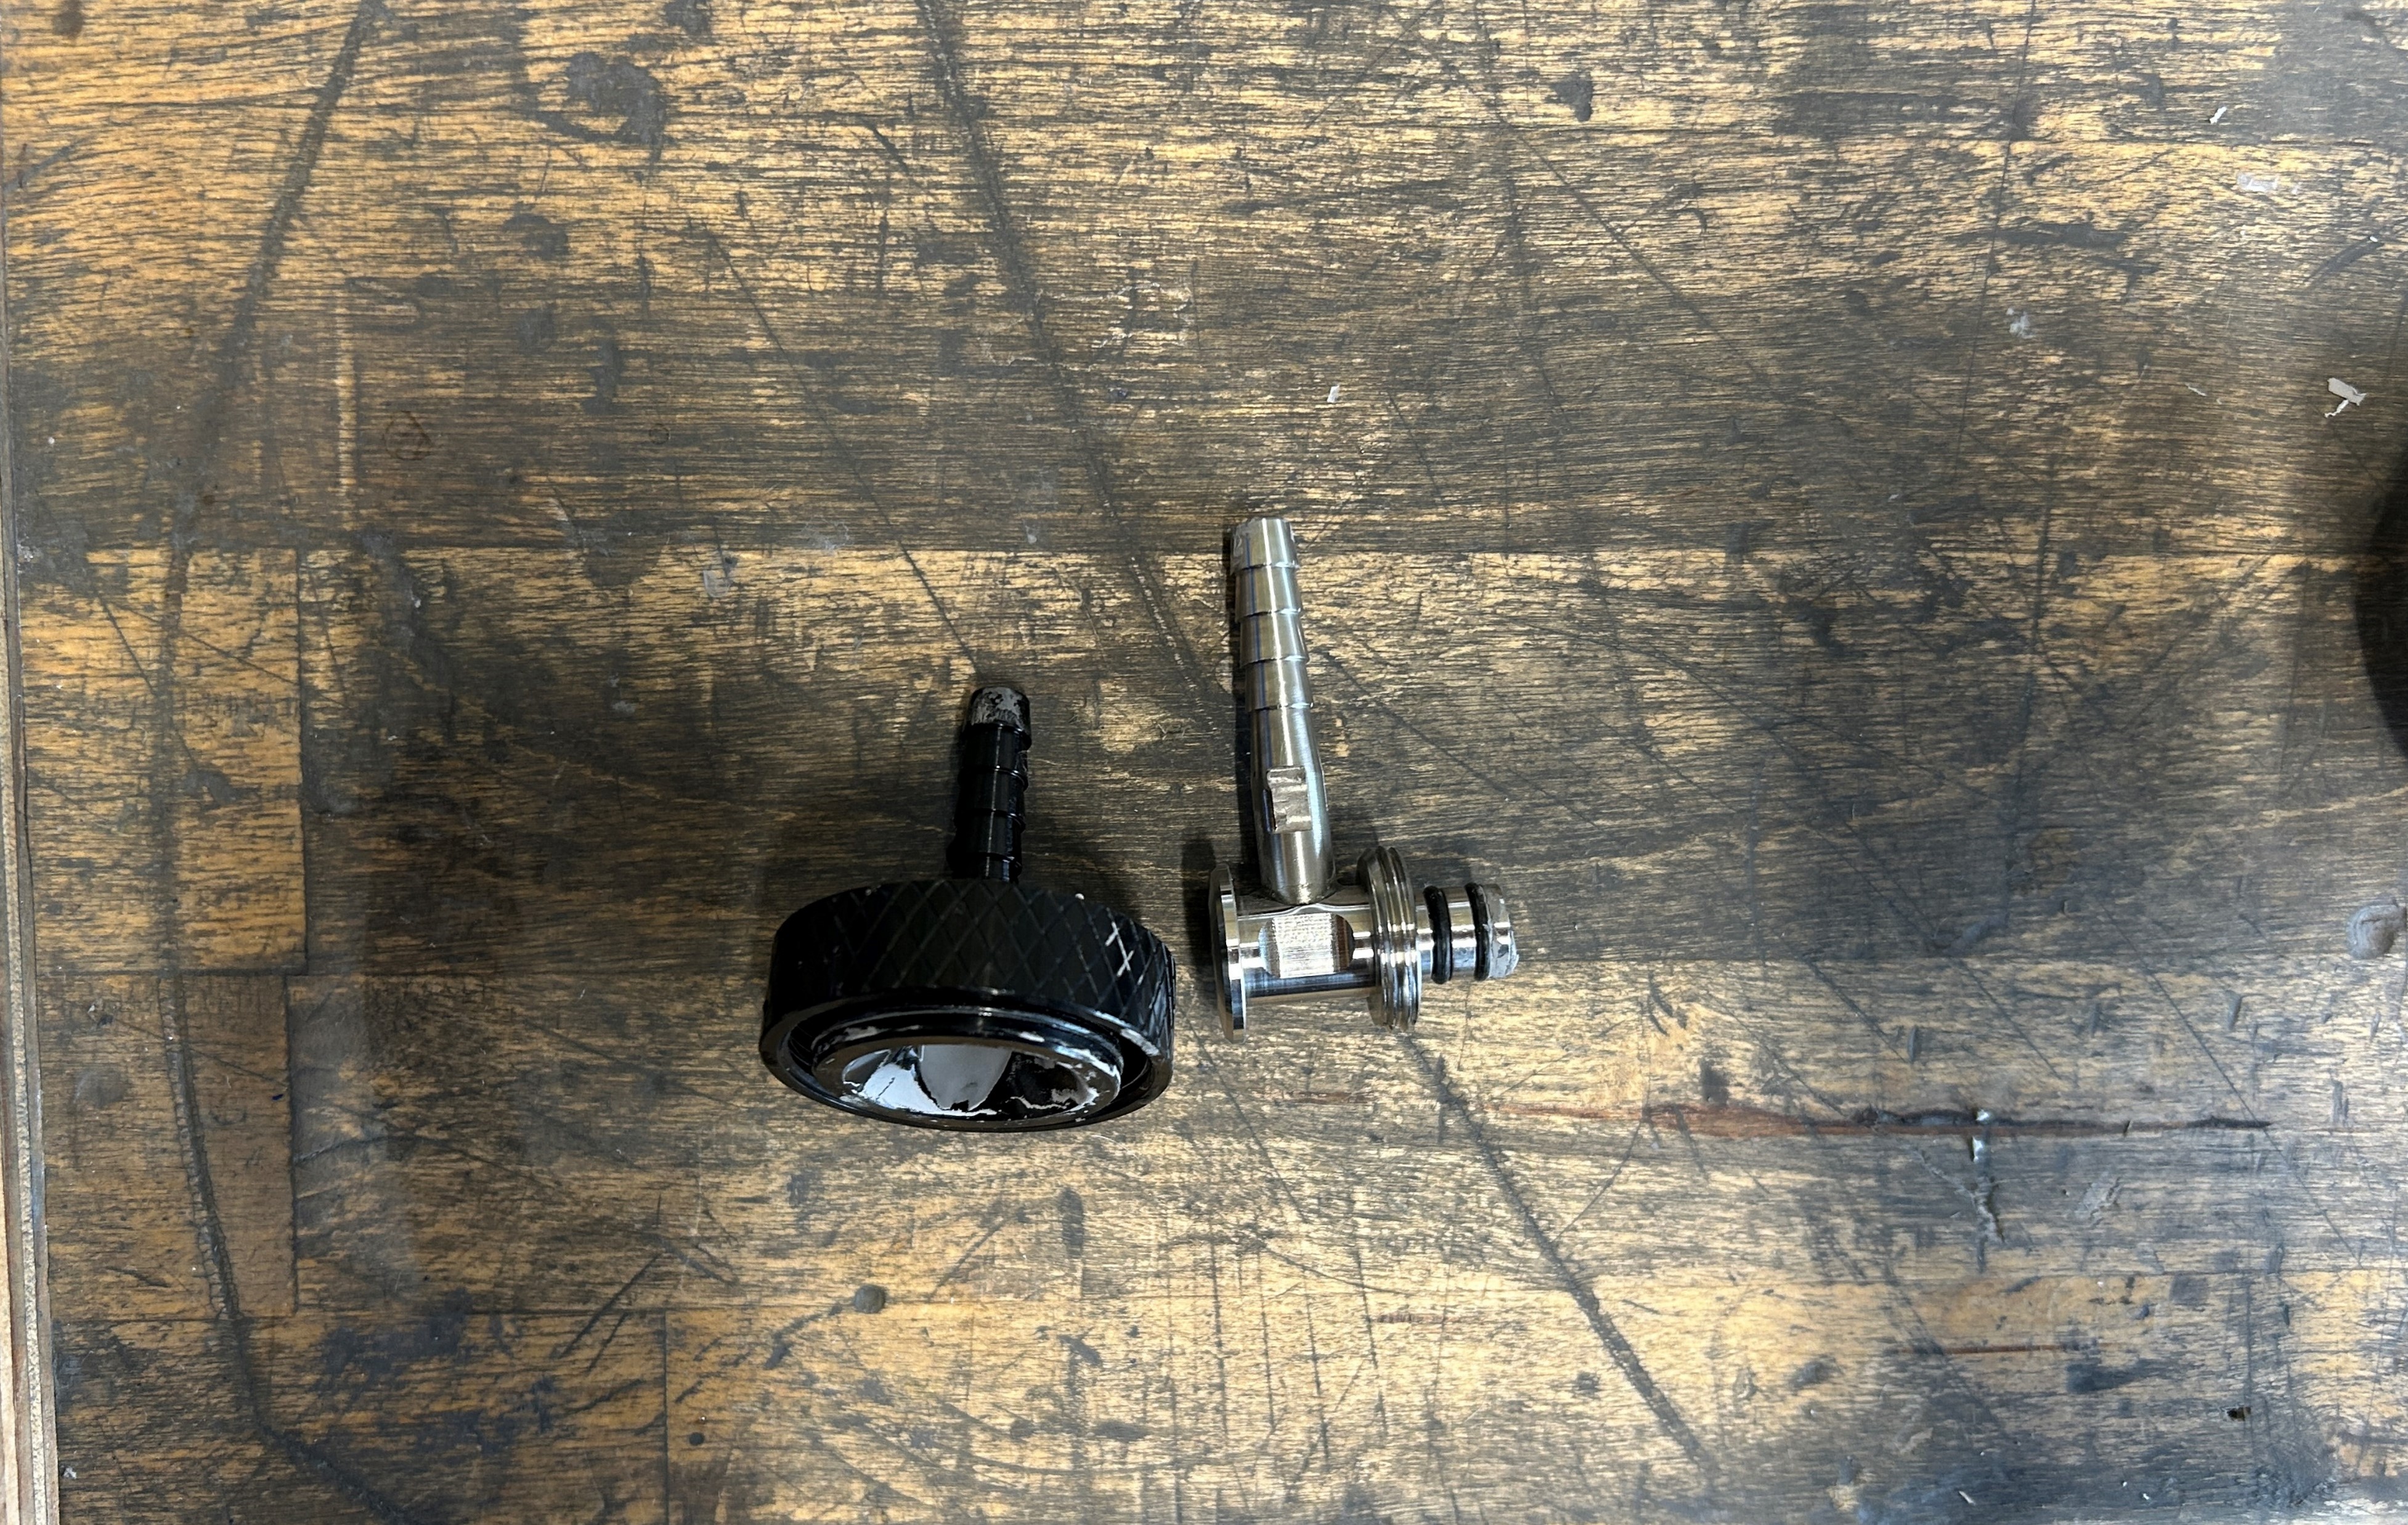
5. Remove the fitting from the cut hose and clean thoroughly, removing any dried material.

6. Repeat steps 2 - 5 with the other fitting.
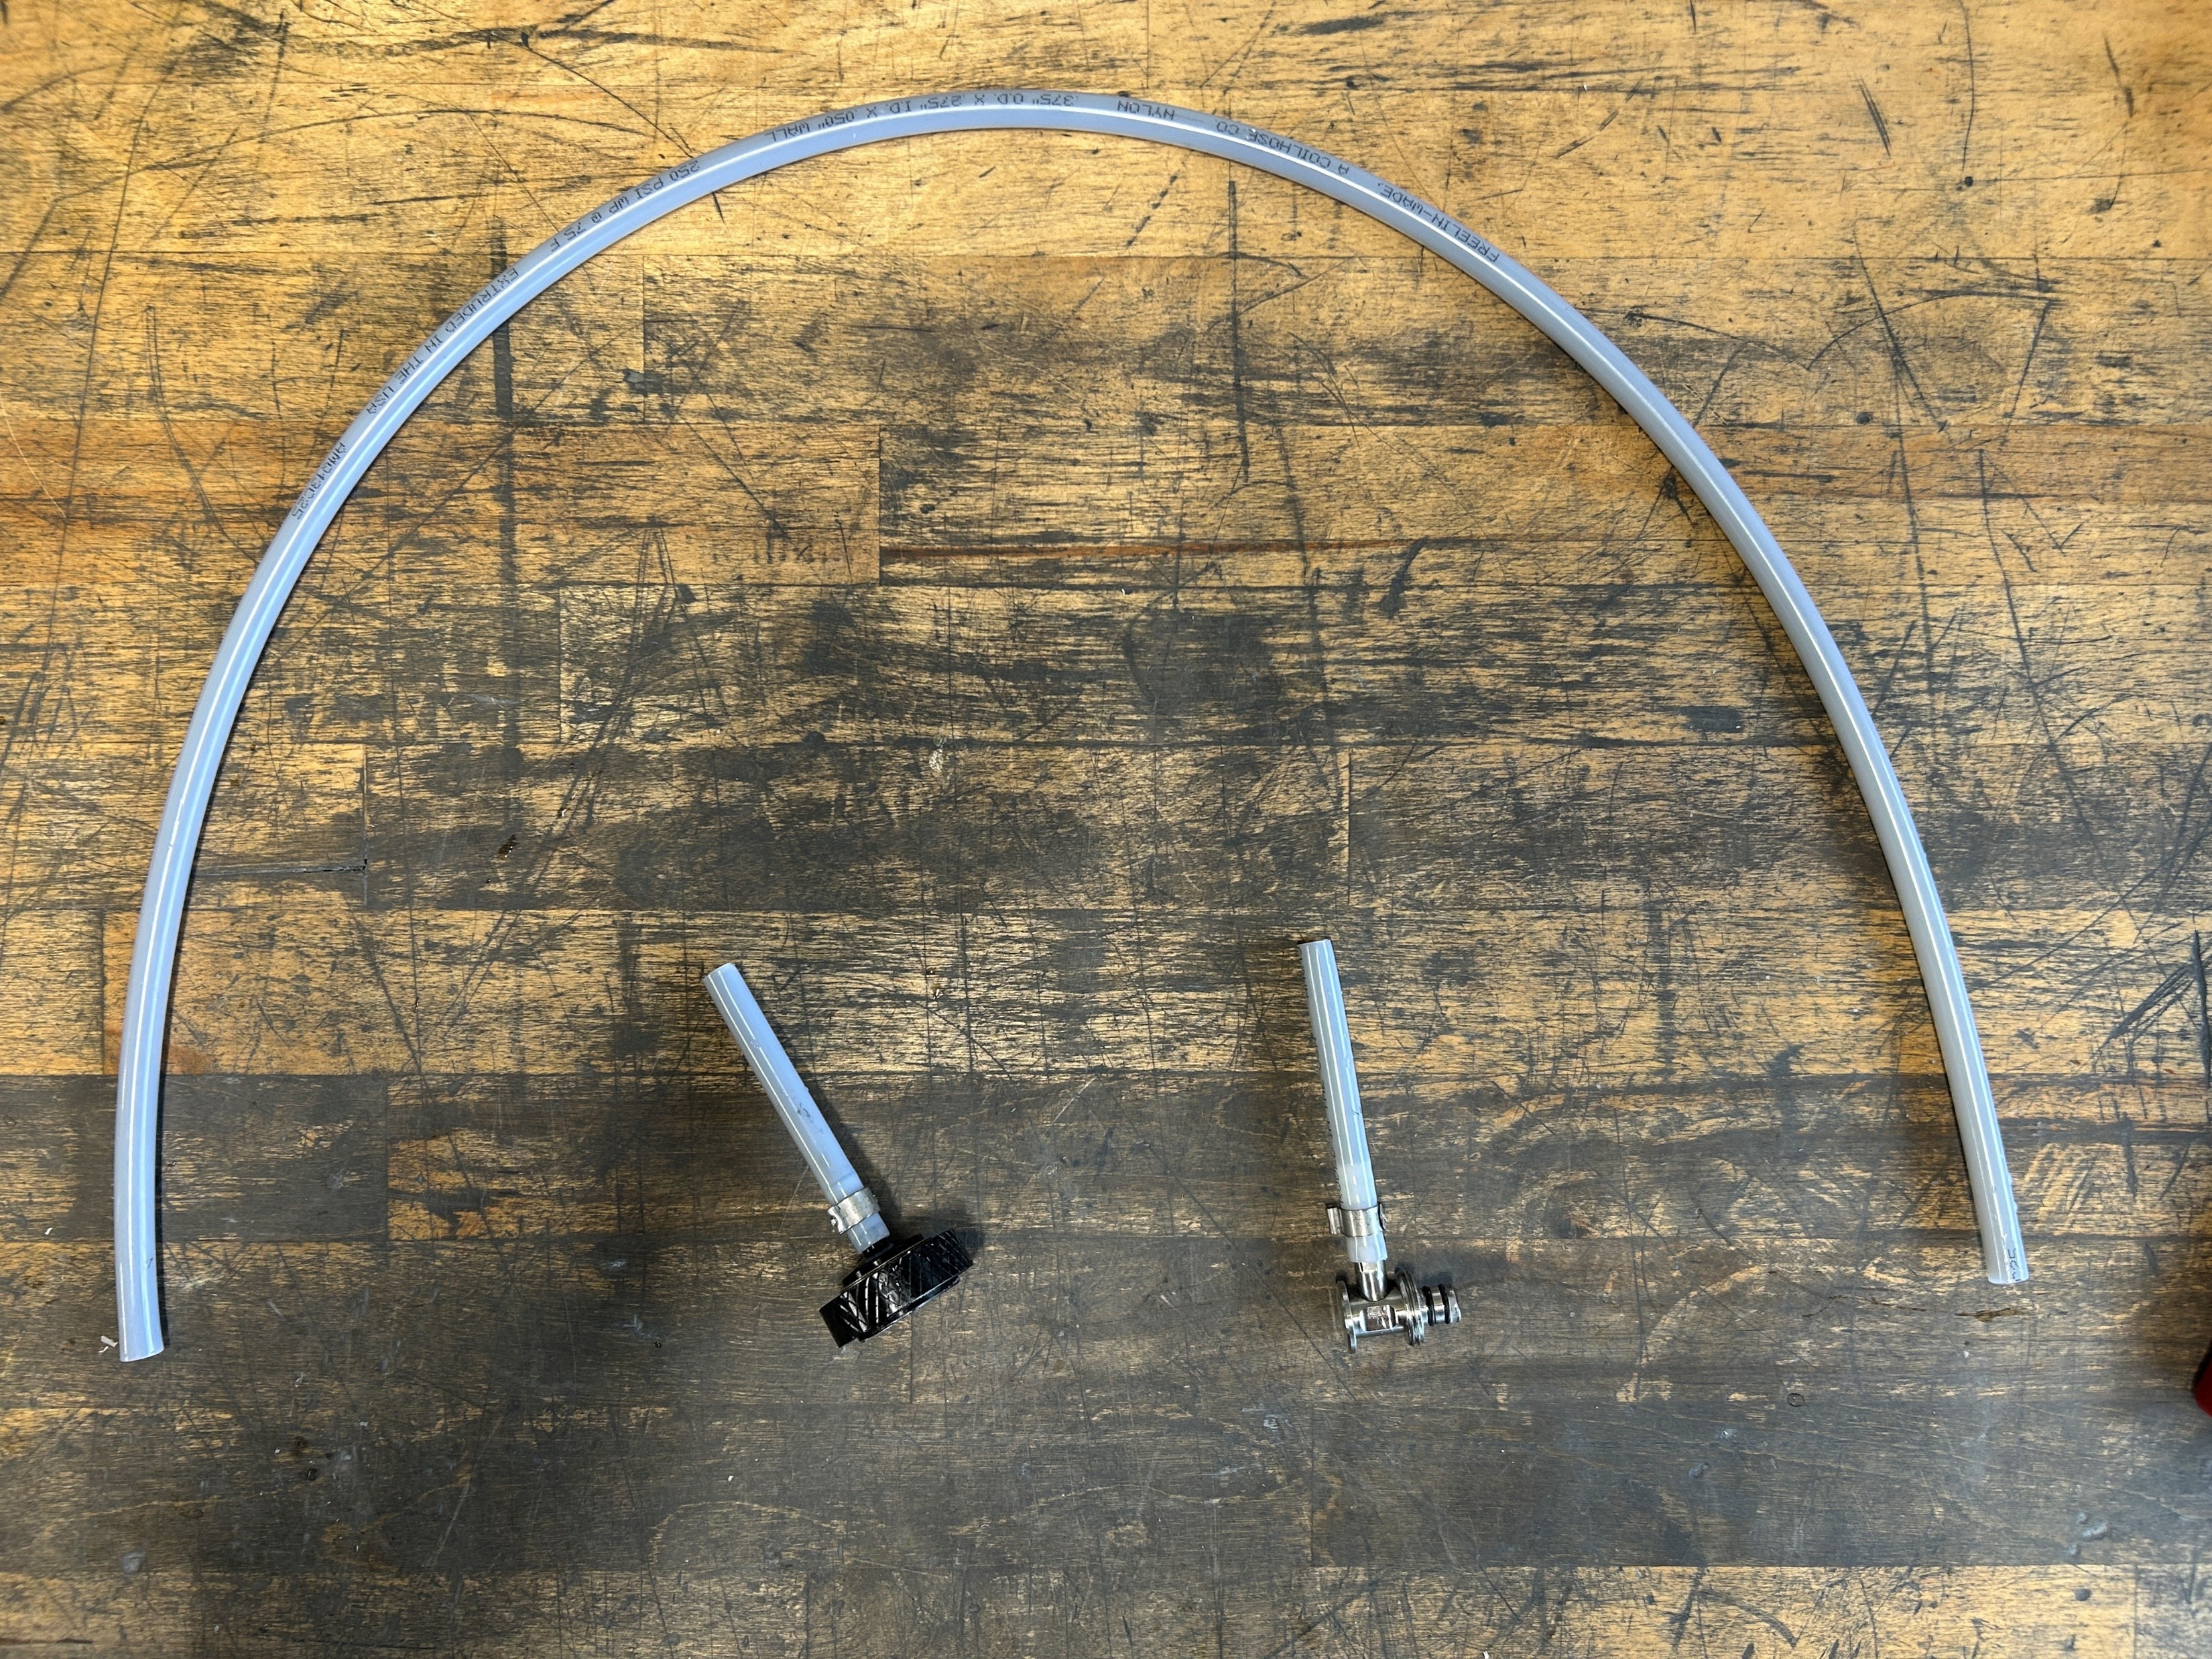
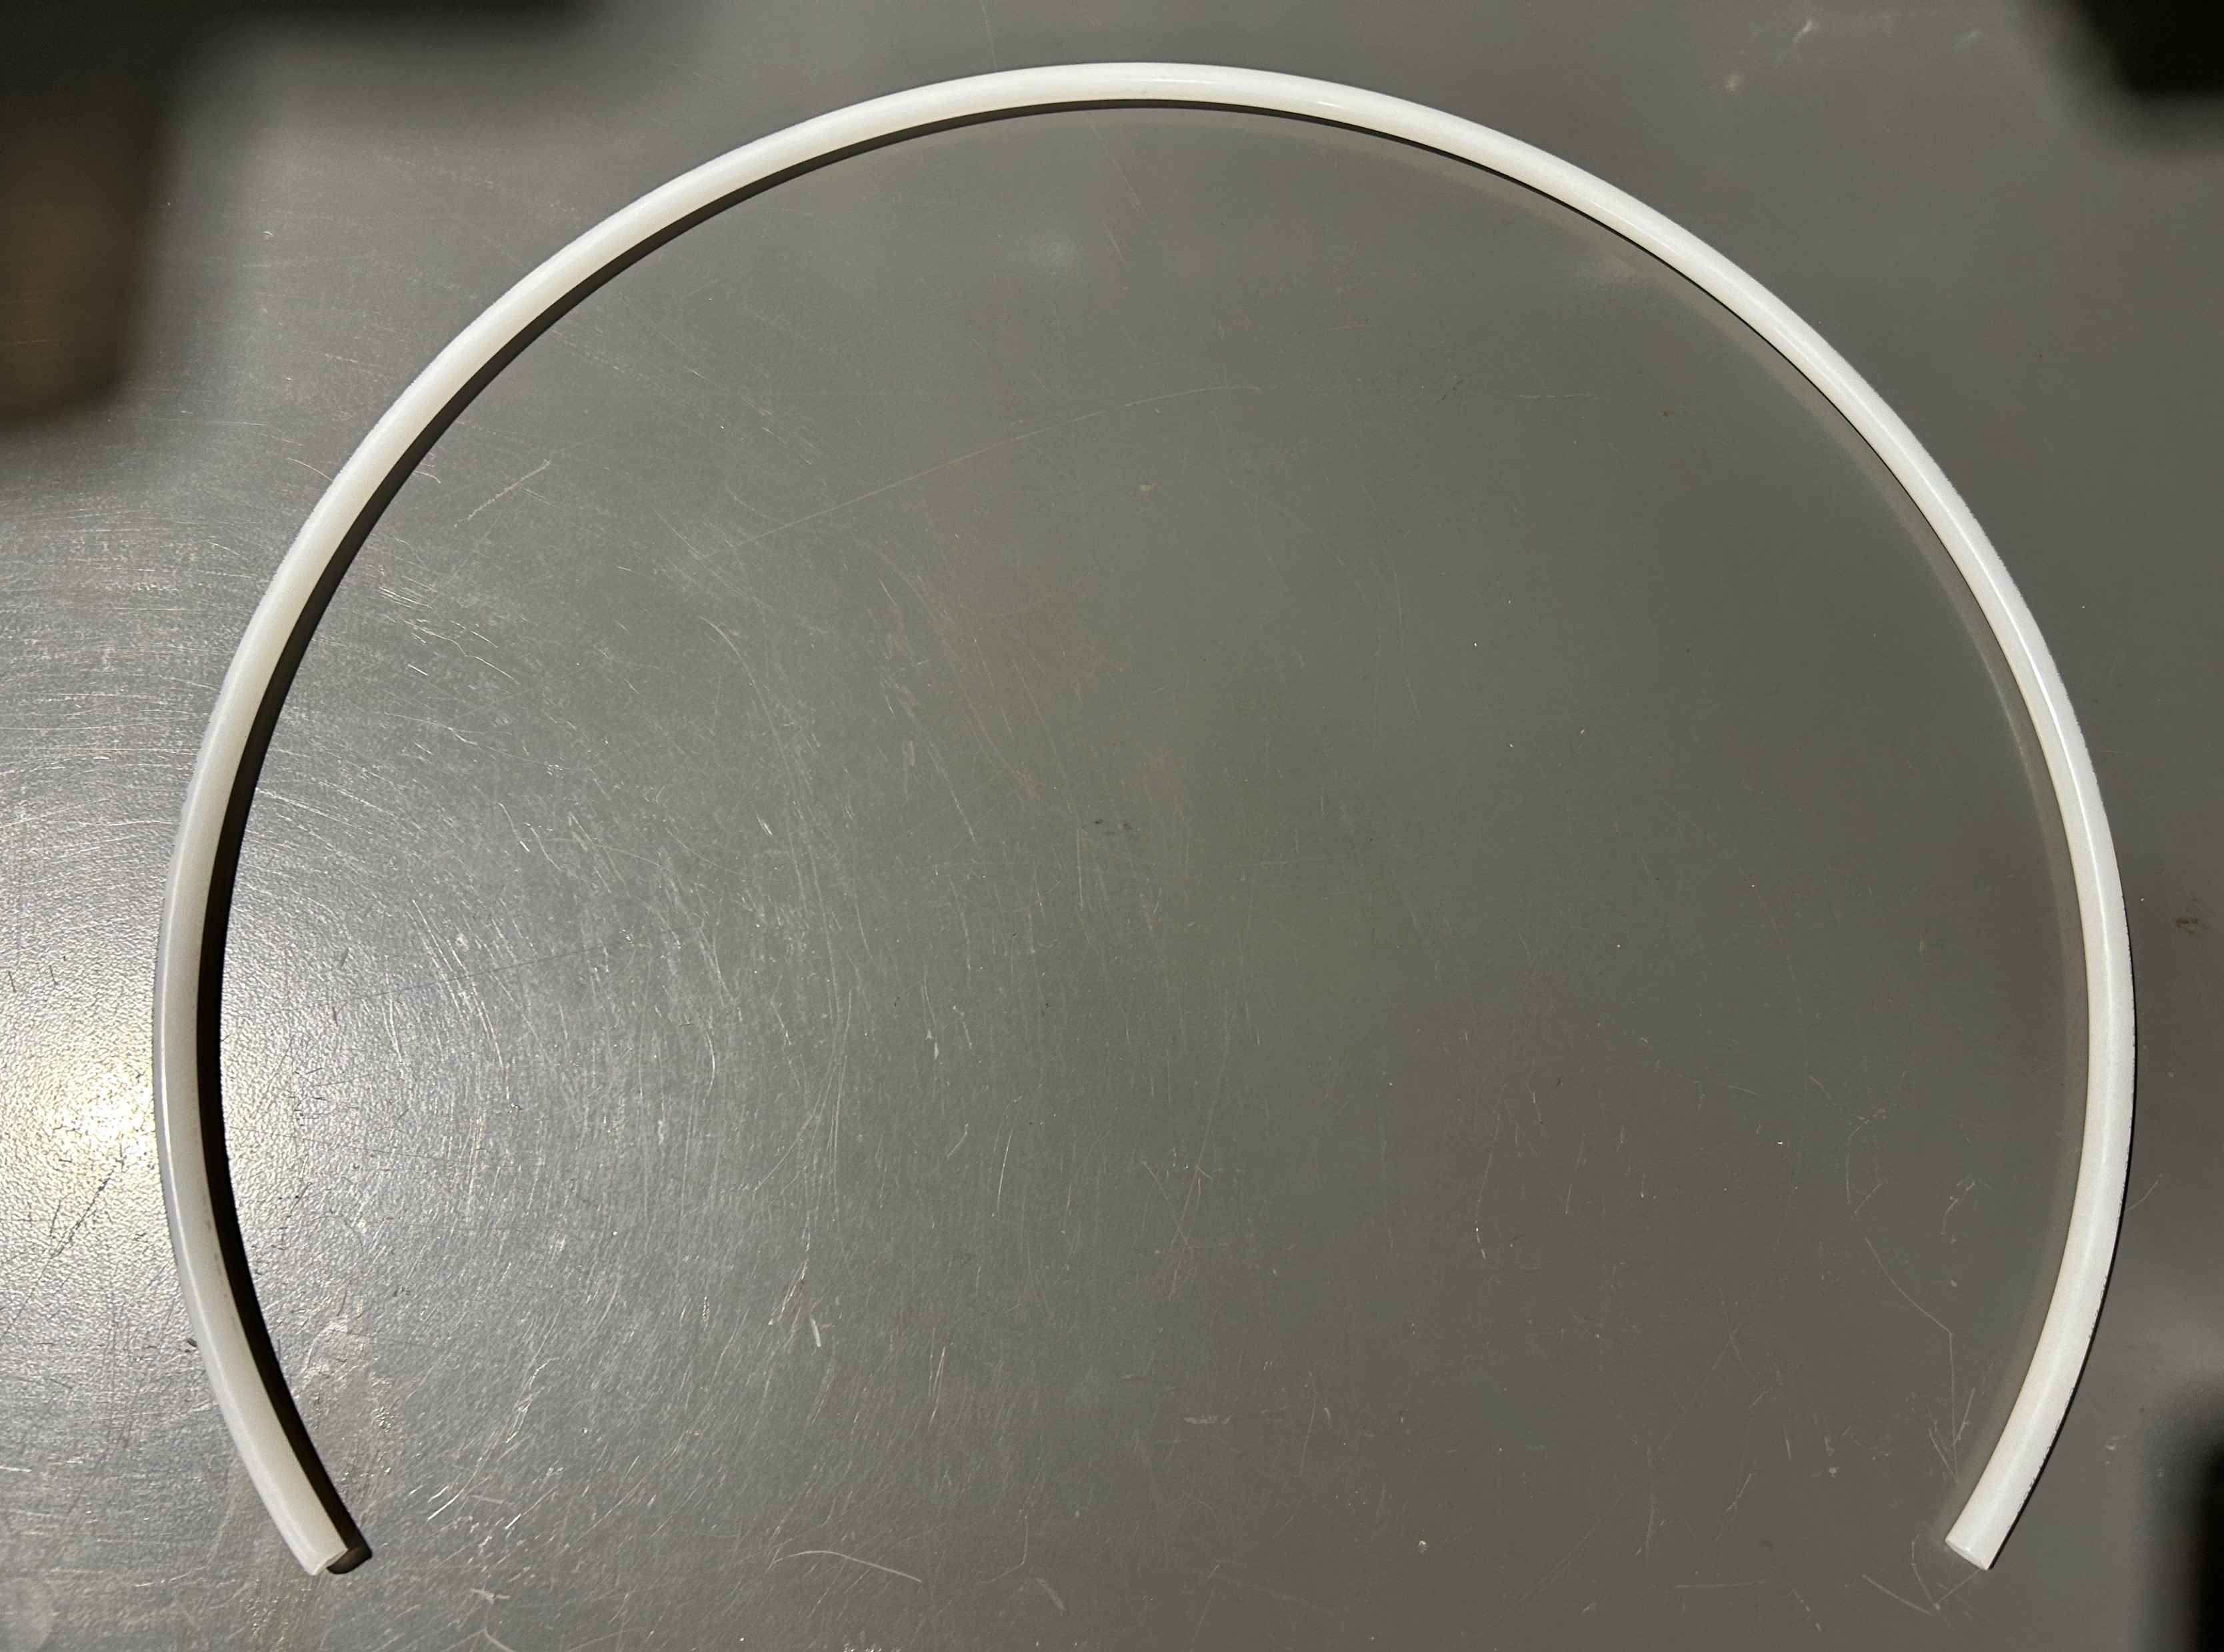
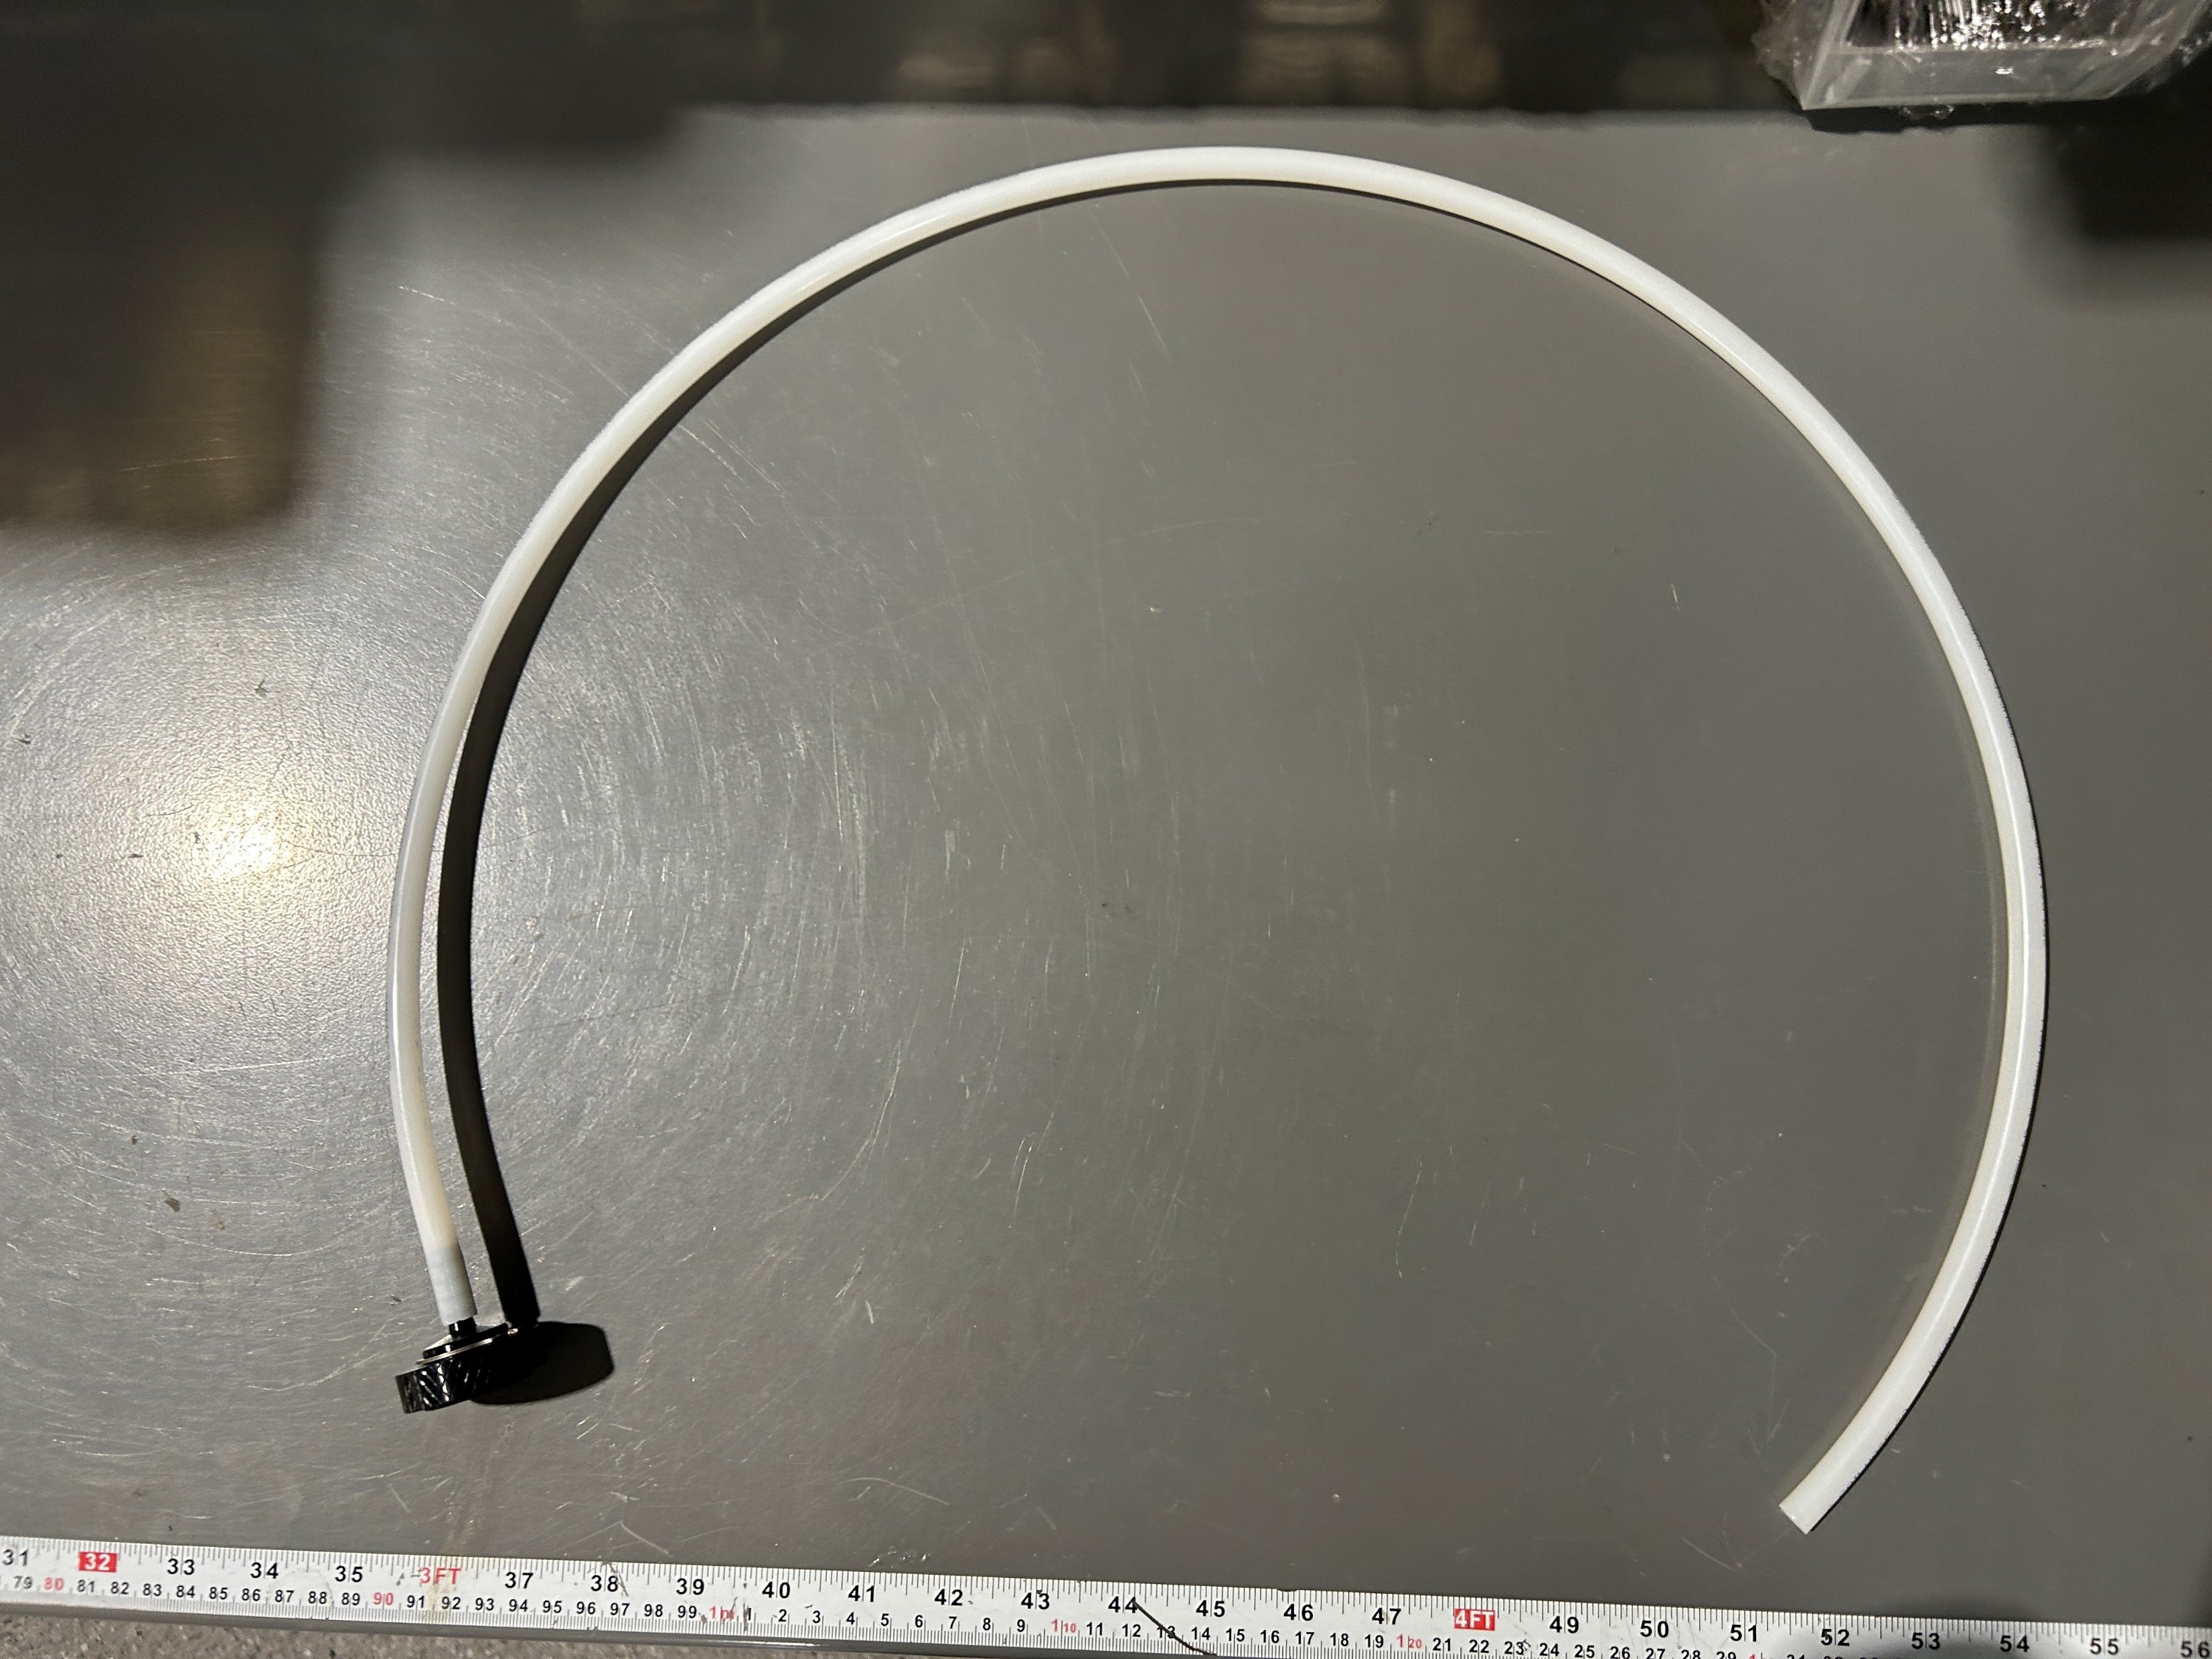
7. Cut a length of 107cm from the new nylon hose to be used in the re-construction of the paste hose assembly.
8. Insert one of the fittings into one end of the hose. A heat gun can be used to make the nylon hose more malleable allowing the barbs on the fittings to interface with the hose easier. Avoid kinking the hose as it could eventually lead to failure of the hose in operation.
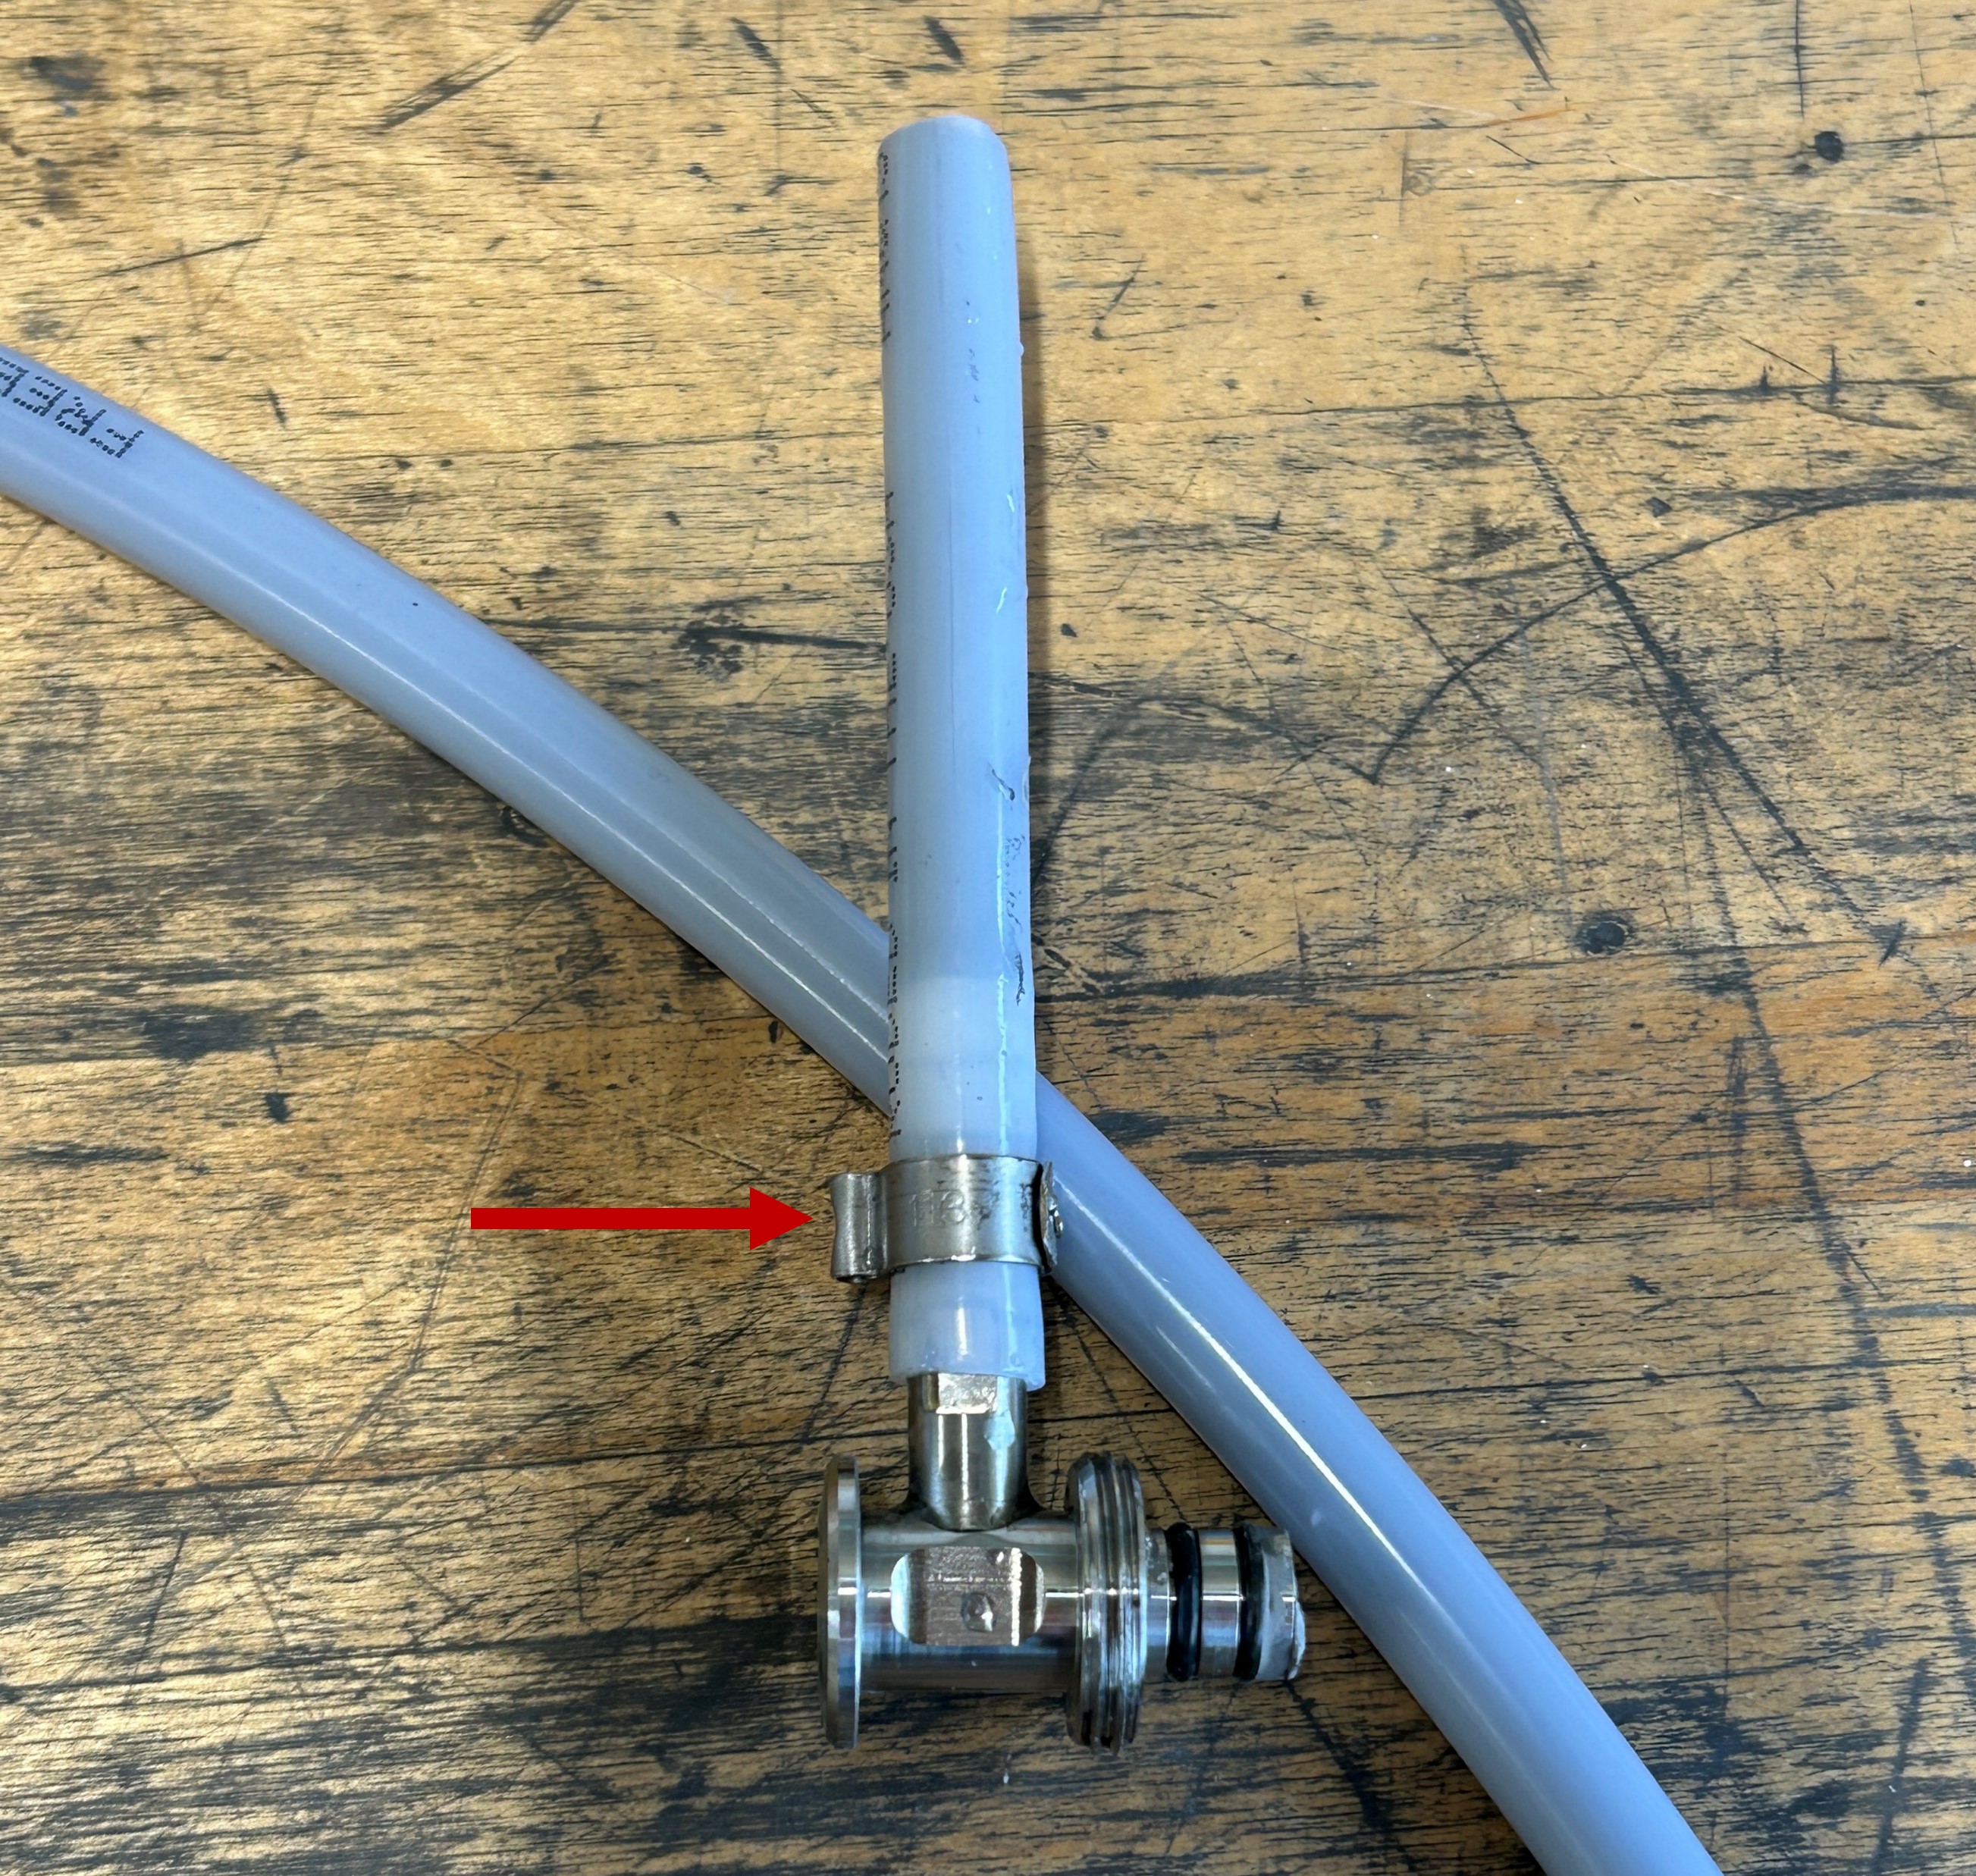
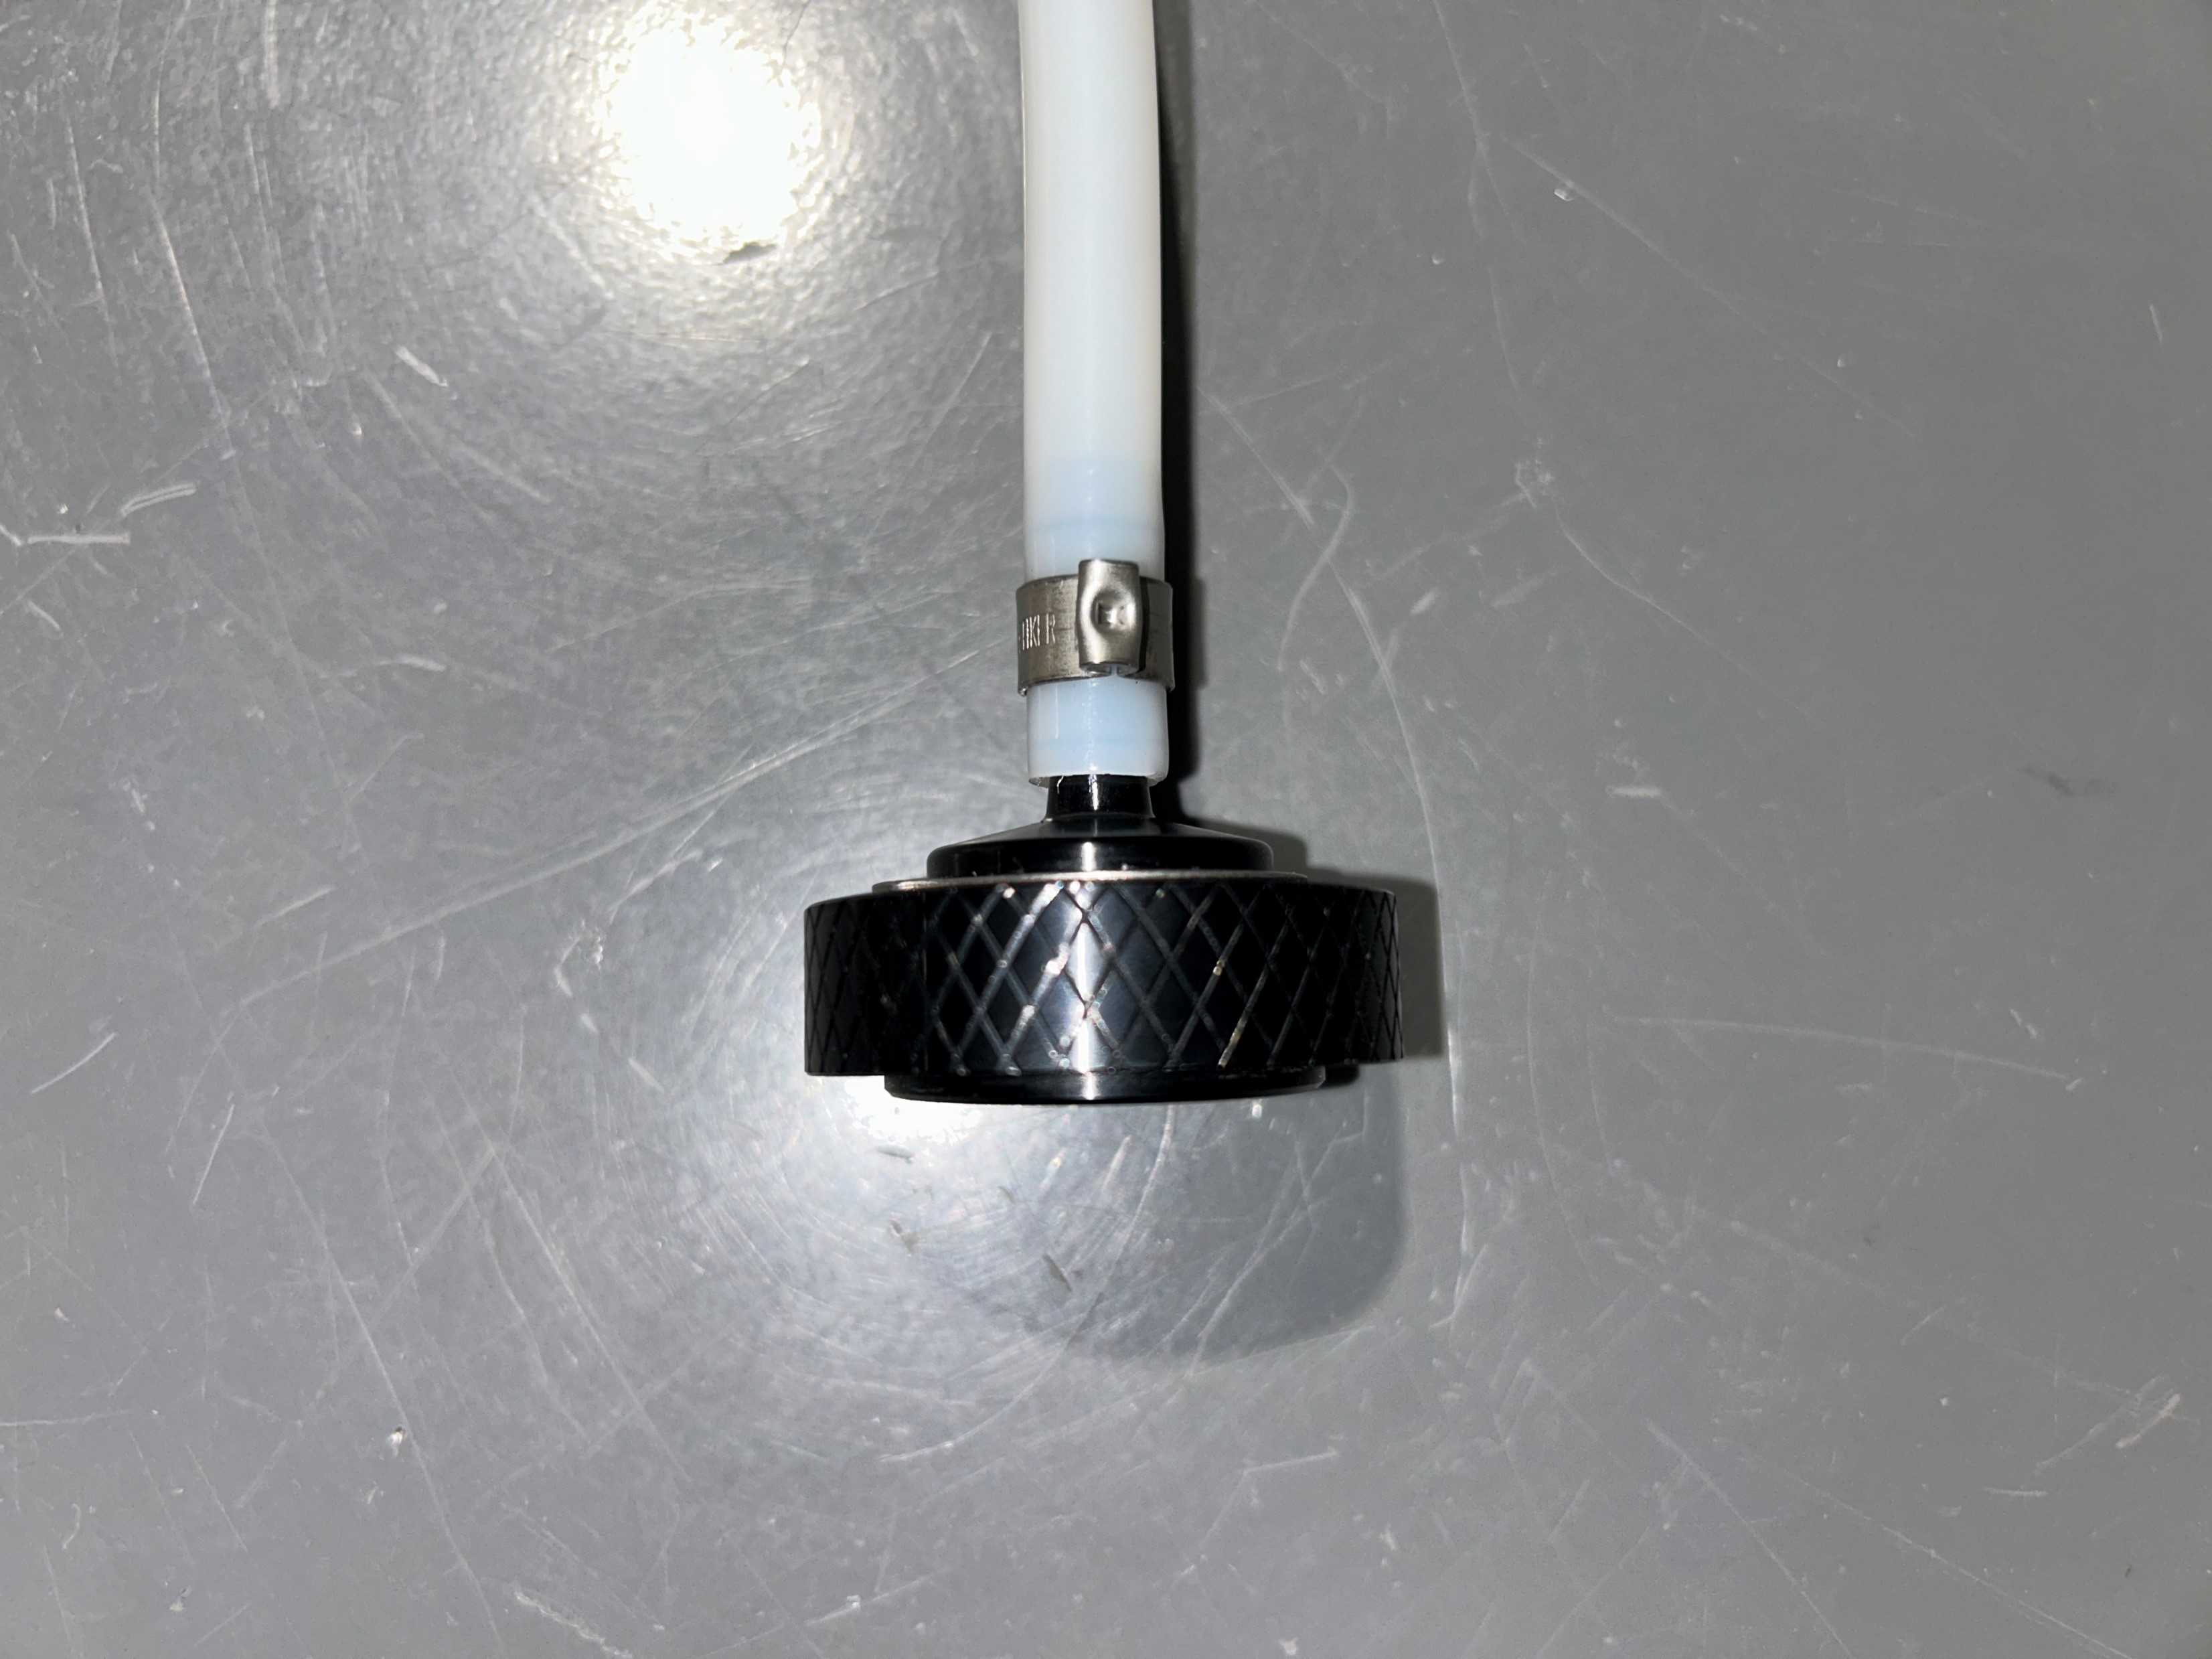
9. Slide a pinch clamp onto the open side of the nylon hose until the clamp is positioned over the barb of the installed fitting, ~1 cm from the end of the tubing. Secure using hose clamp pliers.

|
|
10. Slide an additional pinch clamp onto the open side of the nylon hose. Then insert the barbs of the second fitting into the open side of the nylon hose, using a heat gun to make the process easier.

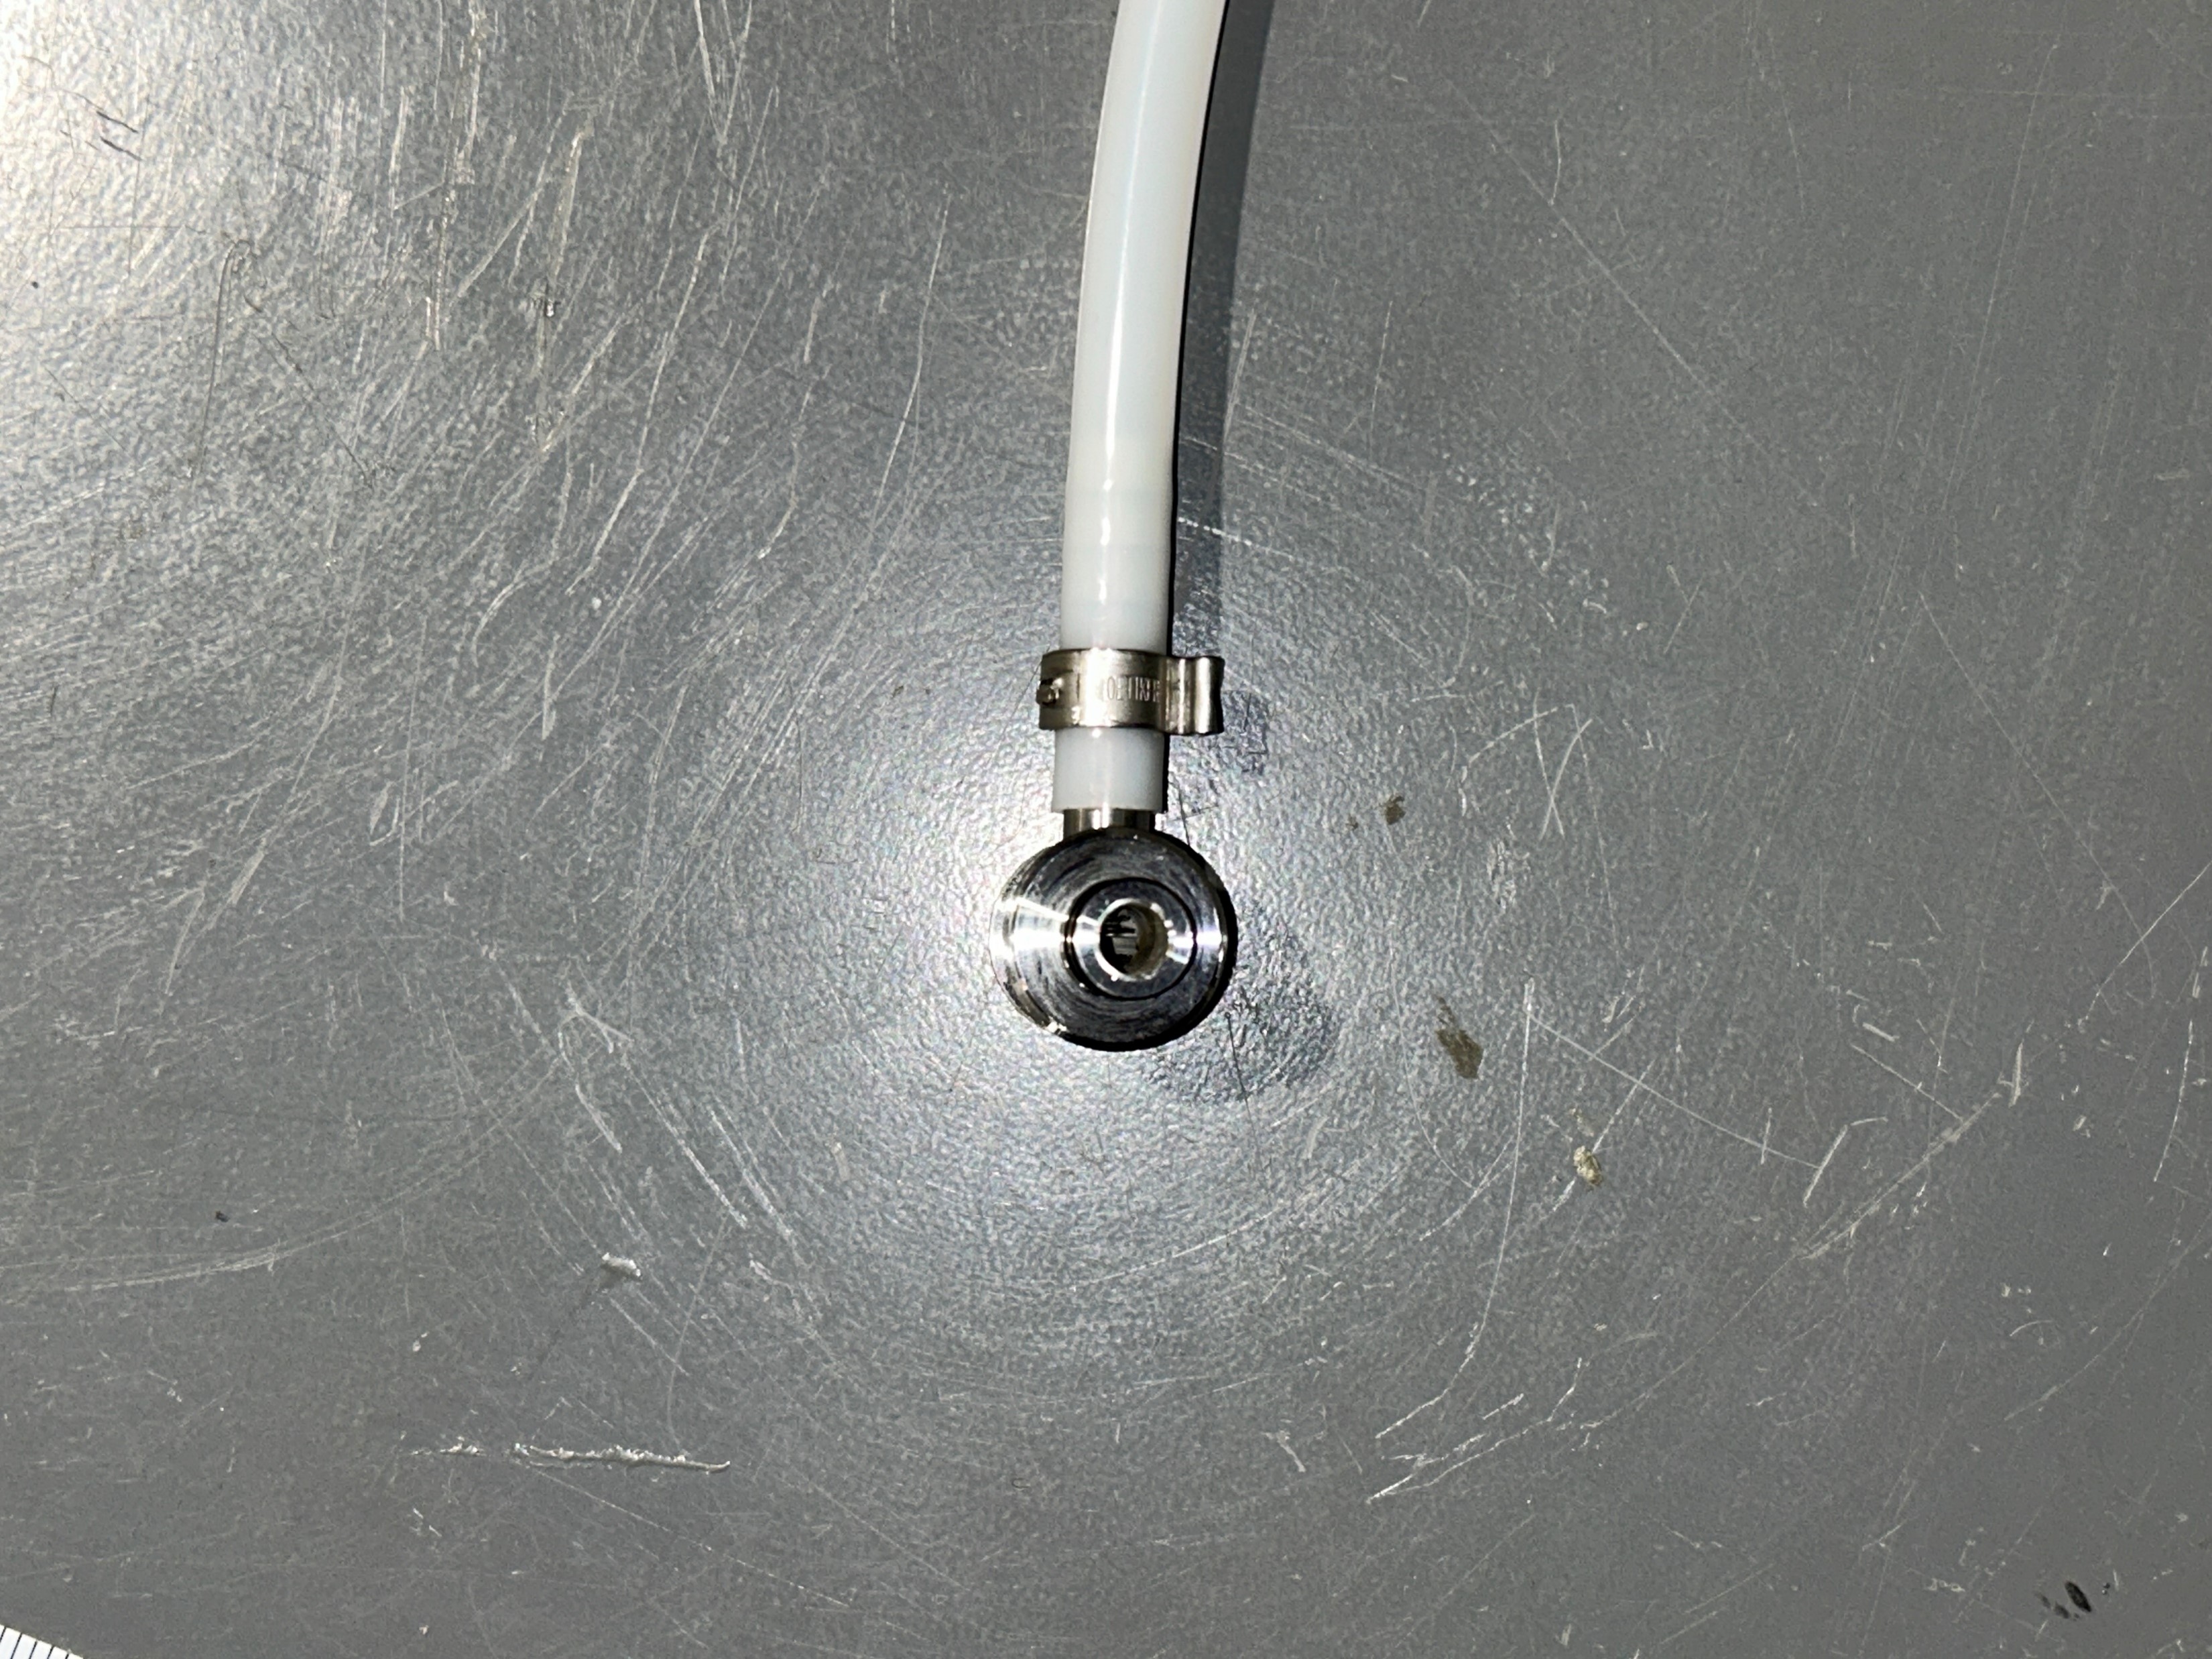
11. Position the pinch clamp around the barbs of the fitting, both of which were installed in the previous step. Once positioned correctly, use the hose clamp pliers on the pinch clamp secure the fitting in place.

|
|
12. Rotate the outlet fitting so that it matches the orientation in the photo below, this minimizes the amount of force applied to the extruder by the hose during operation.
