Leveling the print bed ensures good print quality across the bed, and is especially critical when printing multiple parts or a part with a large footprint. Inspect if there has been an issue with the bed leveling in your print here: Print Quality.
| Required Tools for this Routine |
|---|
| Shim |
How-To
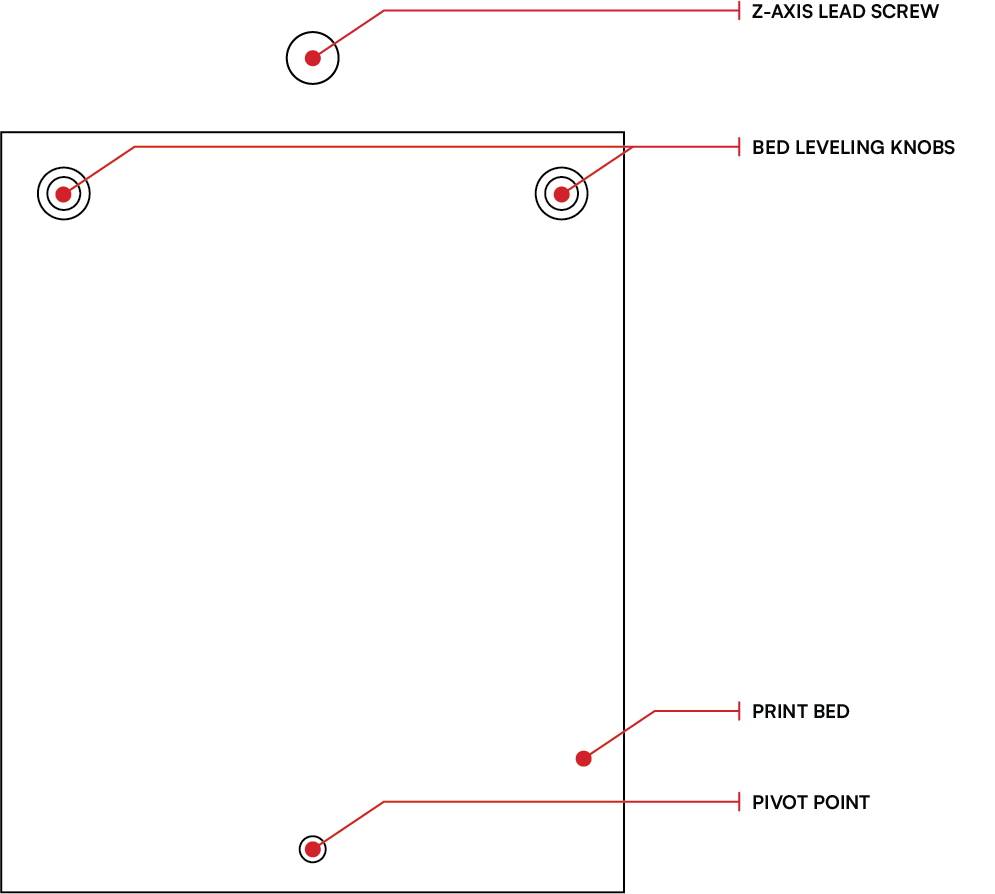
The printer bed is mounted with four adjustable screws that help leveling the bed. Two bigger knurled knobs can be found in the back corners of the build plate, another one is located in the back center outside the build plate. A smaller screw, the pivot point, is positioned in the front center and requires an 8 hex key. Adjust each screw a couple of turns to increase the distance between the nozzle and the build plate. (If “touching up” a leveling job done not too long before, you may not need to do this.)

Follow these steps for successful bed leveling:
1. Use the EMERGENCY STOP button to disconnect and reconnect the printer. This will unlock the XYZ steppers.
2. Manually position Extruder 1 in the middle of the bed.

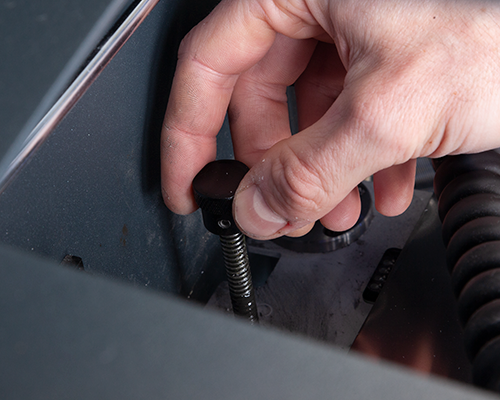
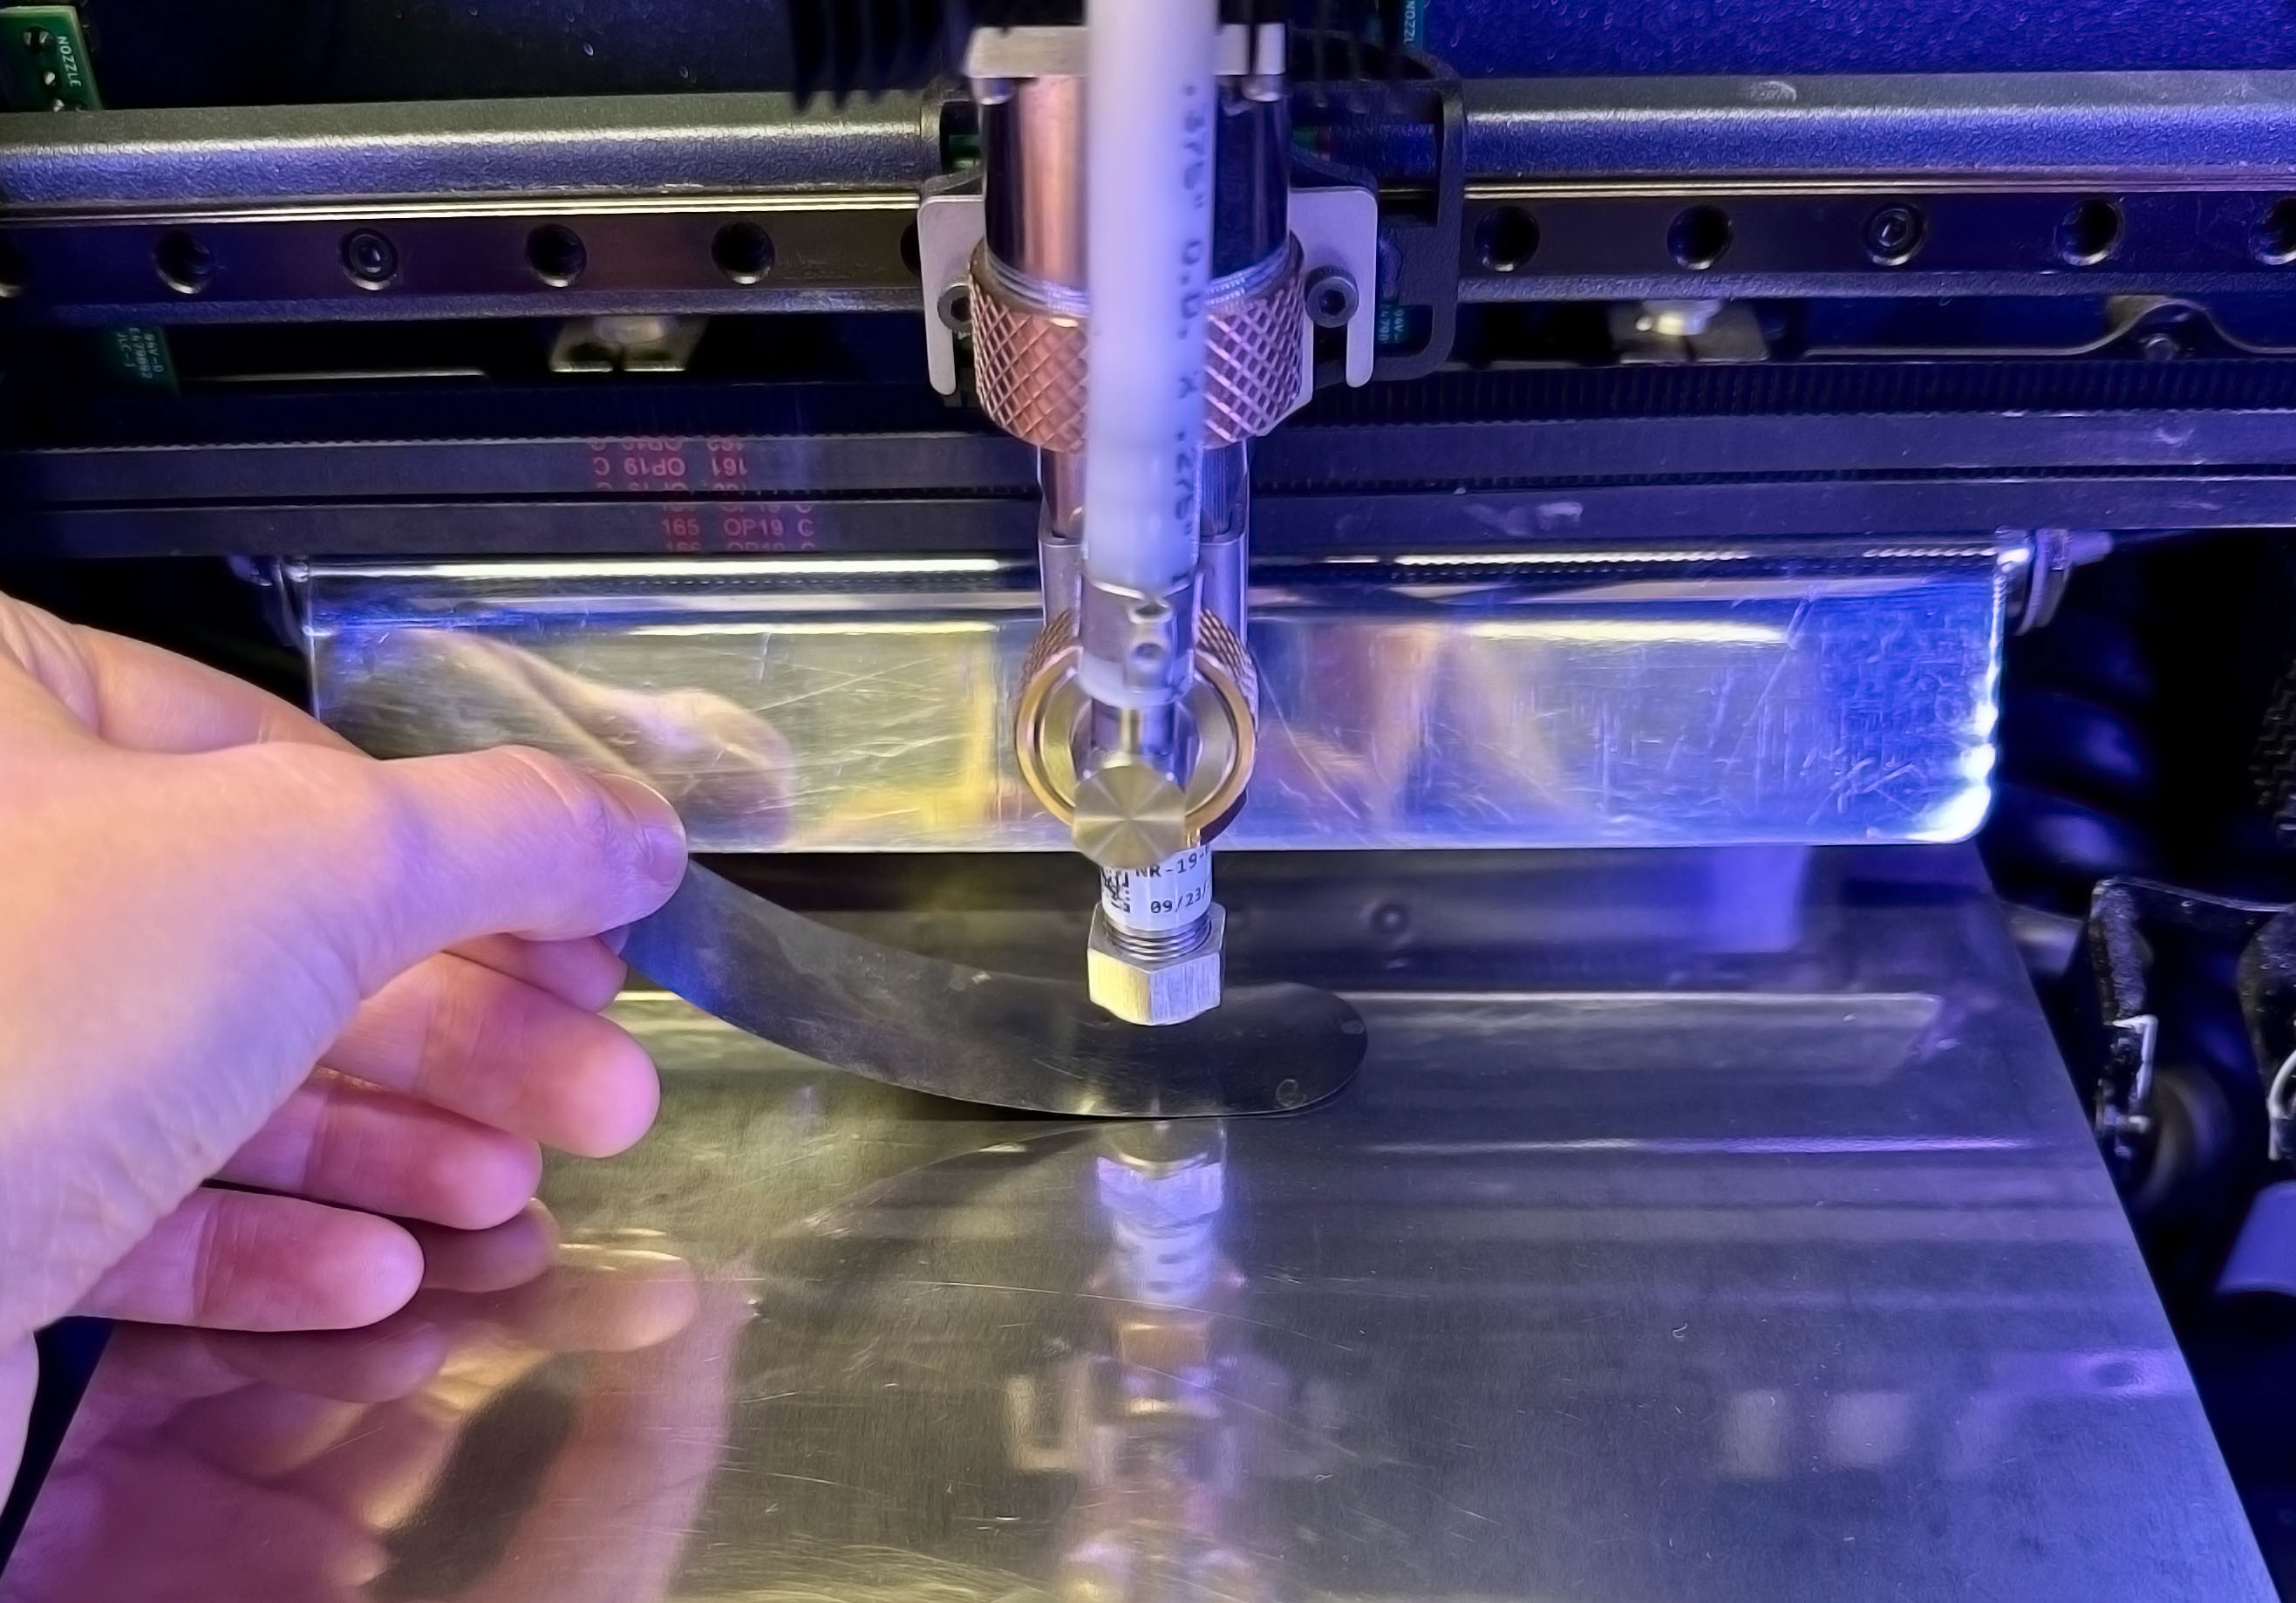
3. Using the knurled knob on the Z-axis lead screw, raise the bed so that a thin shim (included with the printer) or piece of paper swept between the bed and the nozzle is met with a small amount of resistance. Be careful not to apply any force to the bed by resting your hand on it, as this will affect the leveling process.
4. Without changing the bed height, slowly move the extruder forward and backward on the print bed while continuing to sweep the shim underneath the nozzle. If there is greater resistance when moving backwards, tighten both bed levelling screws on the right and left back corner equally, until the resistance feels even across the length of the bed. Likewise, if there is more resistance moving forwards, loosen both bed leveling screws.

5. After making adjustments to the leveling knob, use the knurled knob on the Z-axis lead screw to adjust the height of the bed to keep the resistance low at the middle of the bed.
6. Repeat the procedure while this time moving the extruder left to right on the bed. If the bed is high on the left or right, tighten the corresponding rear bed leveling screw to lower it slightly.
7. Repeat the process of moving the nozzle forward and backward, left and right, with the shim underneath until there is a consistent resistance when sweeping the shim across the entire span of the bed.