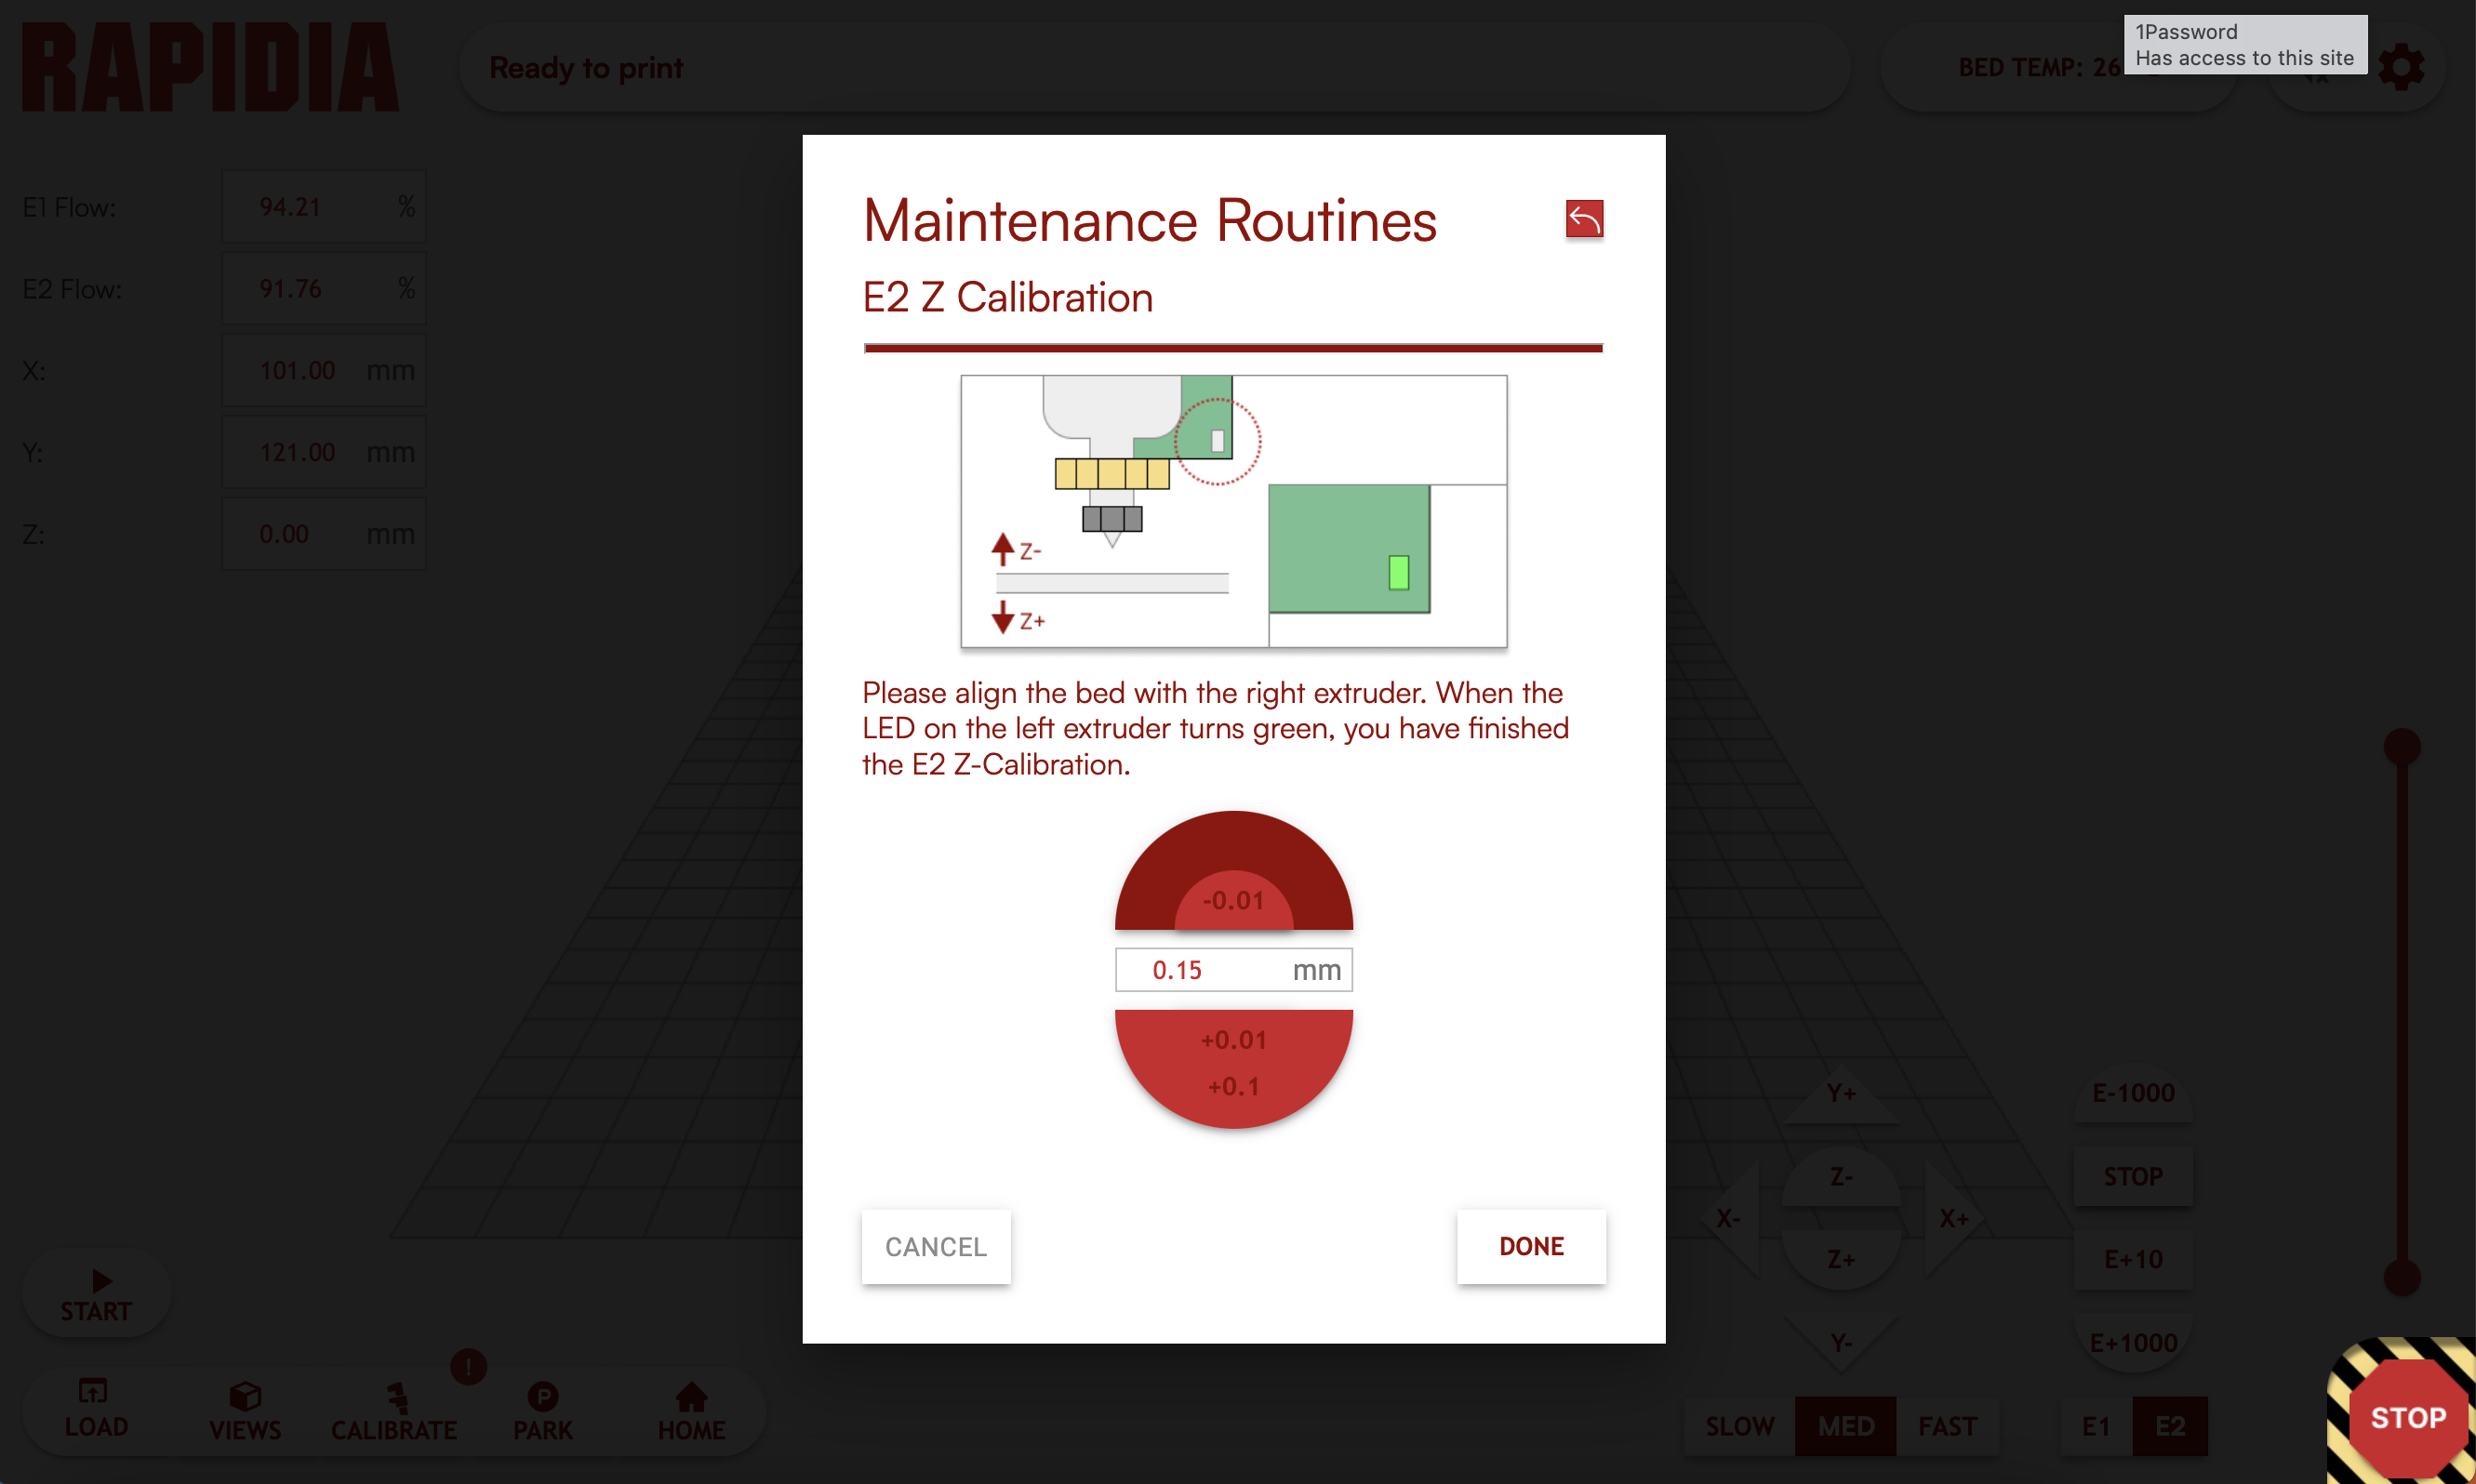
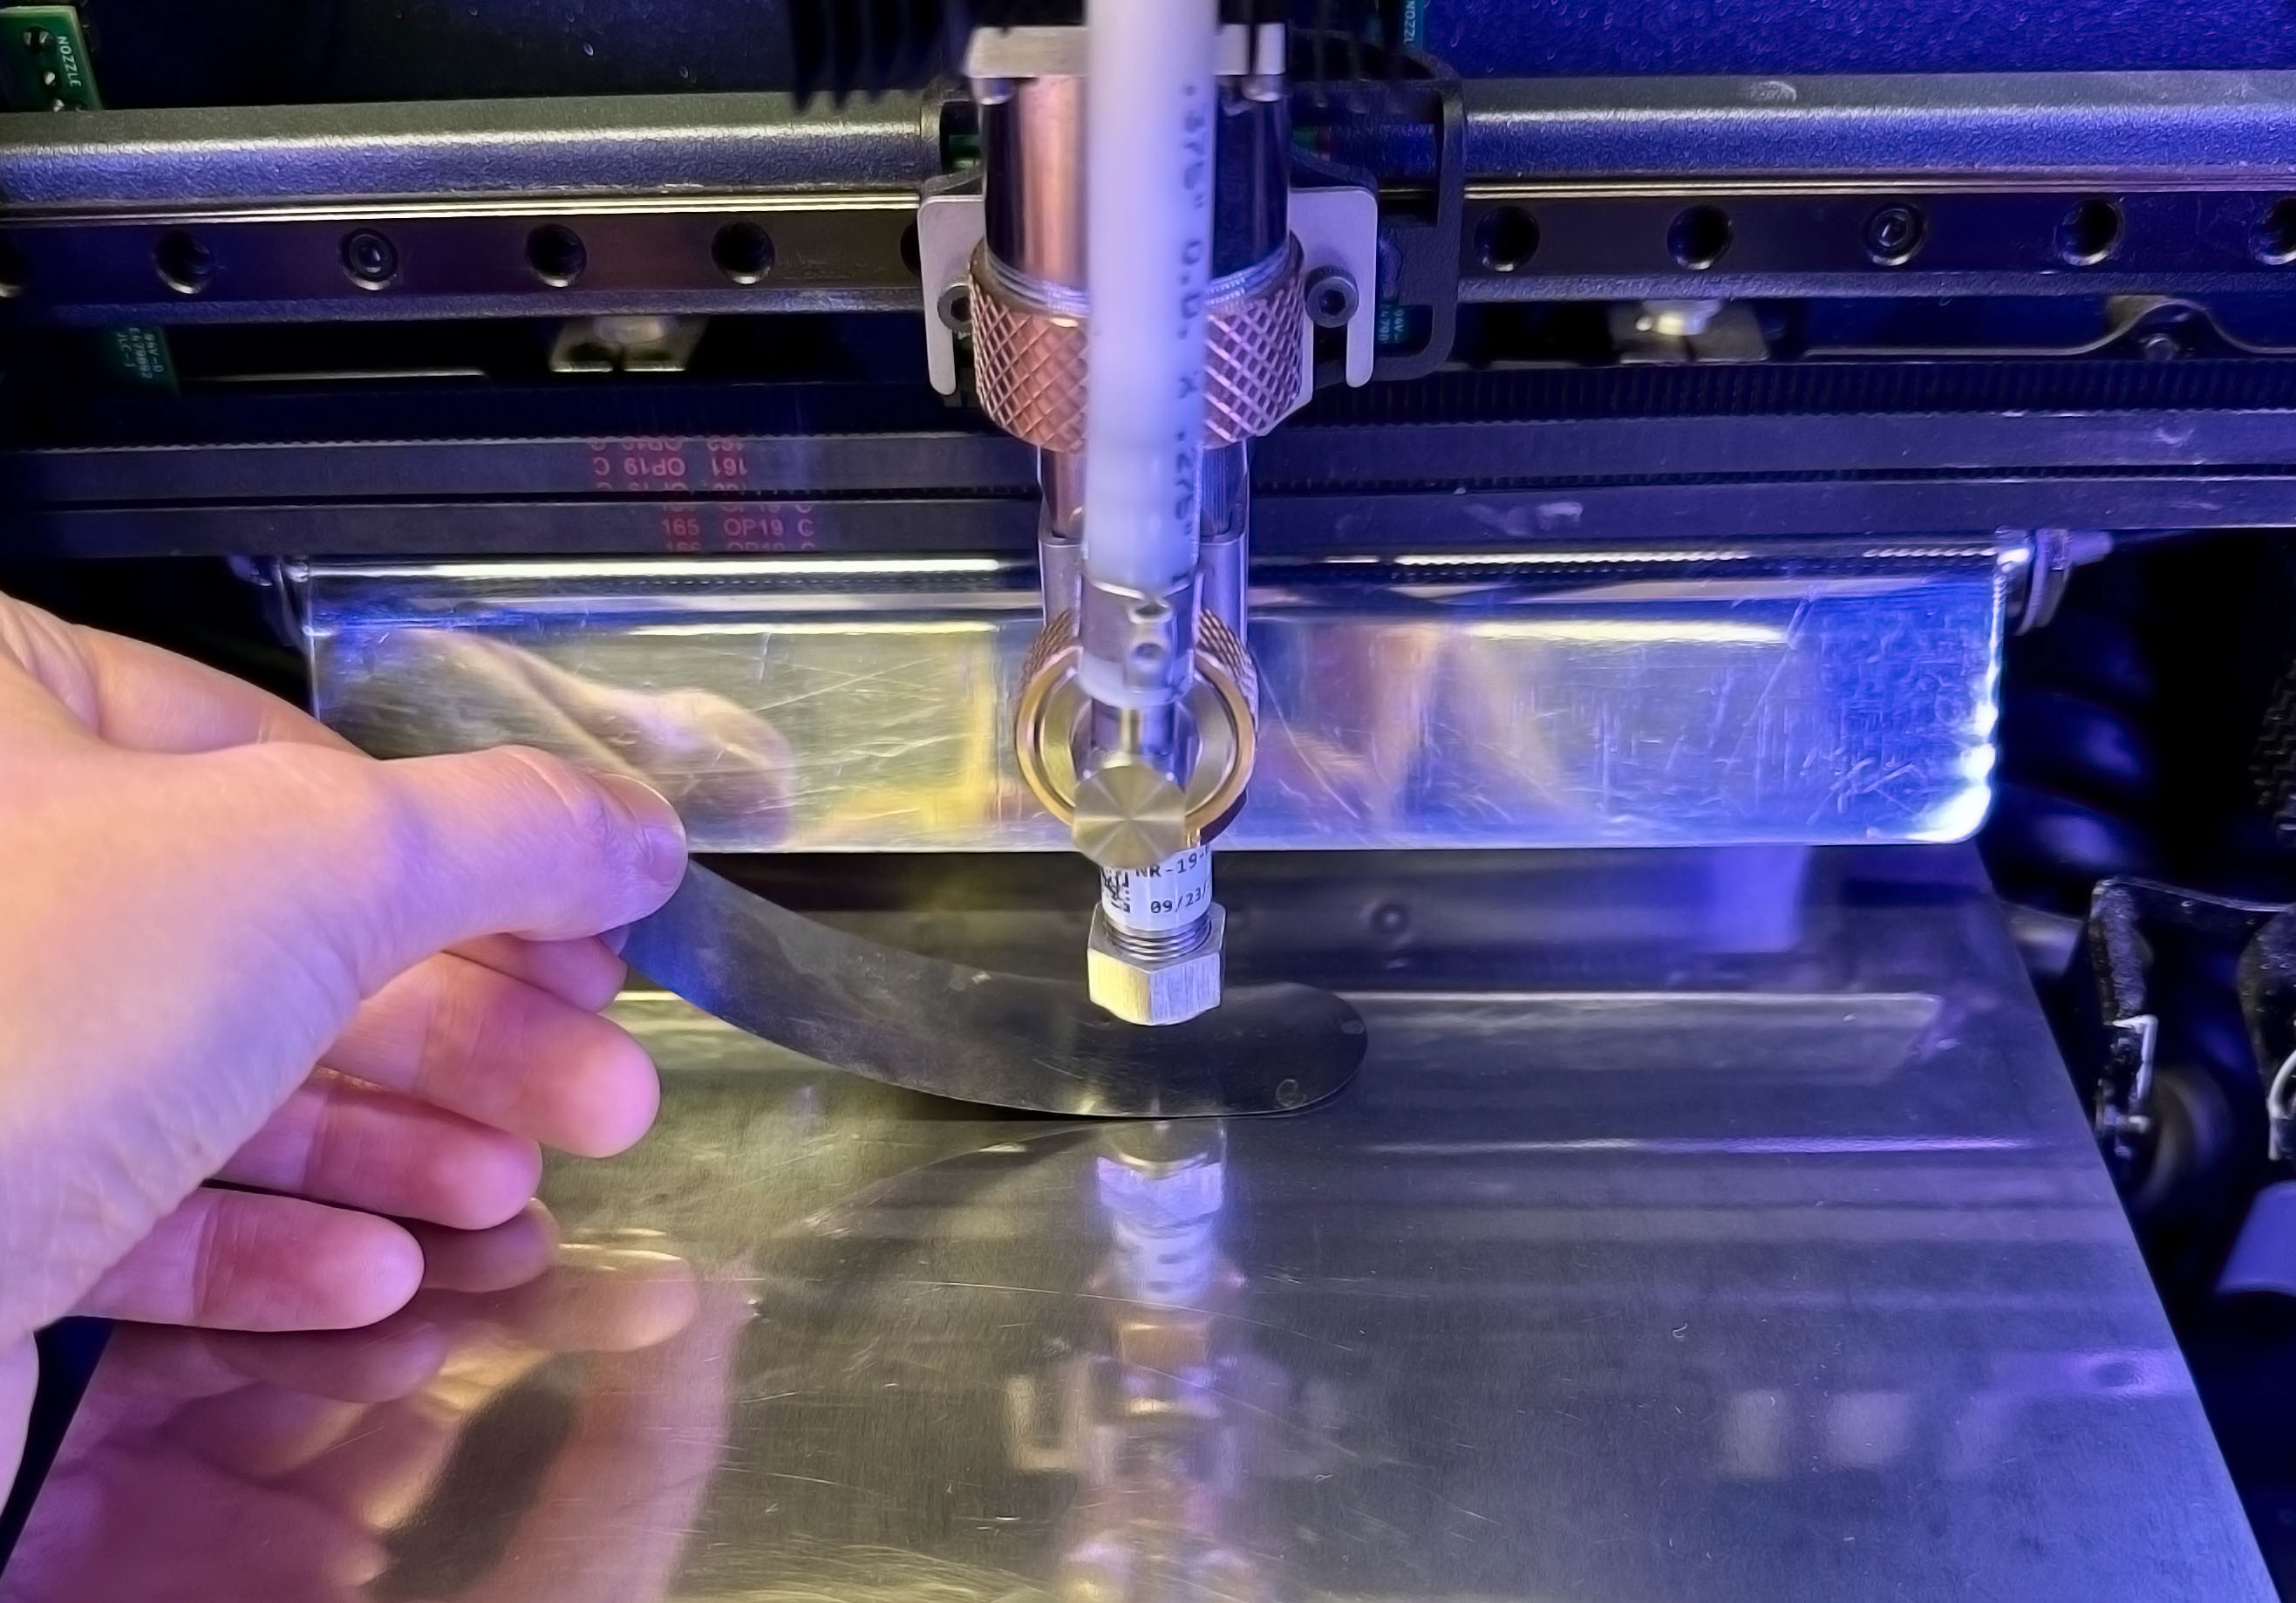
E2 Z Calibration determines the difference in height between E1 and E2, allowing the machine to place support material at the right height relative to the metal part. Before running the calibration, ensure that both nozzles are clean and clear of dried material by using the gauge wire tool. Lift the front of the build plate to touch the nozzle and look for a green light on the board behind E1 (will light for both extruders). If there is no light, there is a problem with the connection. Ensure that the nozzle, stator and screws mounting the extruder are snug, and check that the build plate shim is well centered on the bed and far enough back to be overtop of the post in the back left corner.
| Required Tools for this Routine |
|---|
| Shim |
| Nozzle Cleaning Tool |
How-To
1. In the calibration menu, select E2 Z calibration and allow the routine to run. The printer will first home with E1 and then use E2 to detect the bed at the same location. Watch to ensure that the nozzle doesn’t press into the bed. If it does, this is an indication that either the nozzle is not clean, or that some component in the conductive path is loose (nozzle, paste extruder mount).

2. Double check that the nozzle has detected the bed level accurately by moving the nozzle up and down 0.01mm. Raise the nozzle by 0.01mm steps until the detection light on E1 is off, then move the nozzle down by 0.01mm until the light turns on again. There should be very little if any tension between the nozzle and the bed.

3. Select DONE in the dialog. The calibration is complete. Notice that the Z offset for the recently calibrated extruder has been updated in the calibration menu.