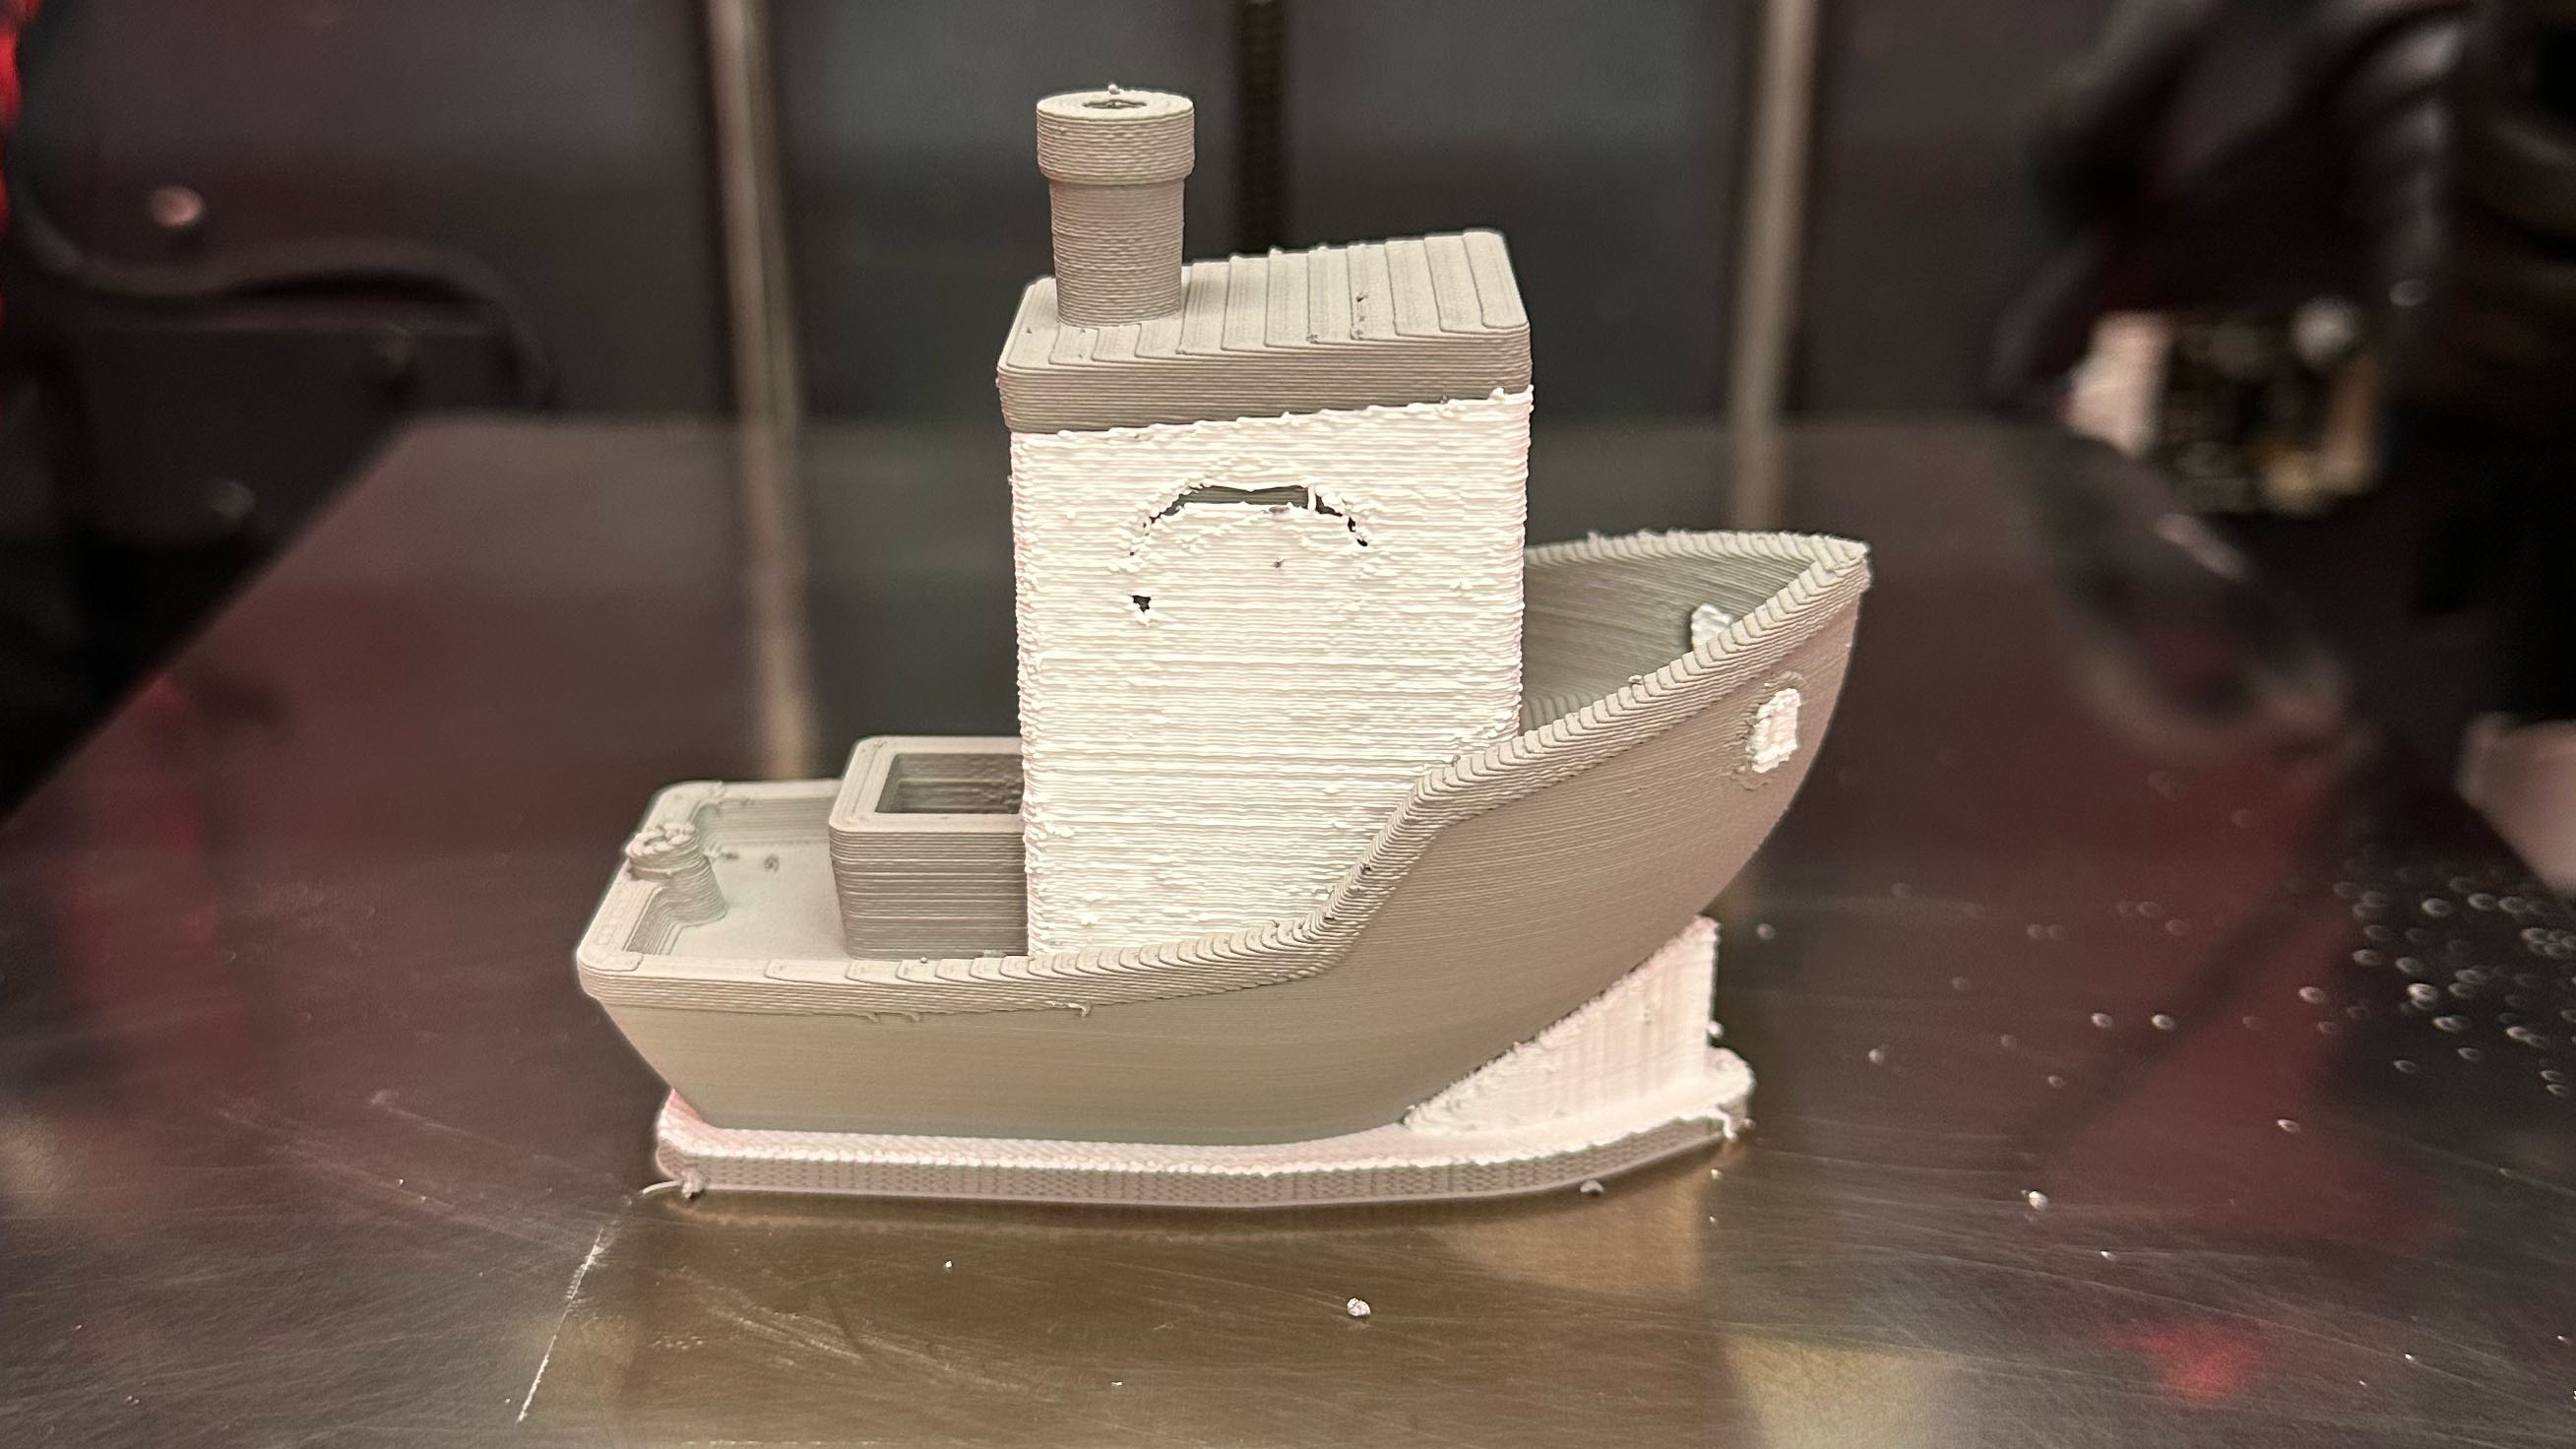
¶ Edge Case Slicing Knowledge: Faulty Support Towers
The 3DBenchy is designed for testing the accuracy and capabilities of 3D printers and a great design to walk through each step from slicing to printing.
For this demonstration we are using Rapidia Cura 5.1.3.
If you are not sure which version you currently have installed, check under 'Help" - “About” .To follow along and test printing the 3DBenchy yourself, download files here:
STL: /demo parts/3dbenchy.stl.zip
3mf: /demo parts/rapidiacura_3dbenchy.3mf.zip
gcode: /demo parts/rapidiacura_3dbenchy.gcode.zip
- Geometry
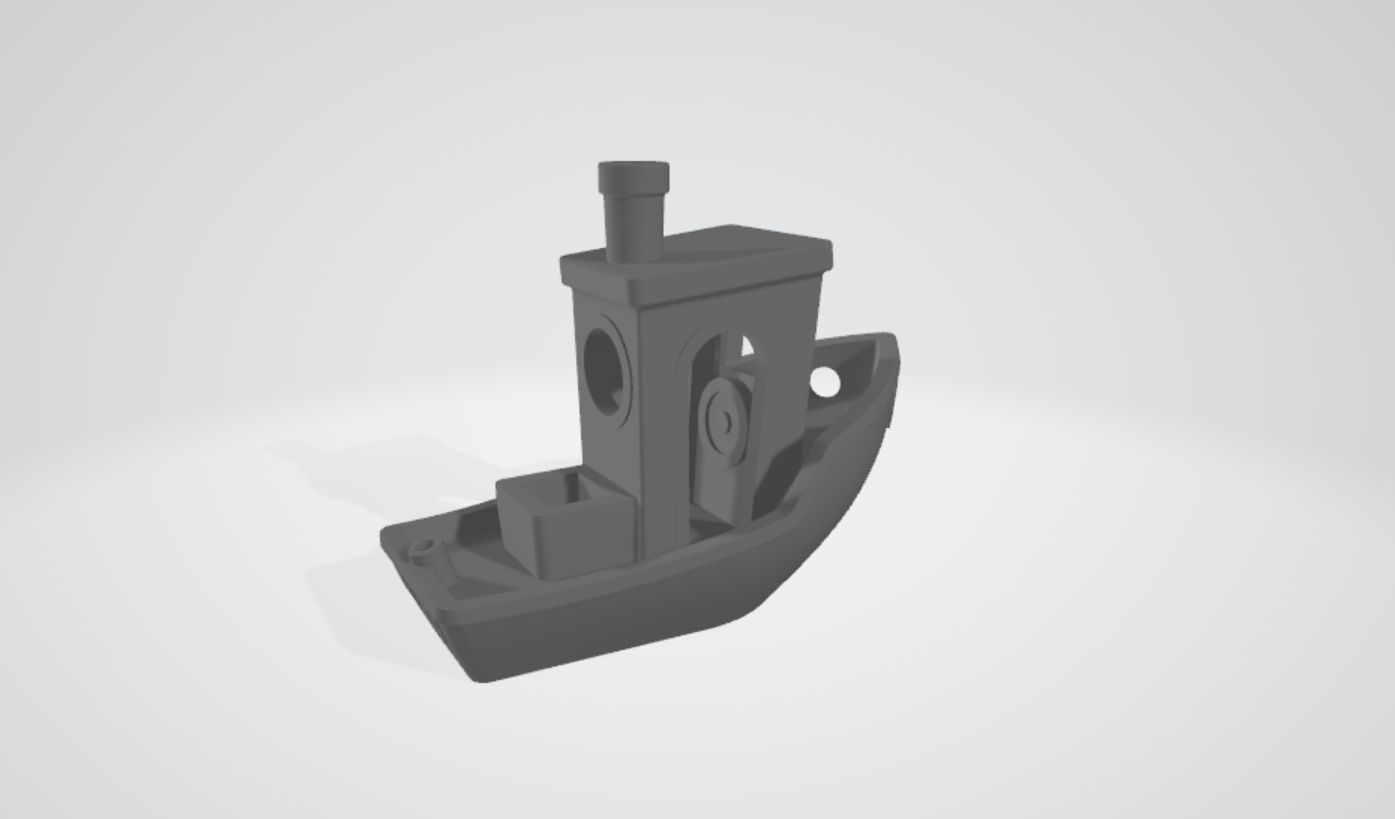
As a readily available design, make sure to have the CAD file as STL. You can download the file here:
Look at the part and try to determine areas that will need extra support, such as large open areas or overhangs. Visit our Slicing Guide to learn more.
- Slicing
Open the STL in Rapidia Cura. Make sure to have your settings set to default. Alterations from previous projects might be remembered by the software. To restore default settings you have 3 options. You can either a) go to recommended view and click the ‘reset" arrow in the pop-up message or b) go to custom view and click the ’reset' arrow next to drop down for material profiles, or reselect your preferred profile which will ask you to return to default settings.
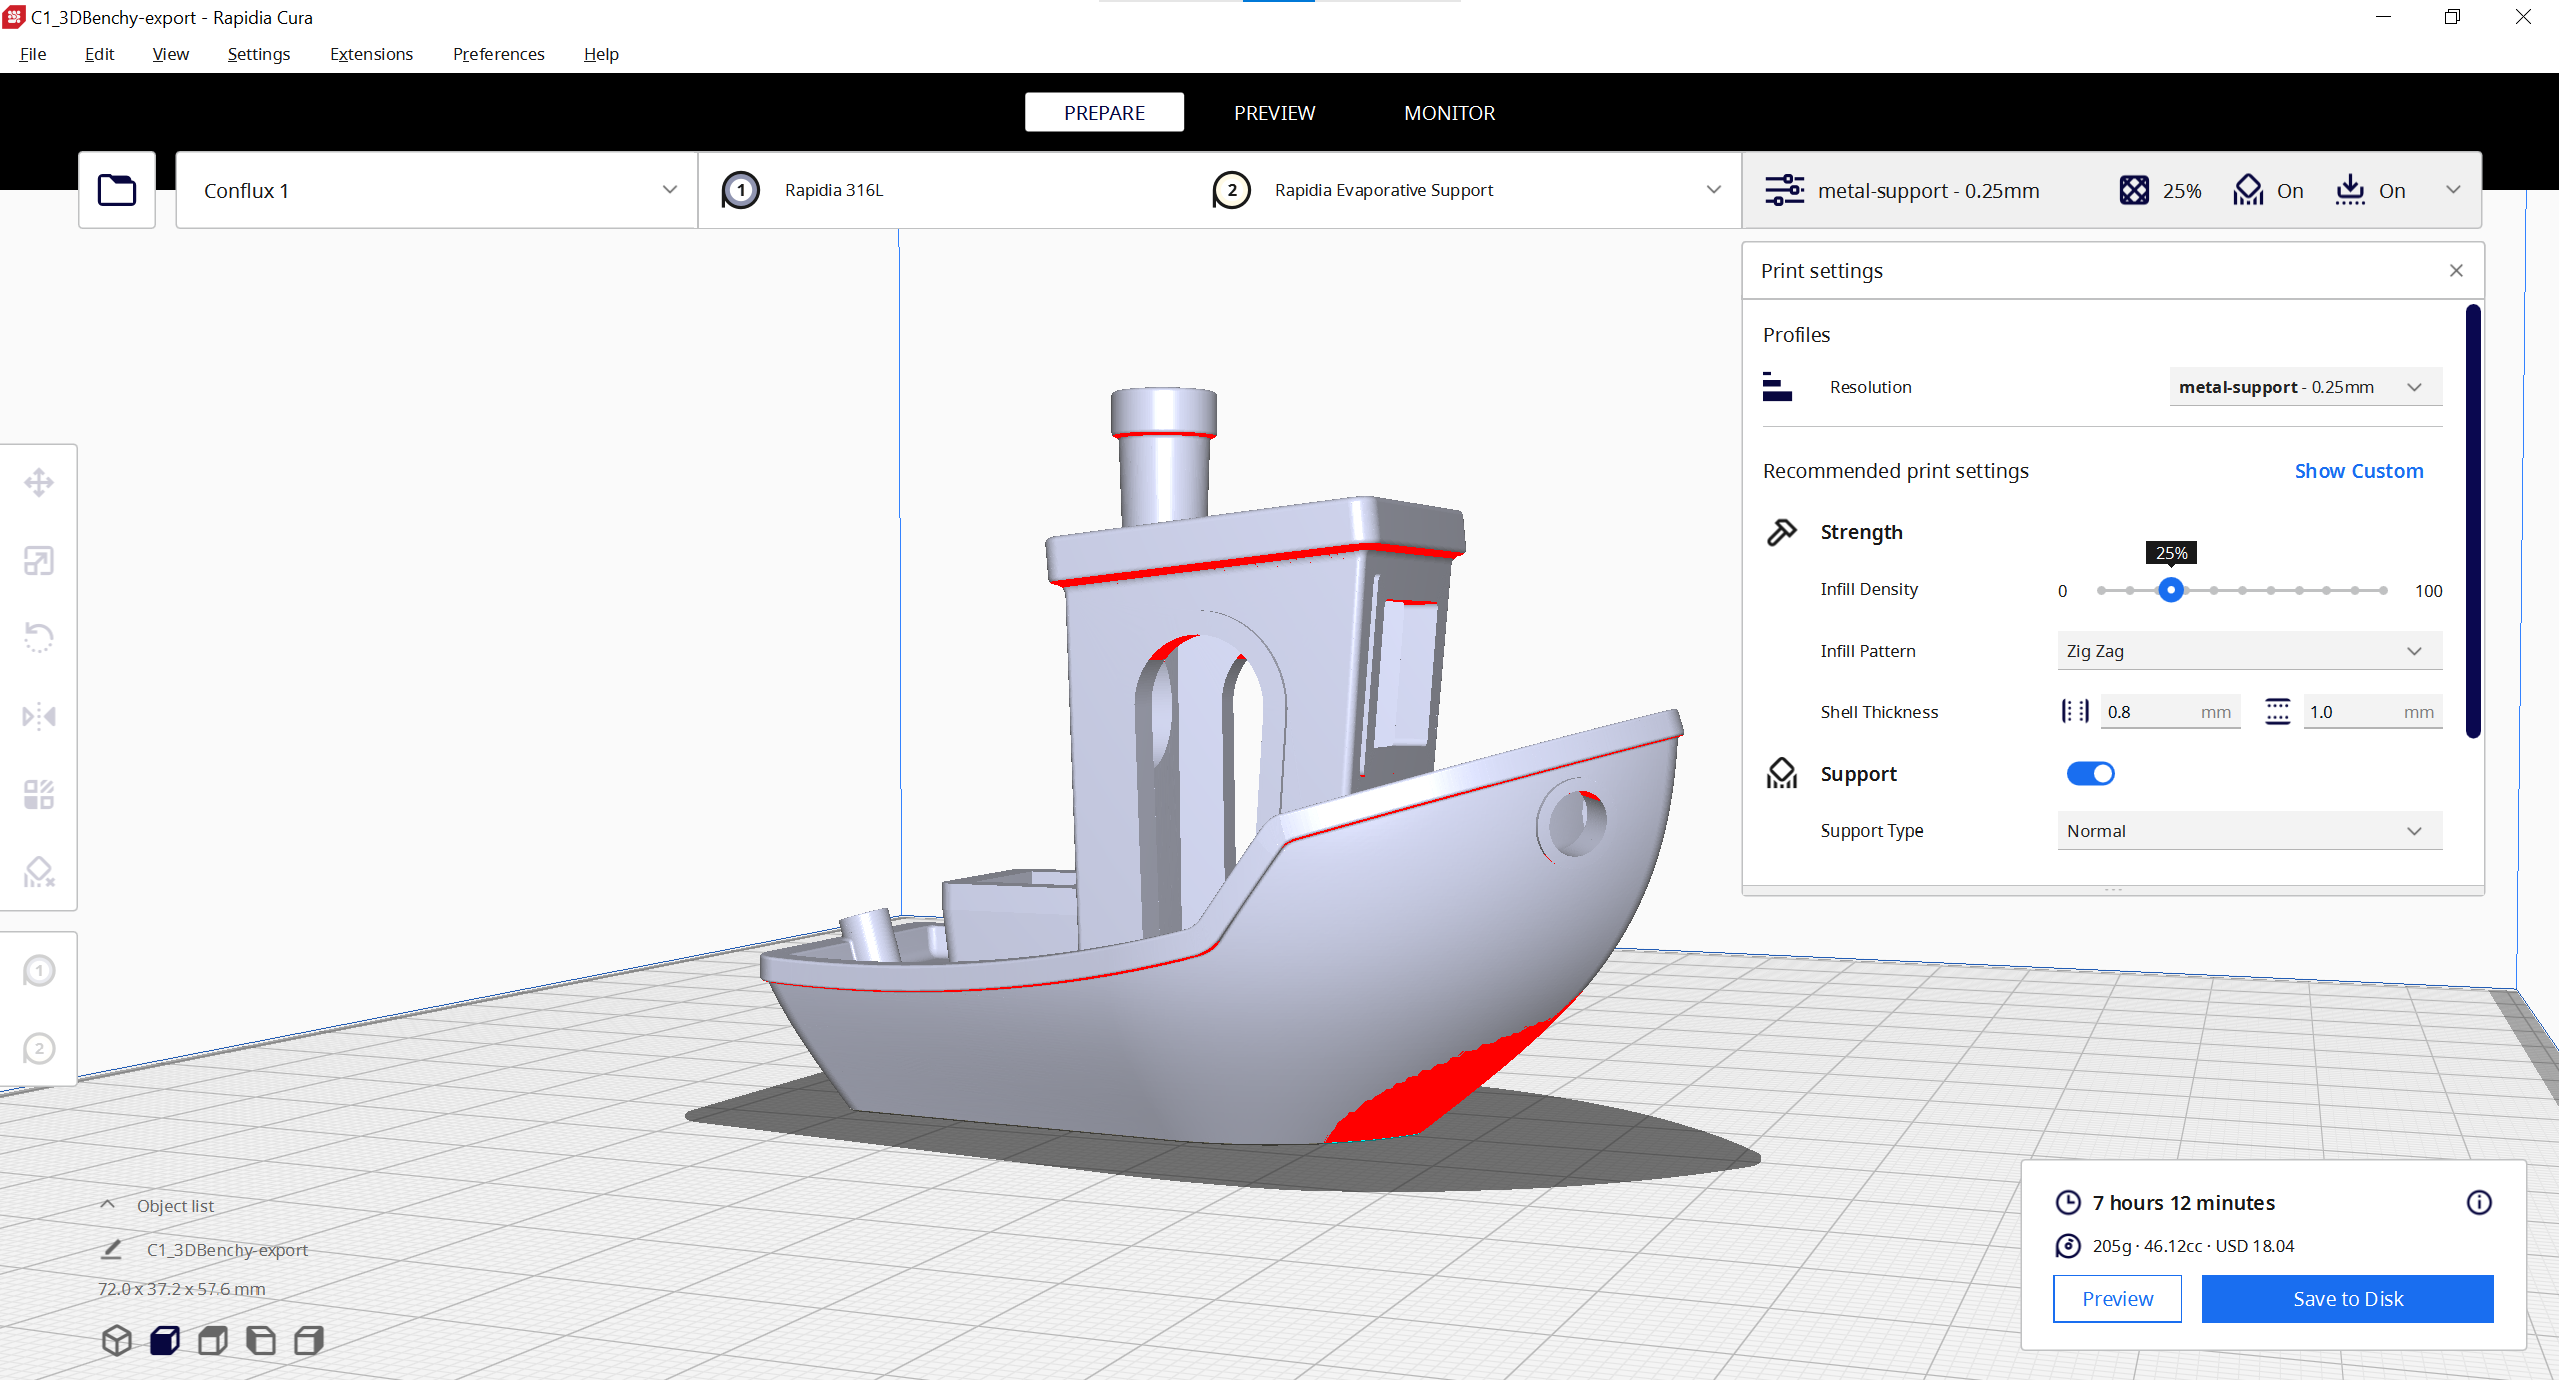
Load your STL. Rapidia Cura will highlight problem areas in red as seen here:
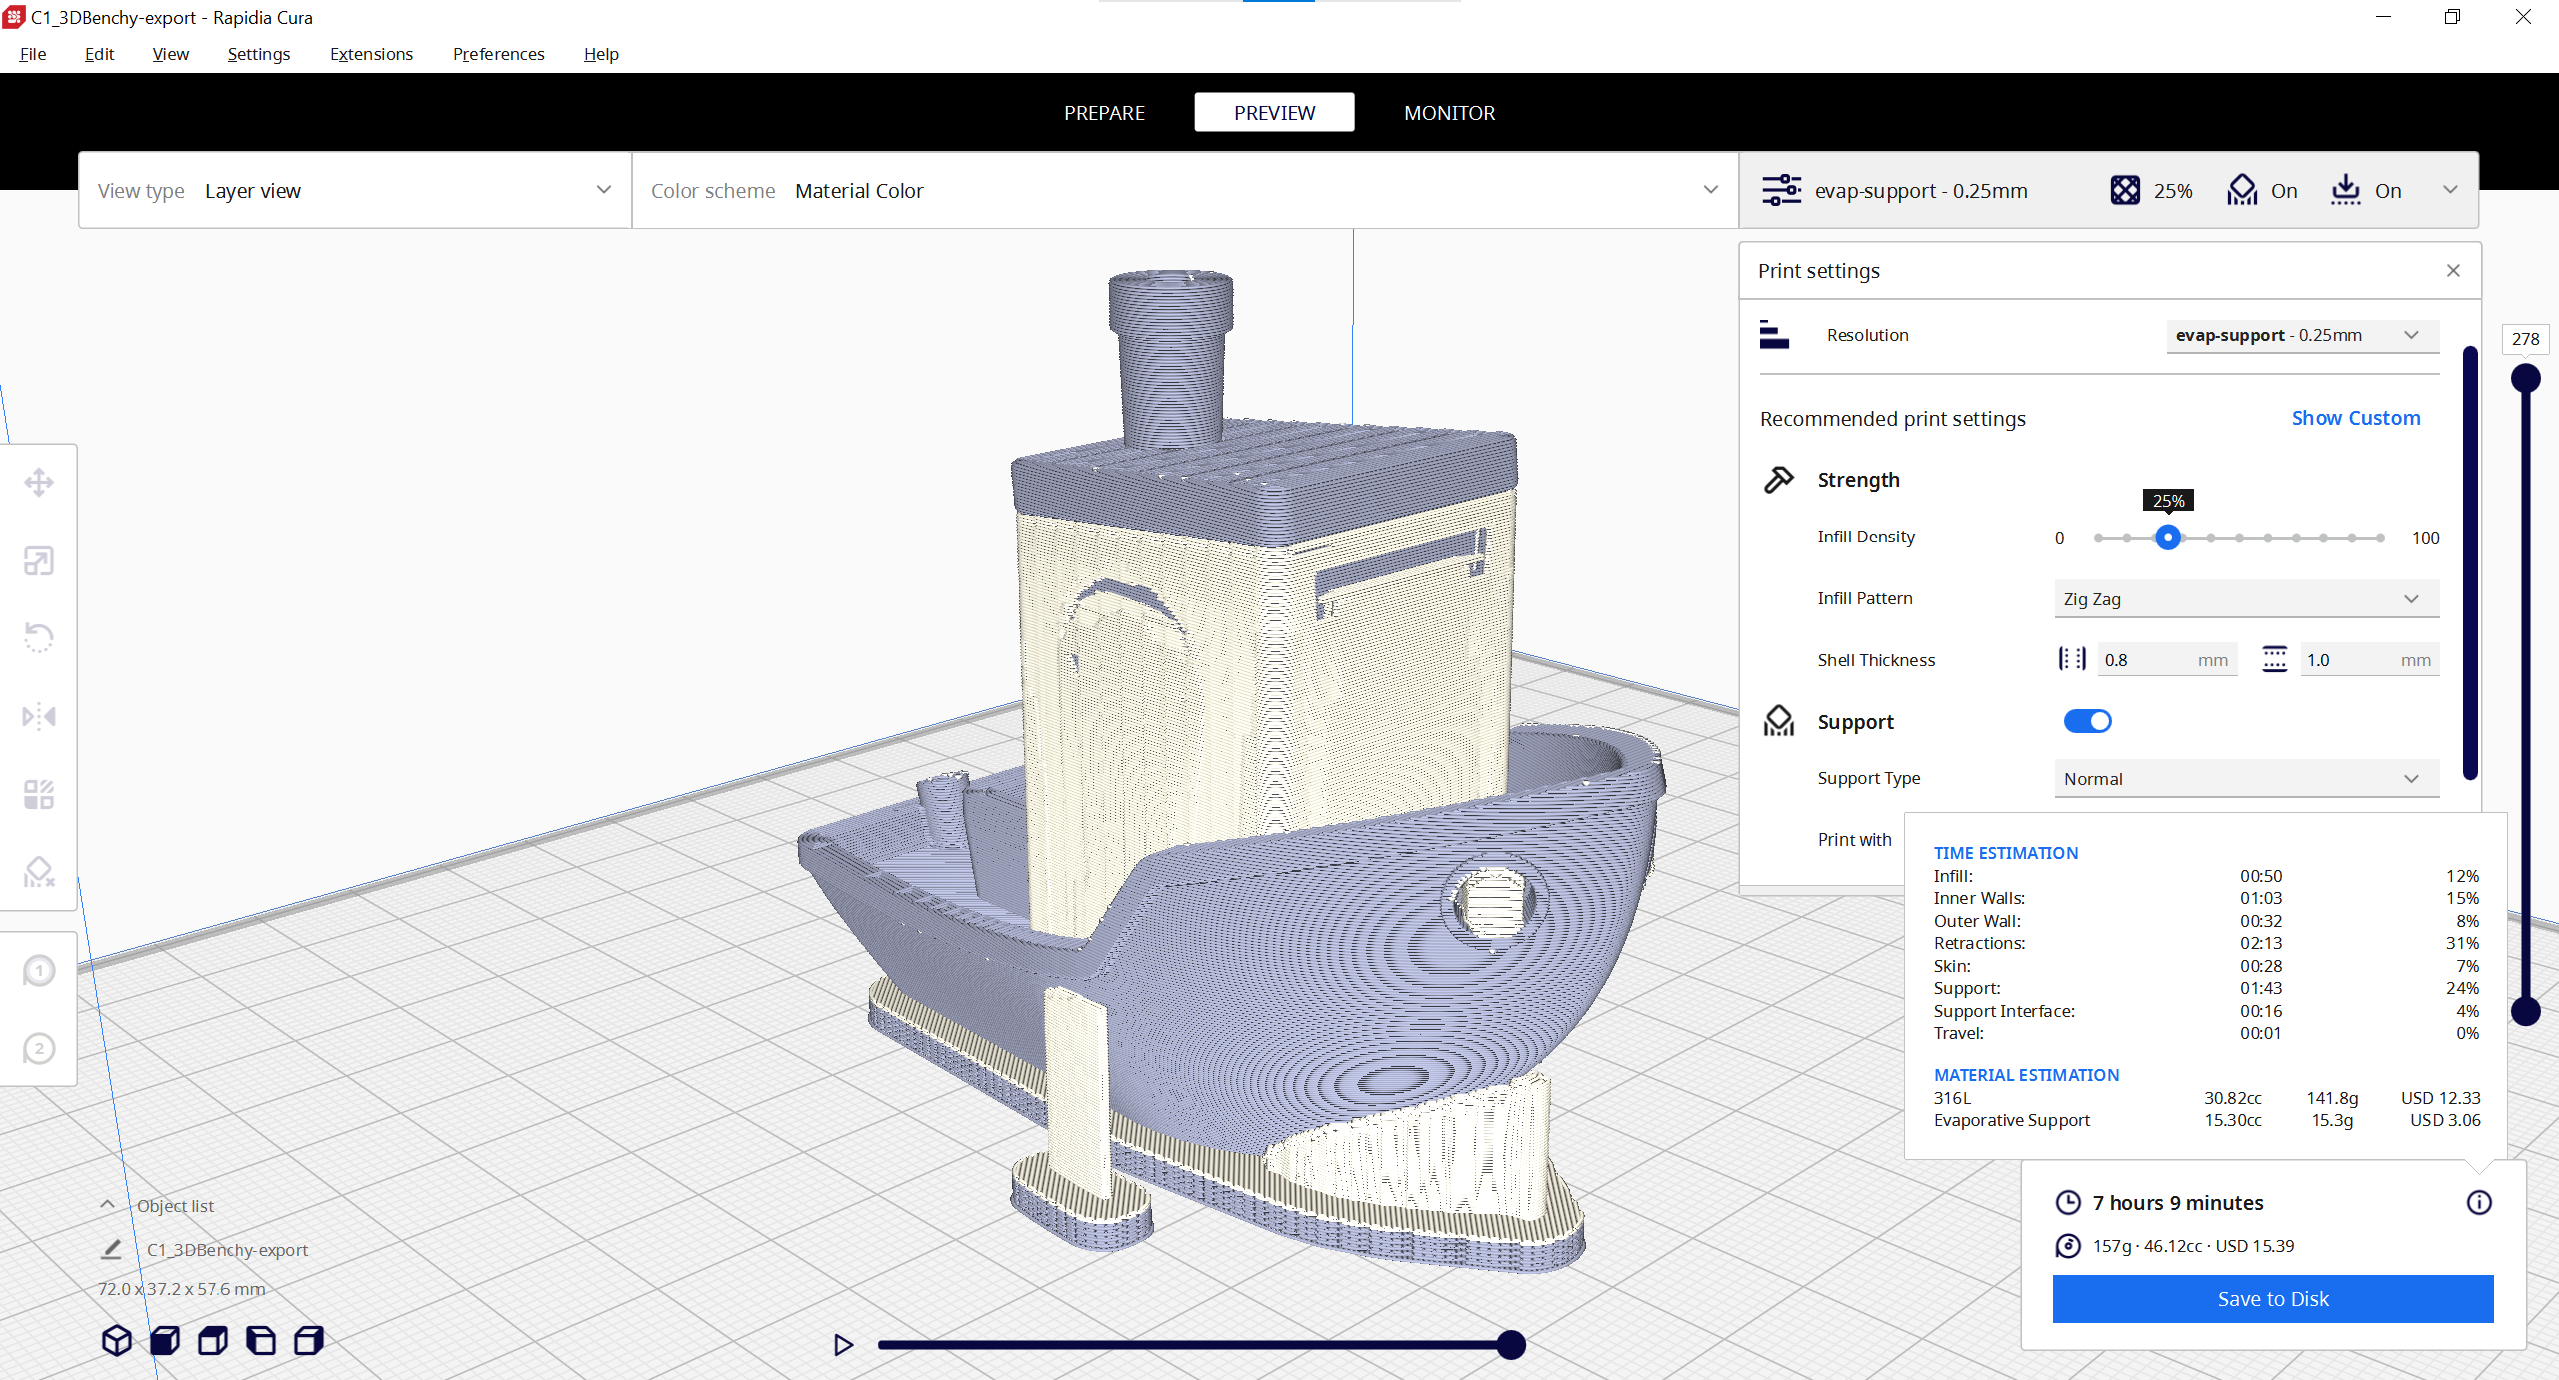
Slicing the 3DBenchy with the default settings will look like this:
Problem:
The generated towers of support material are a defect of Cura's best attempt to optimize this specific geometry. We can quickly determine that this attempt is unnecessary for our part by seeing that:
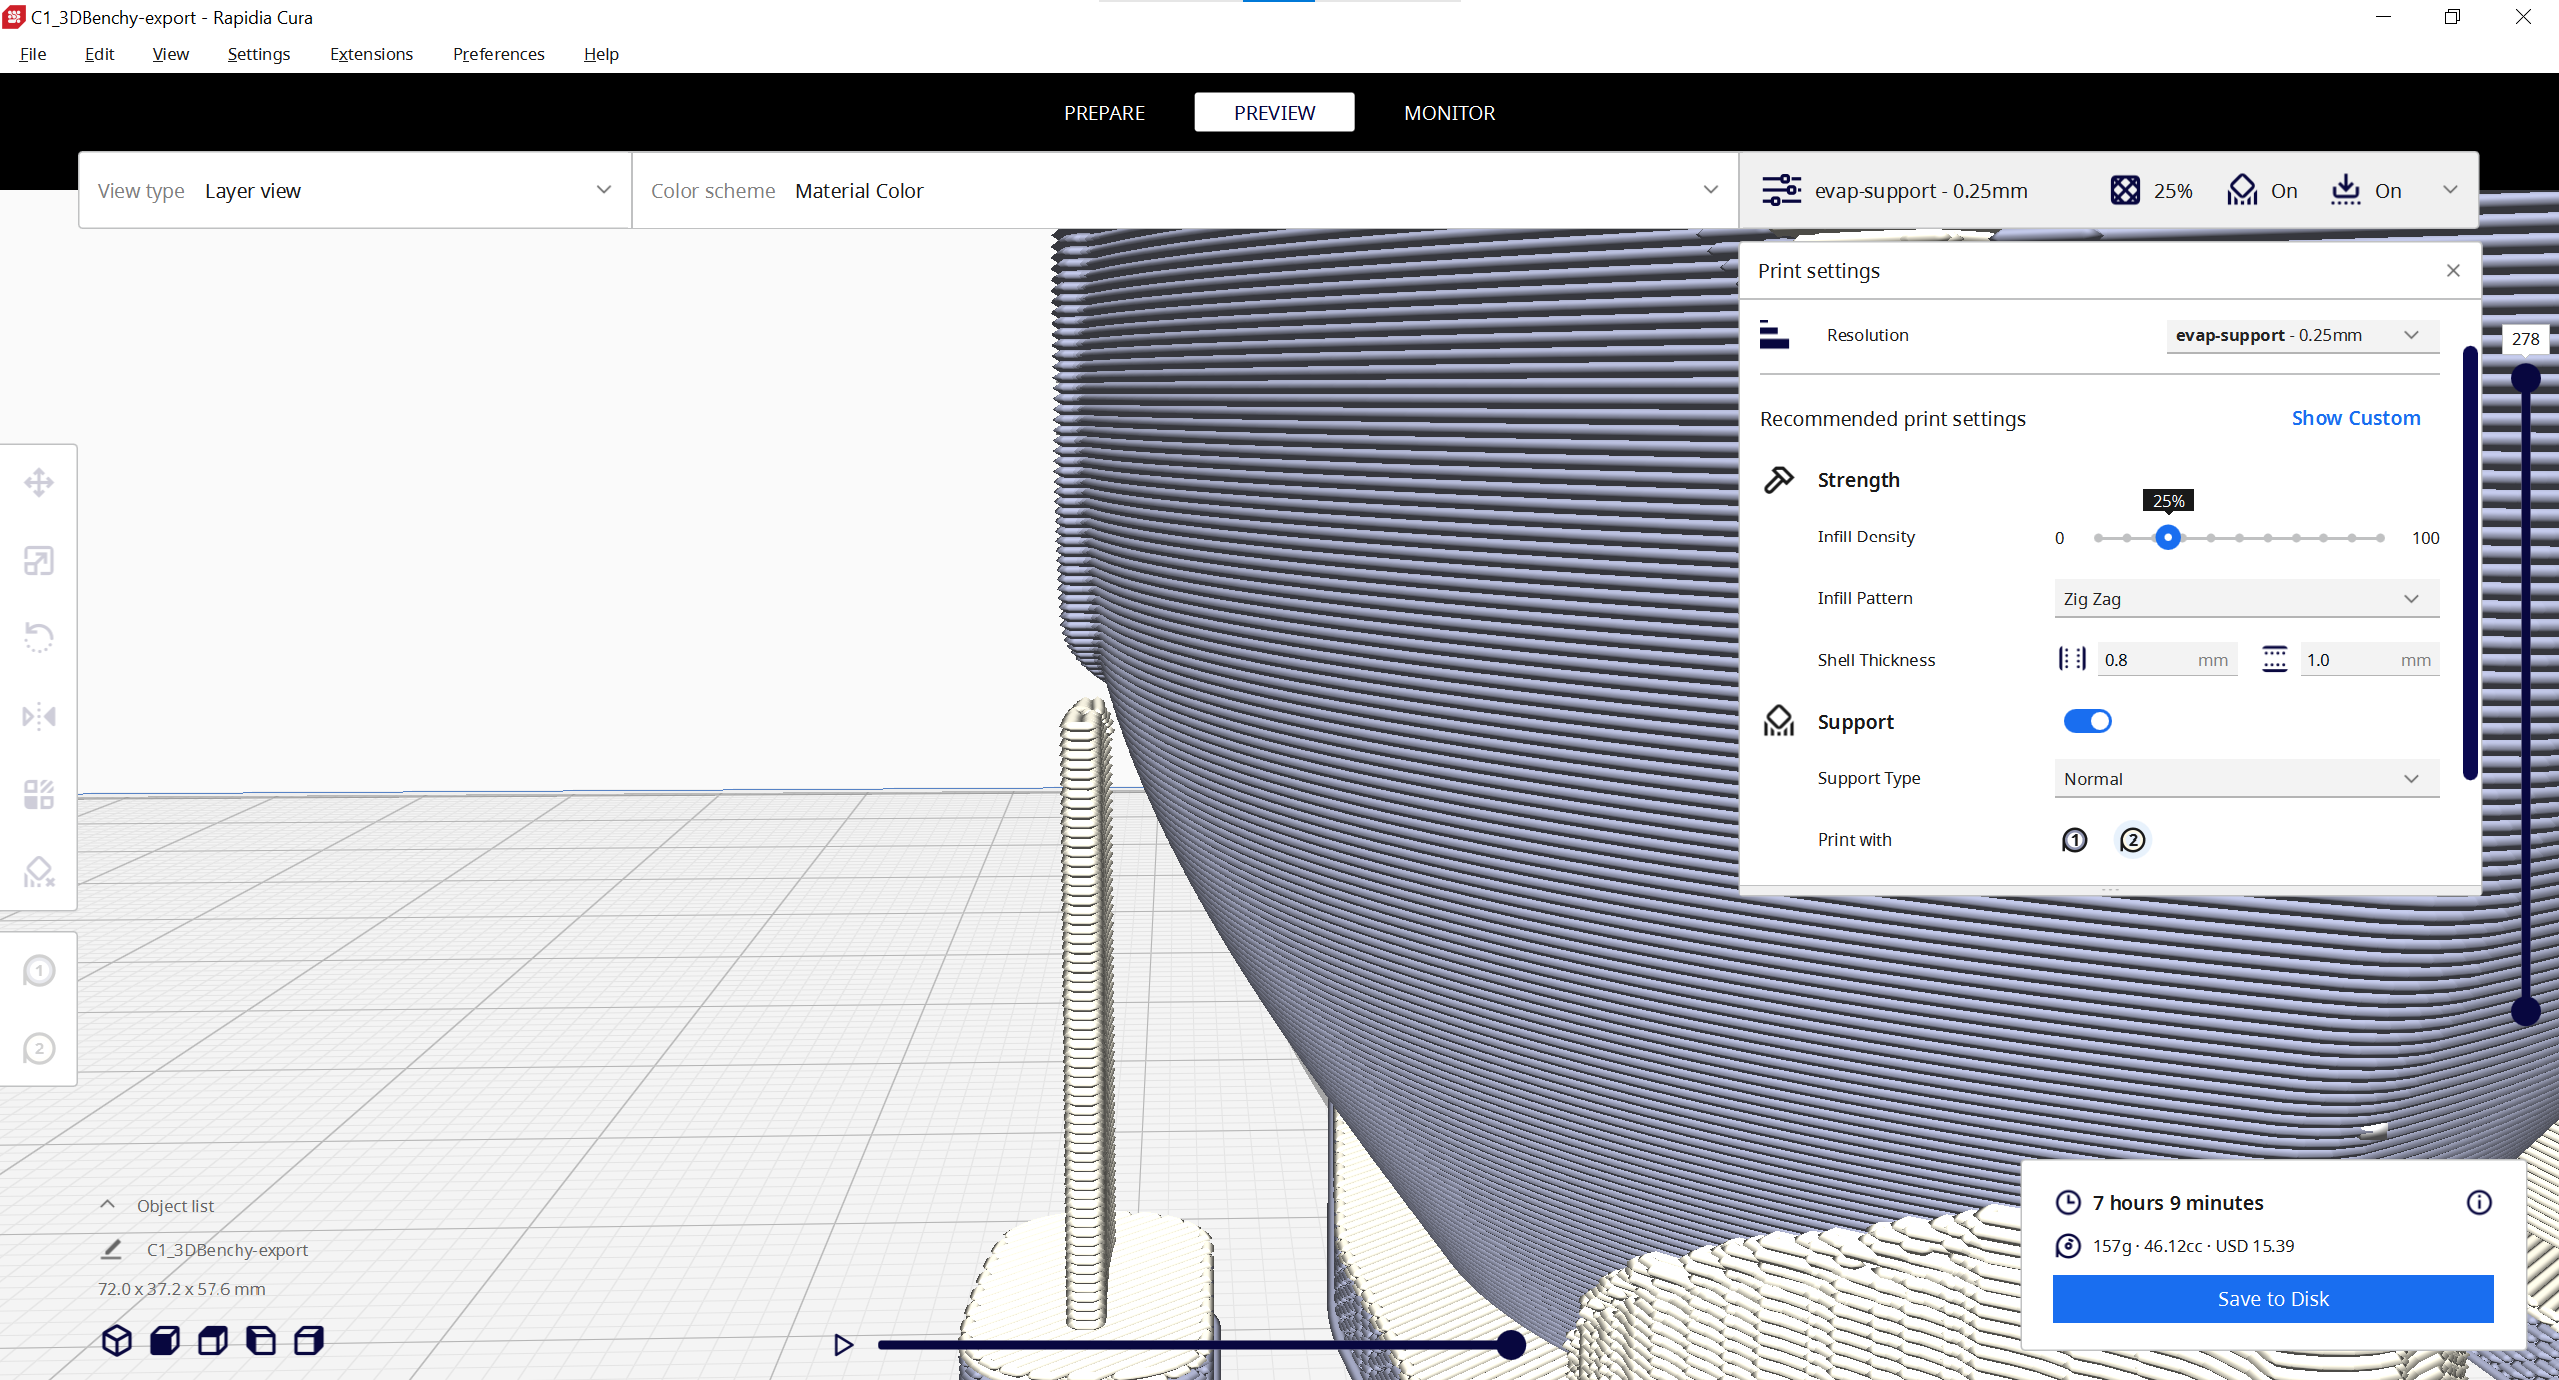
The aspect ratio is too great (~65 layers tall and 1 wall thickness contour = 16.25mm tall and 0.8mm wide = 20:1 height to width)
- It's not generating an interface layer between the support tower and the actual part. it will not support the part even if the tower prints correctly
- Although it's technically unsupported (red highlighting visible) there is sufficient support from layers below that it should not sag.
Solution:
There are a couple ways to tackle this.
- Adjust the support generation settings (like "Minimum Support Area") to prevent Cura from generating these towers in the first place. This requires more slicing knowledge (going into 'custom' slicing settings, knowing which setting to change) and will not work for every part / every section of the part. We recommend option 2.
- Use a support blocker to suppress the generated support structure. The blocker will only need to intersect and not cover the full problem area.
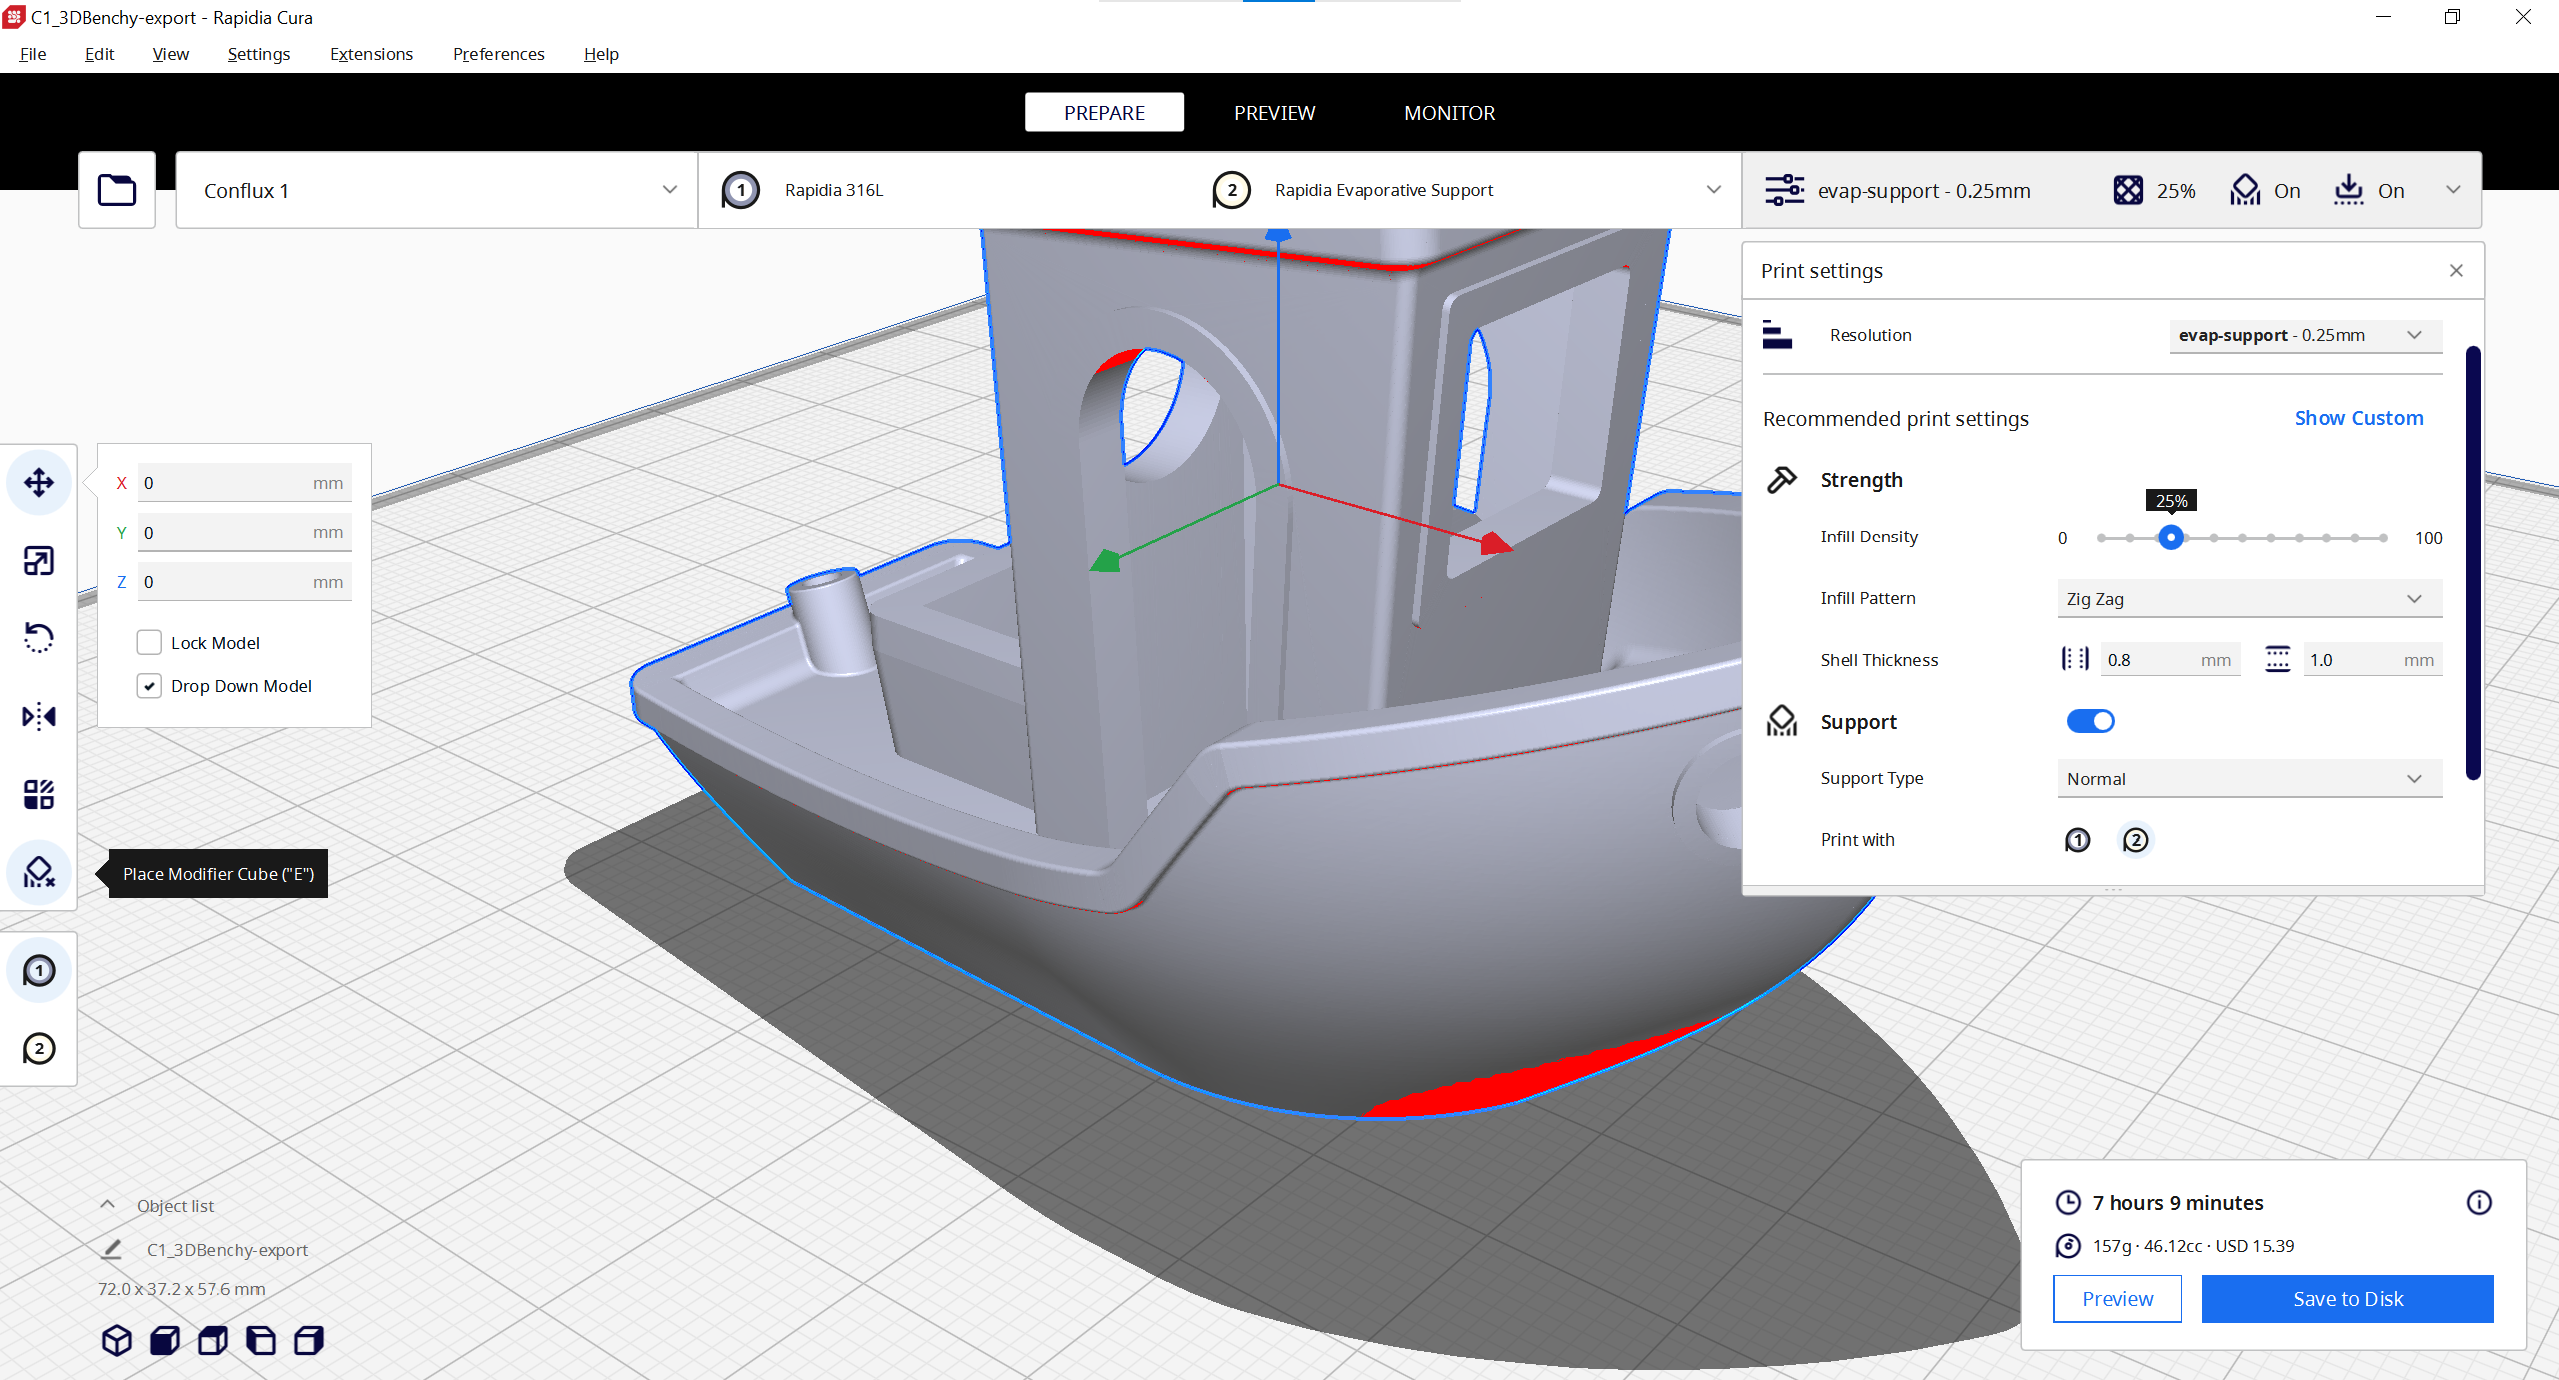
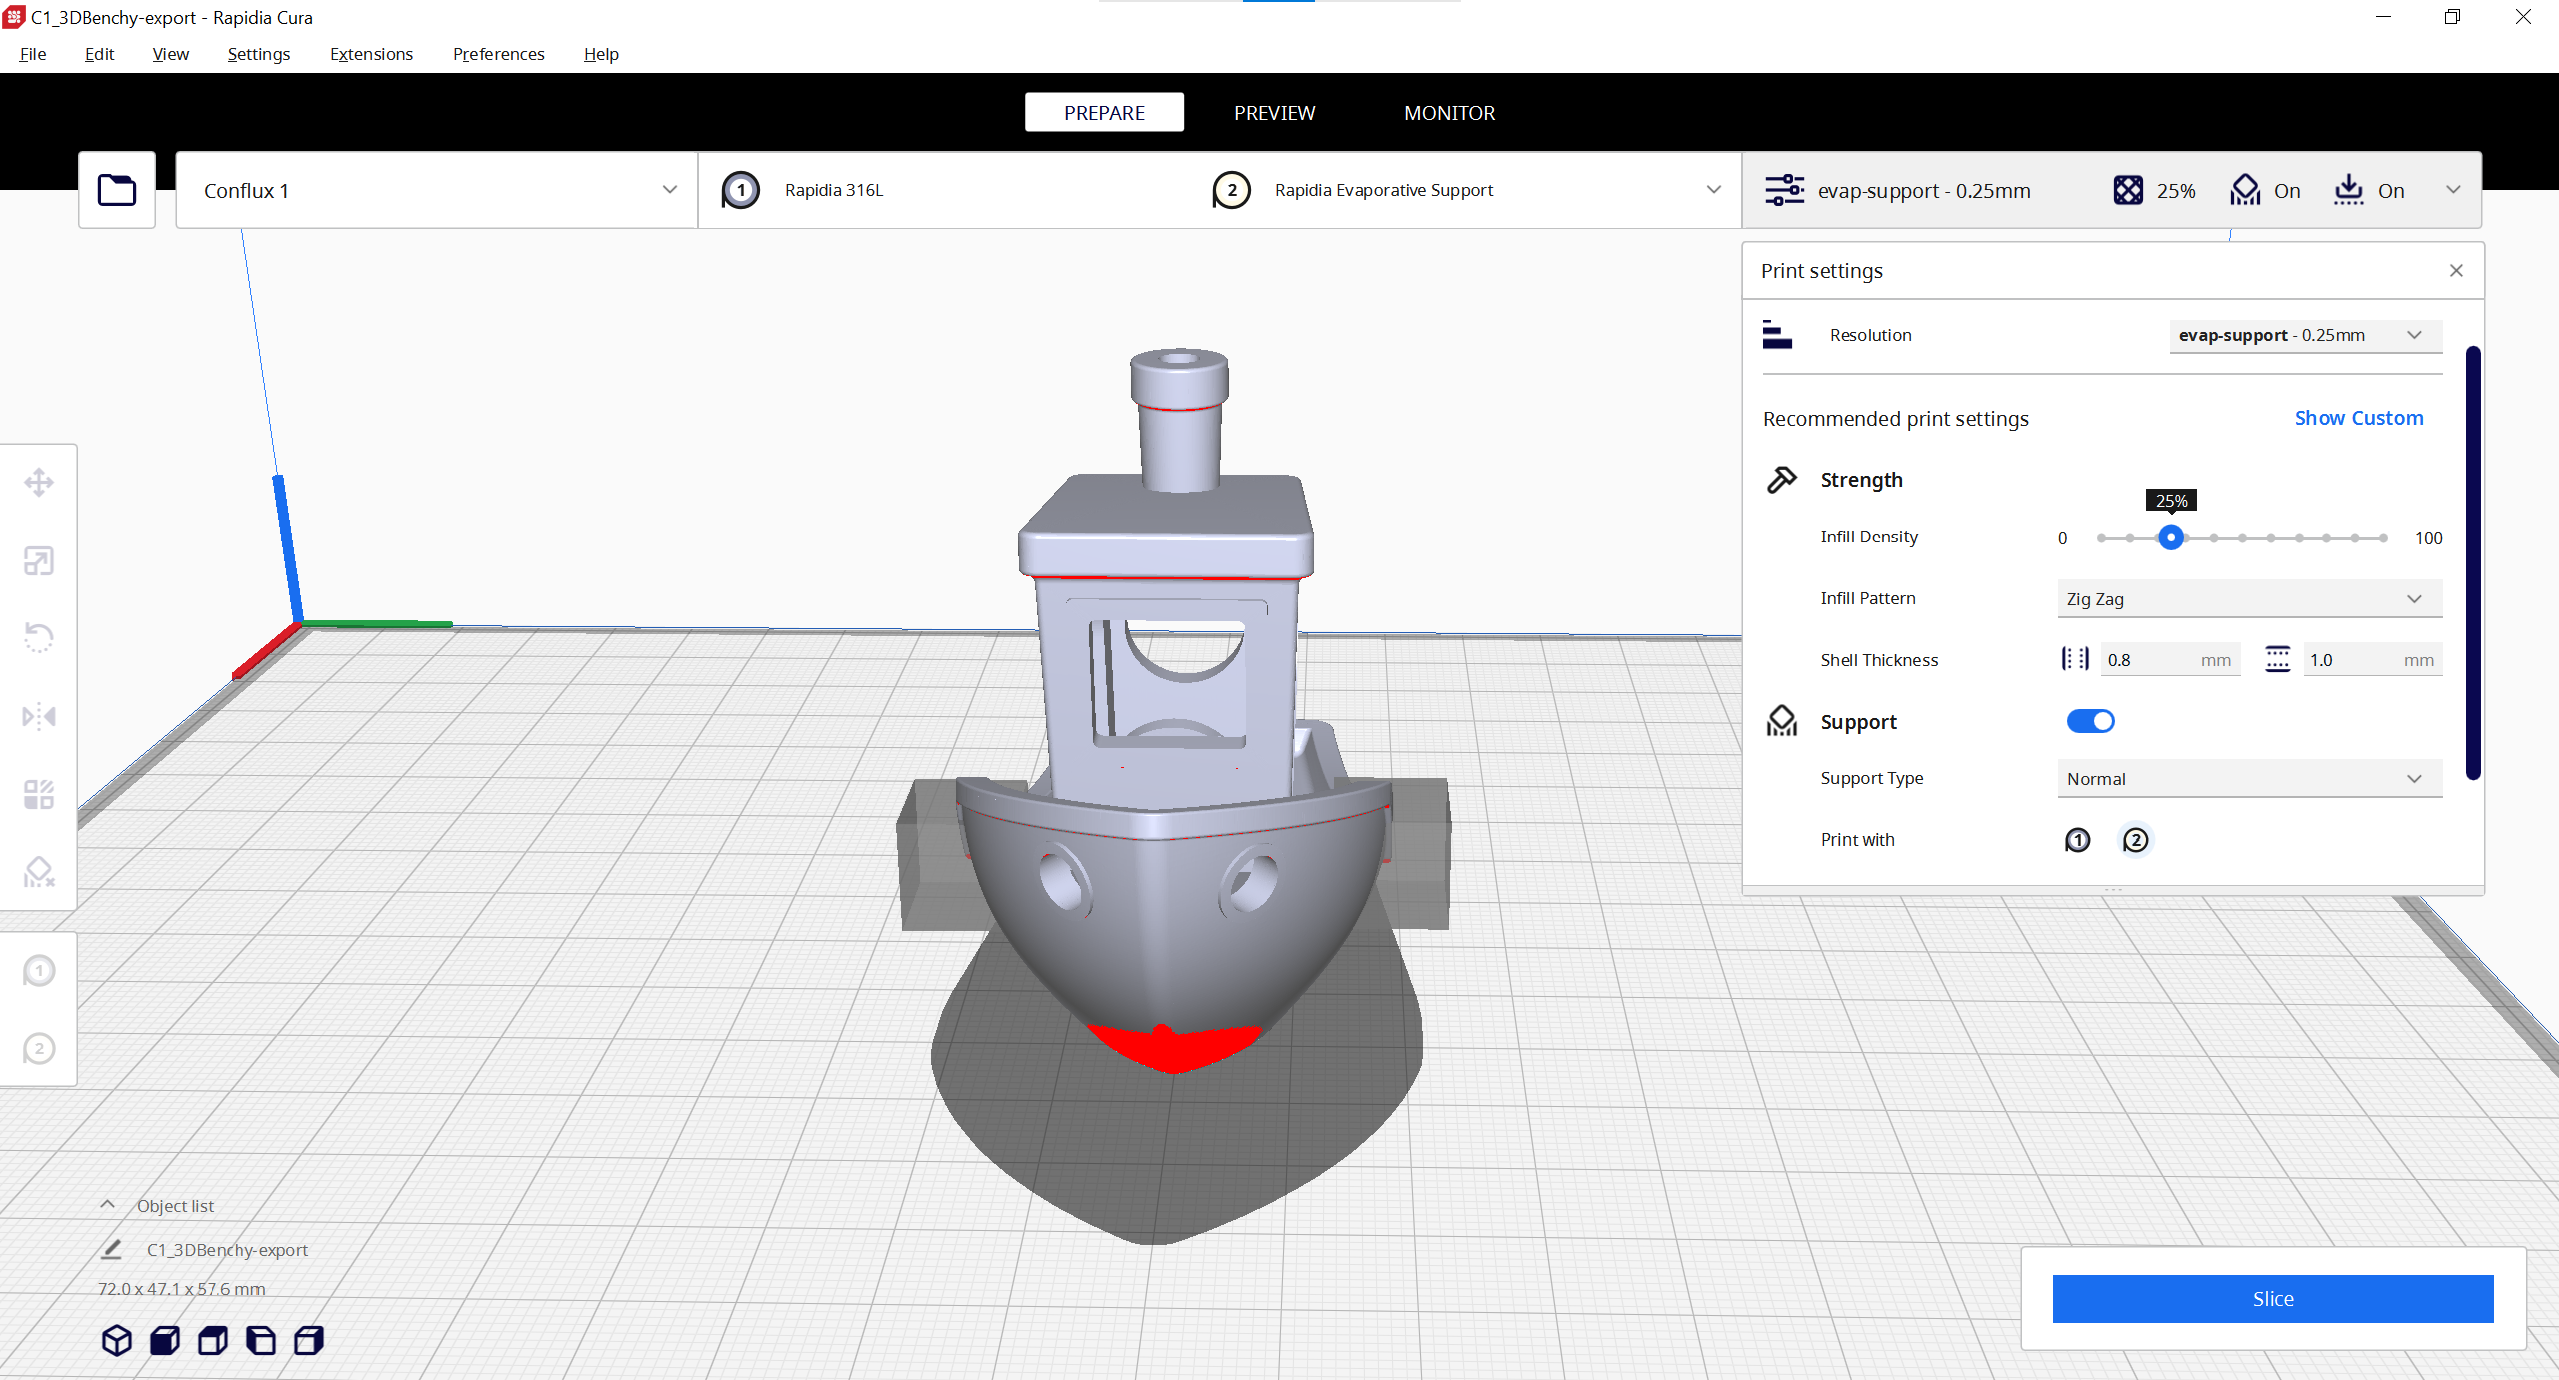

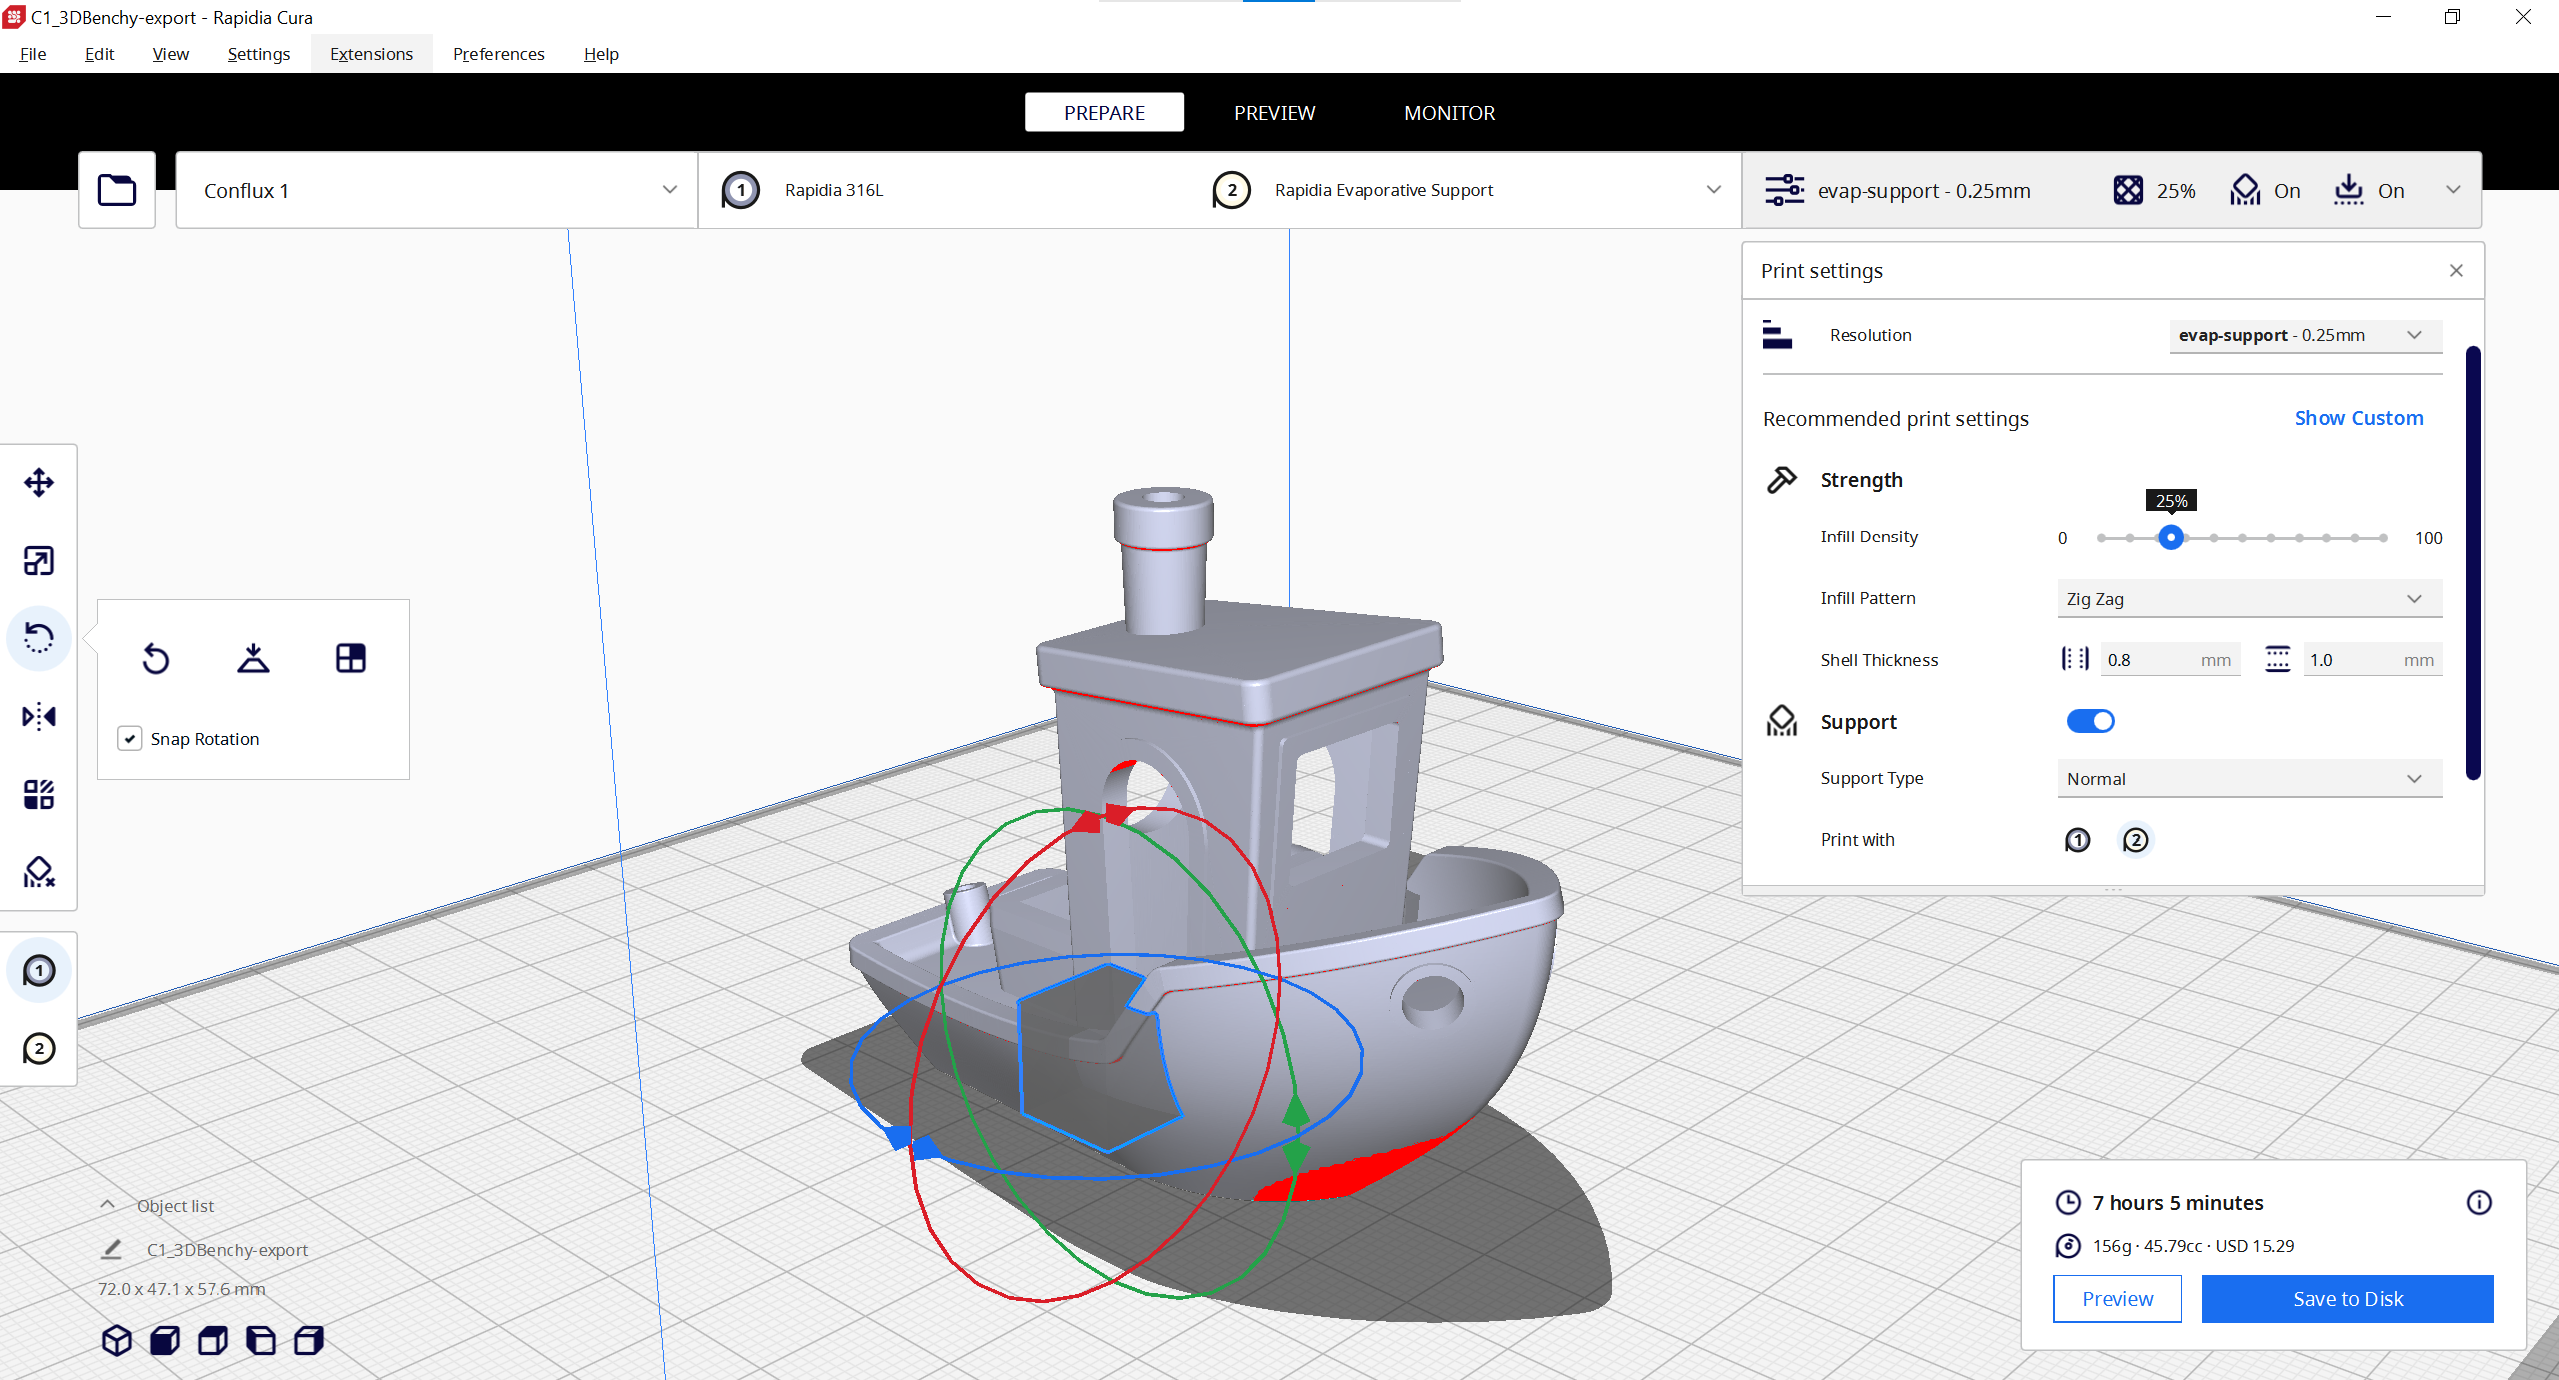
After slicing the part it should look like this:
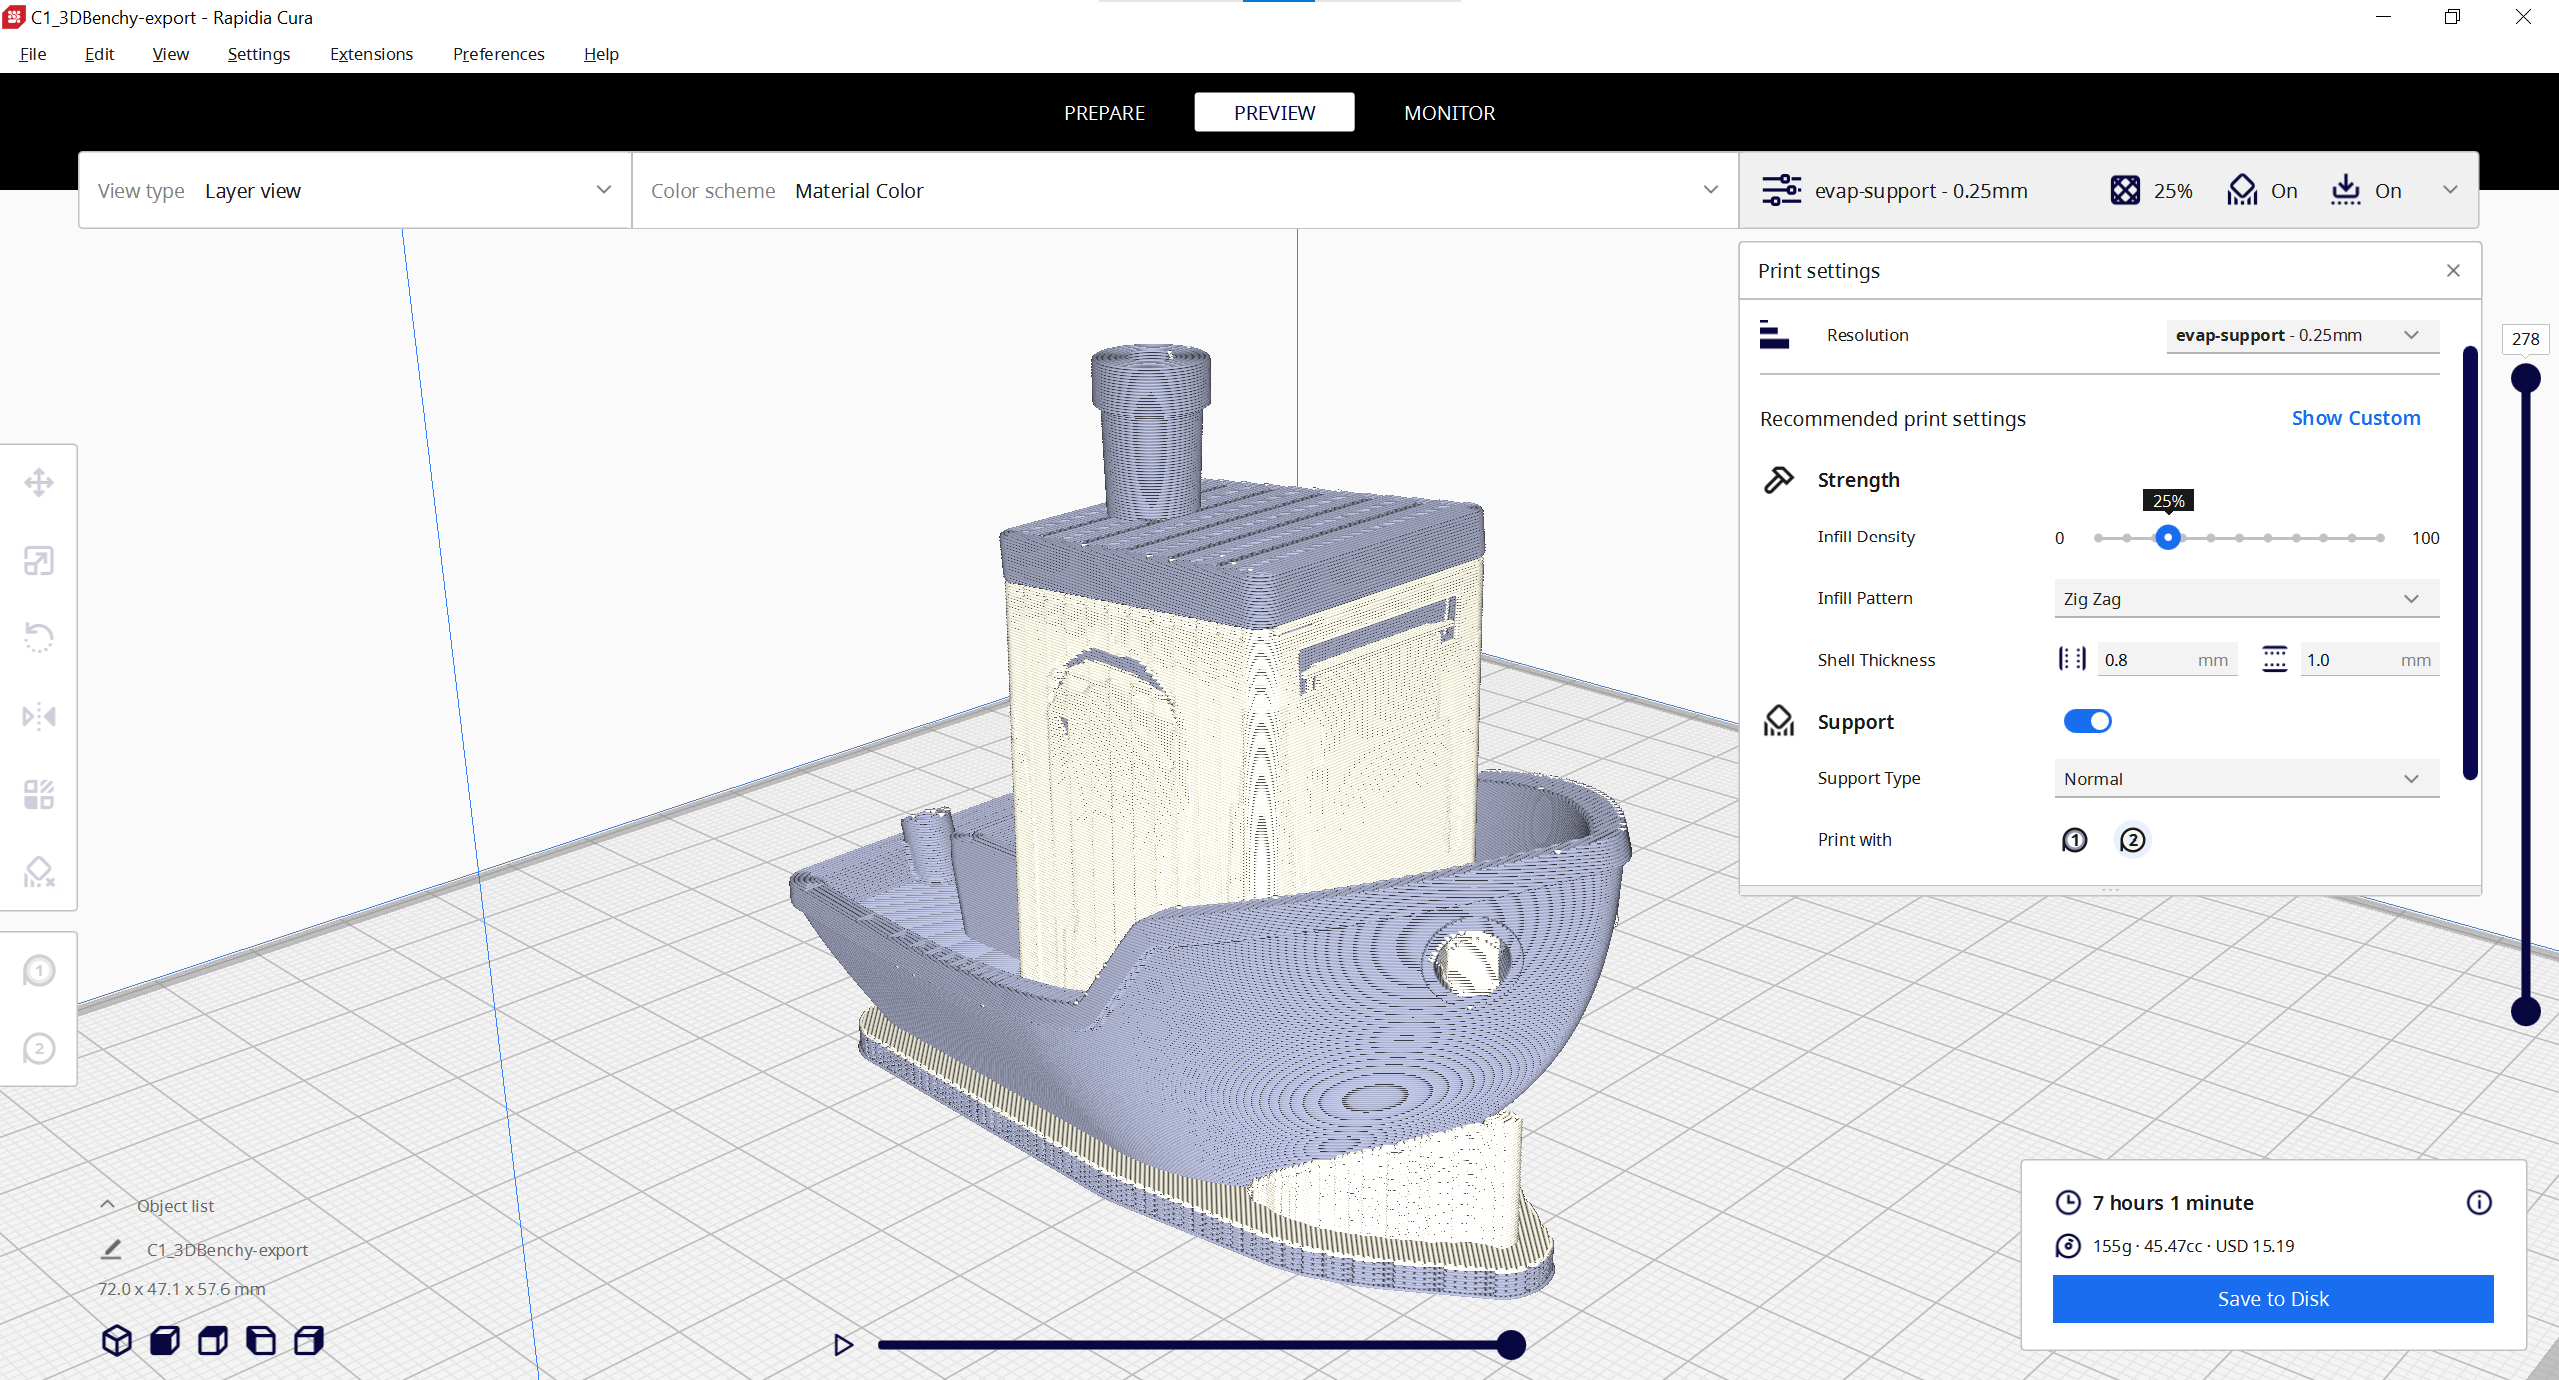
We recommend saving not just the gcode, but also the .3mf file to reiterate your project.
