Replacing the Stator might be necessary in the following instances:
- Detected inconsistency in extrusion
- Toolhead starts leaking
- Stator cleaning routine does not appear sufficient to improve print quality.
| Required Tools for this Routine |
|---|
| Wrench |
How-To
Depressurize Paste
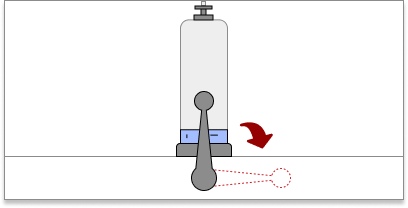
Slowly lower the relevant material selection levers to release the pressure in the cartridge. Water will “hiss” out of the cartridge.
WARNING: water splashing may occur while you do this. Please move water sensitive equipment and objects away before proceeding. Depressurize the paste canister by pulling the lever to a horizontal position.
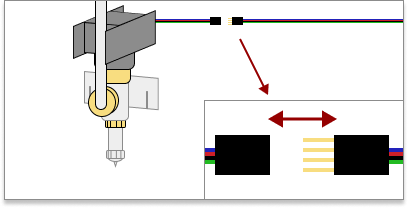
Unplug Stepper Motor
Unclip and unplug the left stepper motor from the printer by disconnecting the 4 wire connectors.
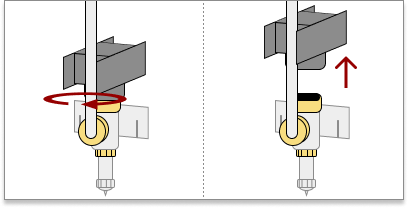
Unscrew Stepper Motor
Unscrew the brass ring holding the stepper motor and remove the motor from the extruder body and set it safely aside.
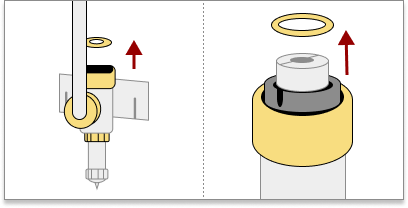
Remove Spacer Ring
Remove the spacer ring that was between the extruder body and the stepper motor. Please set it safely aside and take care not to lose it.
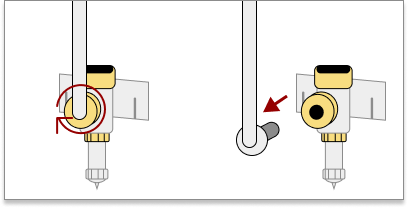
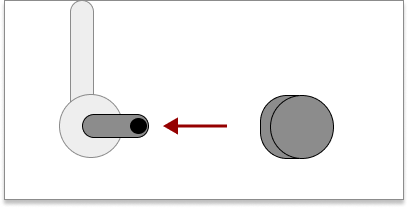
Remove Material Hose
Unscrew the extruder body from the hose and pull the head out. To prevent the material from drying out, please cover the hose and screw on its cap.
 |
 |
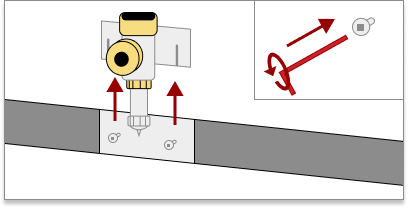
Remove Extruder
Use an Allen Key to loosen the screws (but do not remove them), and lift the extruder body off of the printer.
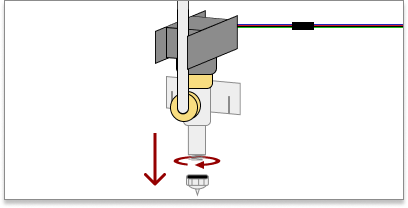
Unscrew the Nozzle
Unscrew and remove the nozzle from the extruder.
Unscrew the Retaining Nut
Unscrew and remove the retaining nut from the stator. You may need a wrench to unscrew it.
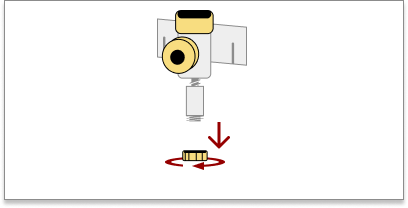
Remove the Stator
Unscrew and remove the stator from the extruder body. Use a screwdriver or your finger to hold the rotor in place from the top, otherwise, the stator will not unthread correctly.
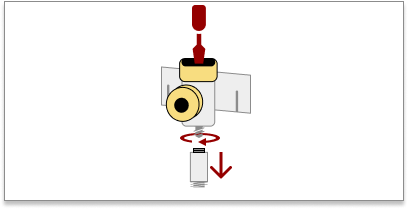
Remove the Rotor
Push the Rotor Removing tool up from below, and pop the rotor out from the top of the extruder.
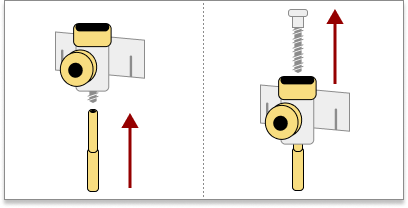
Wash and Dry Parts
Wash the extruder body, stator, and nozzle with water and then dry them before proceeding.
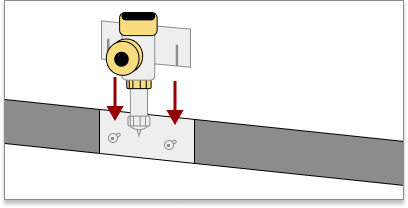
Mount the Extruder
Place the extruder body back onto the printer body. After mounting the extruder, tighten the screws with an Allen Key.
Test the New Rotor's Bearings
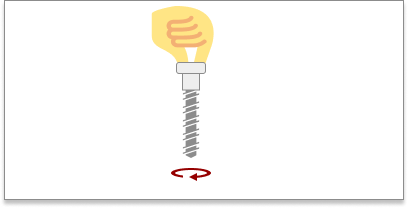
Verify that the rotors bearings are functional. Hold the top of the rotor and spin the shaft. If the shaft does not spin, replace the rotor with a new one.
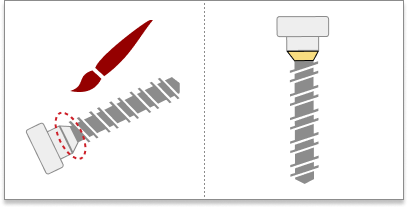
Lubricate the Rotor
Lubricate the rim at the bottom of the Rotor’s head with a brush. Try to get an even coating.
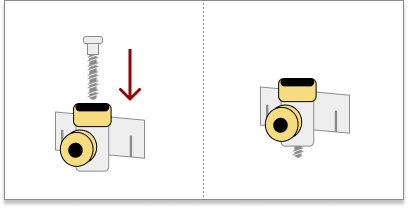
Attach the Rotor
Push the Rotor in from the top. You should feel the rotor click into the extruder body when secured.
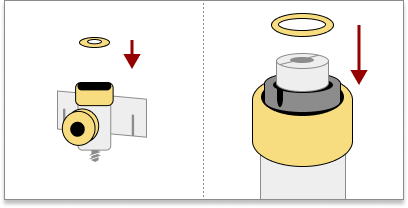
Add Spacer Ring
Put the spacer ring back inside the extruder body on top of the rotor.
Align Stepper Motor
Place the stepper motor on top of the extruder body. Line up the stepper’s shaft pins with the Rotor’s slots. If you have any issues, you can use a flat-headed screwdriver to re-align the Rotor. Be sure to point the stepper motor's cables towards the inside of the machine, facing away from the front.
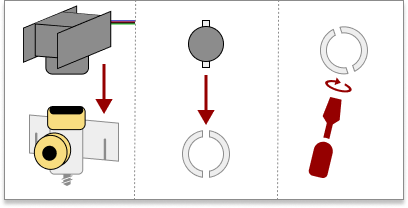
Align Stepper to Extruder
While keeping the Rotor and Stepper aligned, now align the stepper with the extruder body. Line up the stepper’s locating pin with the extruder body’s housing.
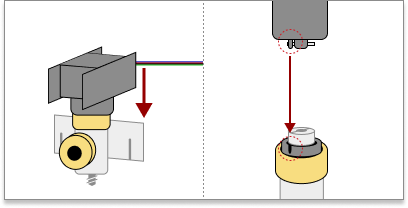
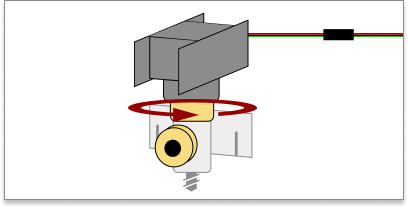
Attach the Stepper Motor
After aligning the stepper with both the extruder and the rotor, firmly screw the extruder onto the stepper.
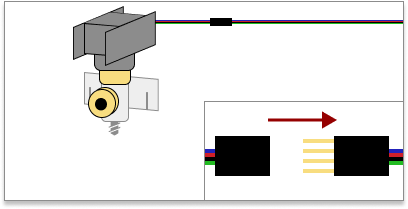
Plug In Stepper Motor
Plug in the stepper motor into the printer. Be sure to align the colors of the wires correctly.
Verify the Stepper Motor
Verify that the Stepper Motor is rotating the Rotor. If not, please click ‘Restart’ to go back and fix your printer.
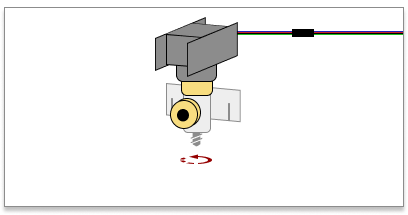
Lubricate the Stator
Lubricate the sides of the rubber ring at the top of the Stator with a brush. Try to get an even coating. Also apply water to the insides of the Stator, as this will make it easier to thread onto the extruder.
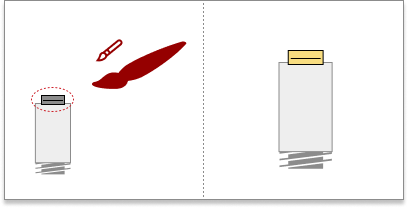
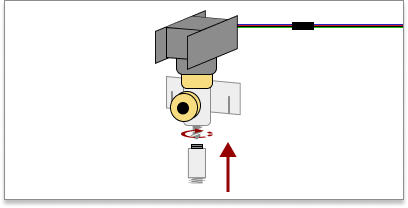
Attach Stator
Start the stepper motor. While the rotor is spinning, slide the stator onto the rotor.The stator will begin thread itself, but continue to hold the stator up. When the stator no longer rises, stop the stepper.
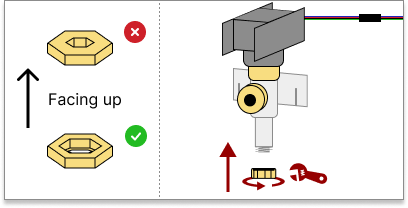
Attach Retaining Nut
WARNING: Be sure to orientate the nut correctly with the right side facing upwards. Put the retaining nut back on top of the stator and screw it back on. After tightening the nut on with your fingers, use a wrench and make a quarter turn to firmly secure the nut.
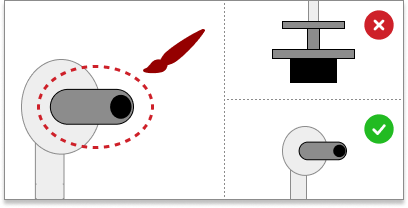
Lubricate Hose Outlet
Lubricate the side of the hose’s outlet plug. Try to get an even coating. Be sure to work on the right end of the hose.
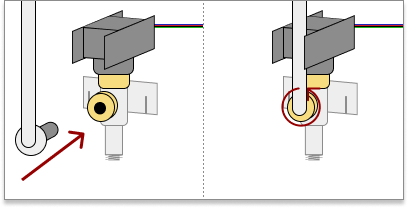
Attach the Hose Outlet
Attach the hose outlet to the extruder body. Be mindful of the hose’s position and to keep it between the stepper motor’s arms.
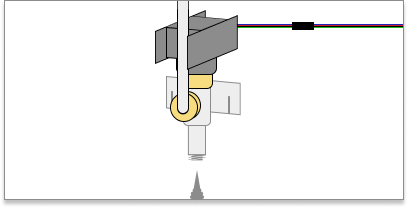
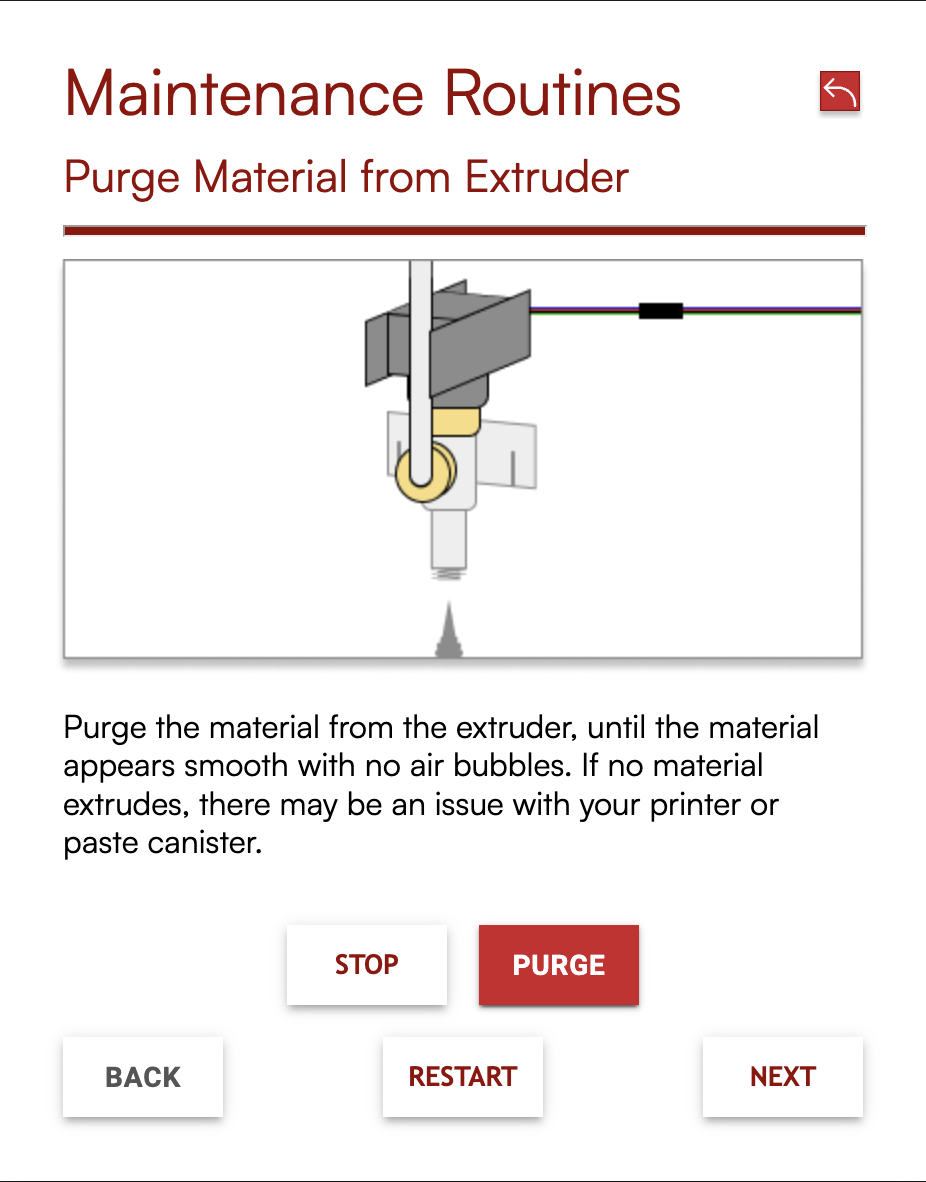
Purge Material from Extruder
Purge the material from the extruder, until the material appears smooth with no air bubbles. If no material extrudes, there may be an issue with your printer or paste canister.
maintenance routine for PASTE E1 / E2 |
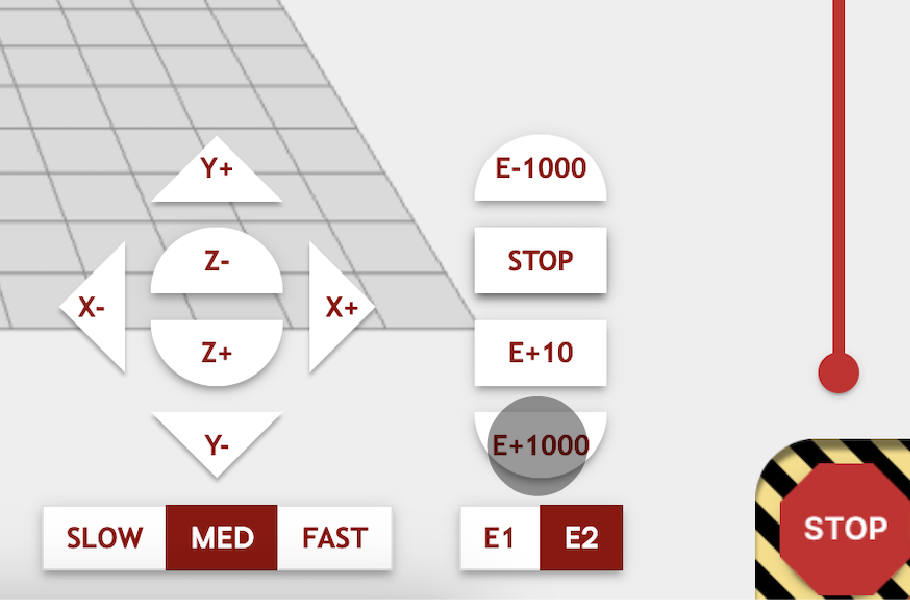
respective paste extruder |
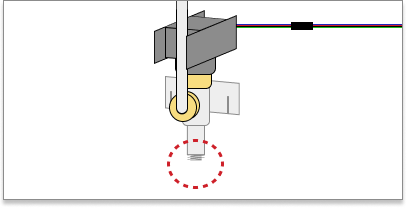
Clean Extruder
Clean the bottom of the extruder where the nozzle will go with a paper towel or cloth.
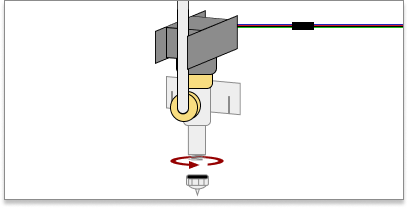
Attach Nozzle
Screw the nozzle onto the bottom of the extruder with your fingers and then make sure it’s firmly in place with a wrench.
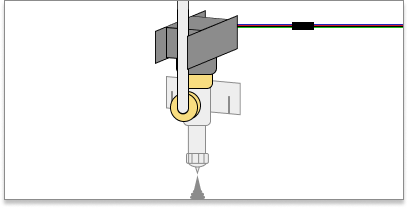
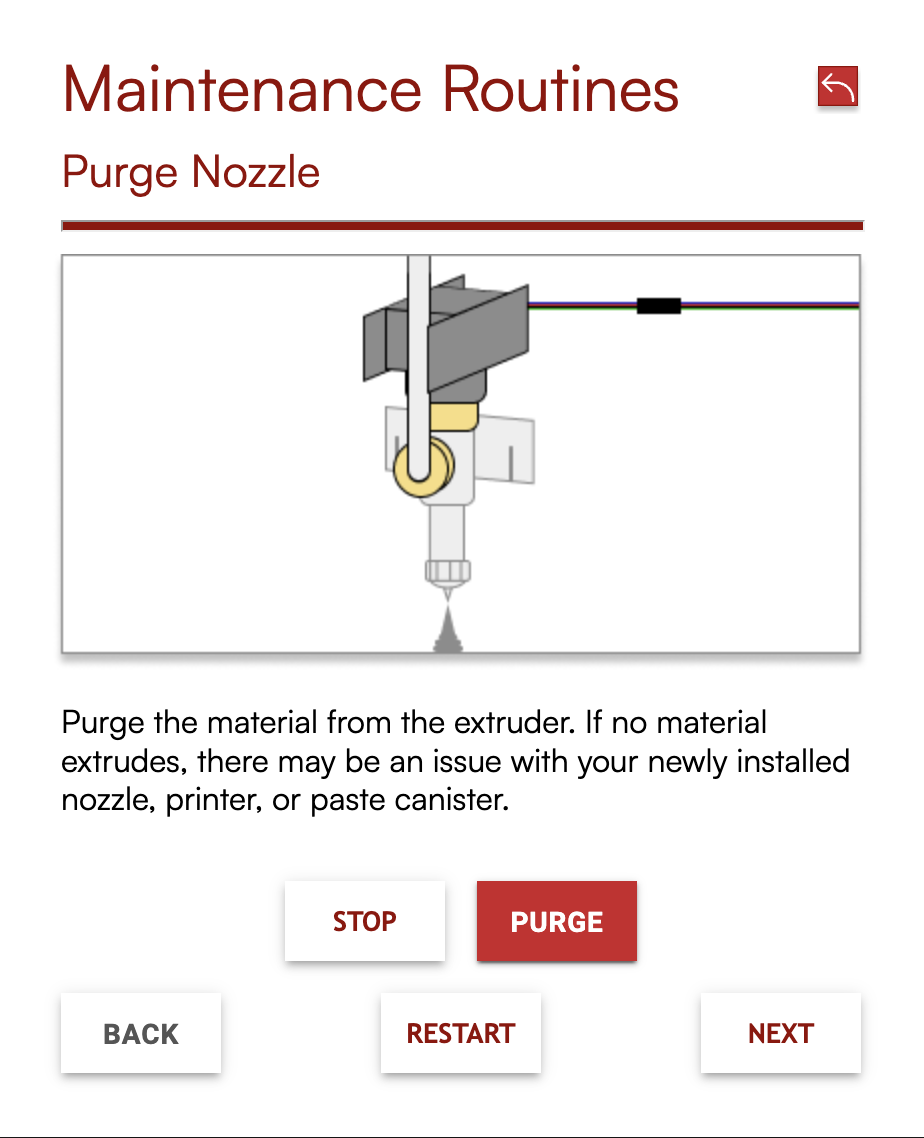
Purge Nozzle
Purge the material from the extruder. If no material extrudes, there may be an issue with your newly installed nozzle, printer, or paste canister.
maintenance routine for PASTE E1 / E2 |

respective paste extruder |