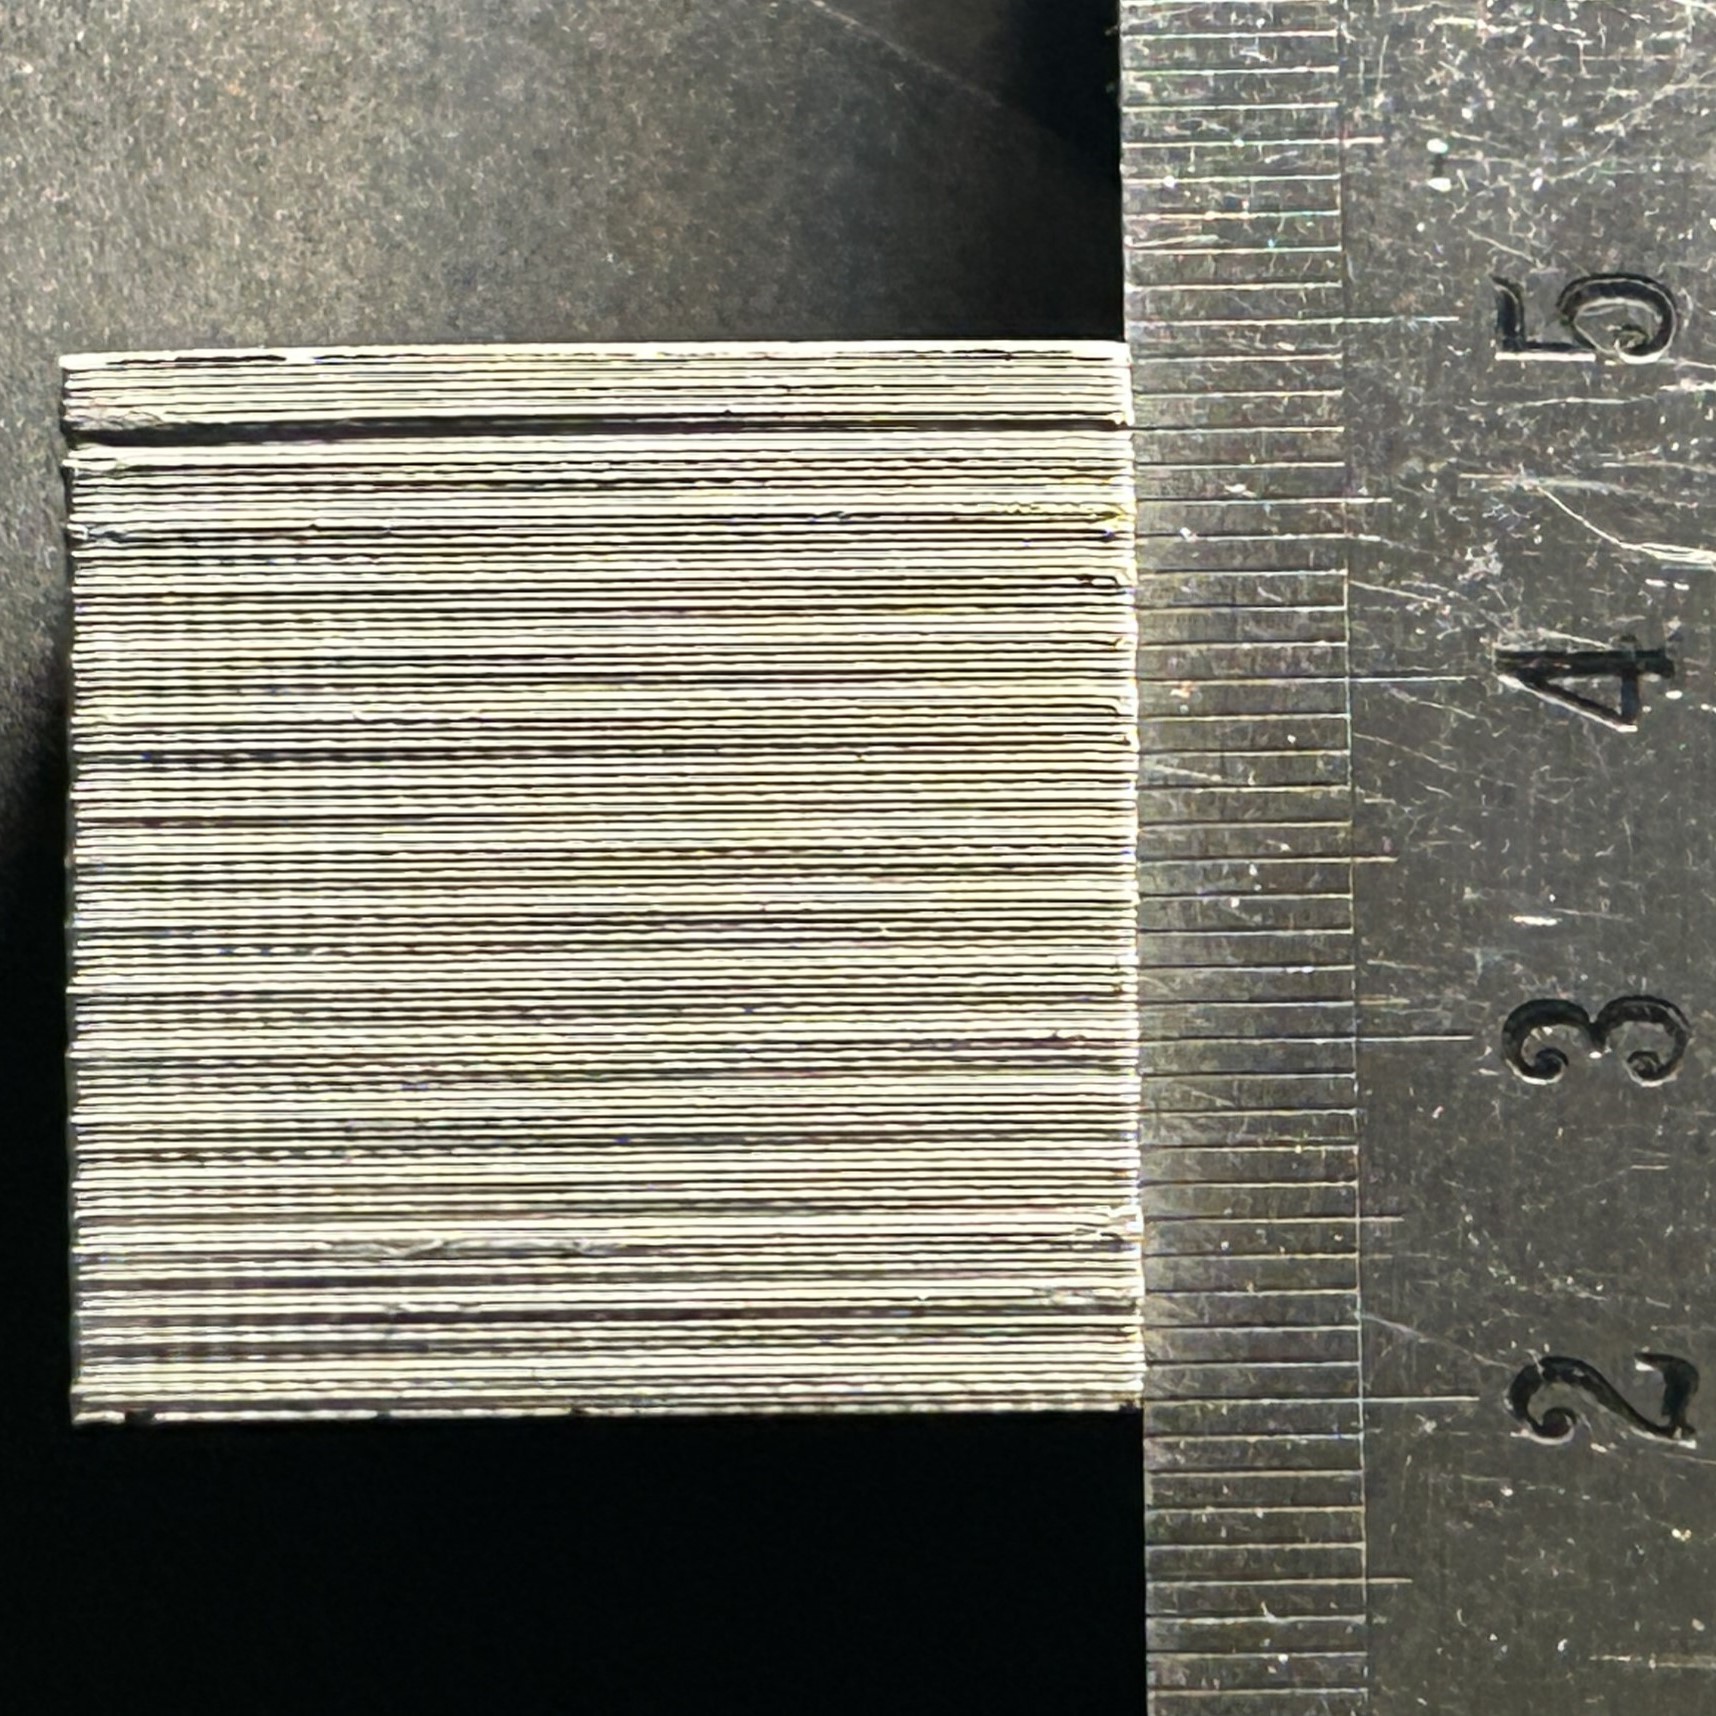
If you are hearing any squeaking/grinding noises happening during movement of the printing platform even though the Z-axis is lubricated, it may be time to realign the Z-axis. Another tell tale sign that the Z-axis needs realigning is the presence of banding on printed parts, the banding will match the pitch of the Z-axis spindle which is 2mm.
| Tools Required for this Routine |
| 8mm Nut Driver |
| 5.5mm Nut Driver |
| 3mm Hex Wrench |
| 2.5mm Hex Wrench |
¶ Realigning the Z-Axis
- Using the host software interface, position the printing platform so that it is midway through the extent of its travel range so there is ample room to work above and below. Ensure printheads are in the parked position.
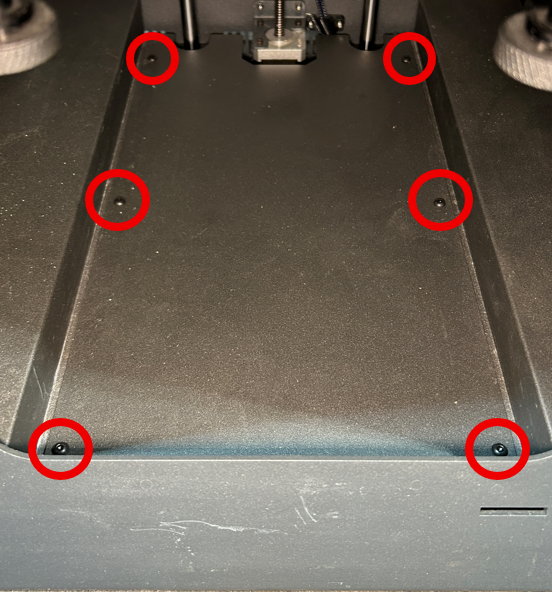
2. Remove the central bottom cover by removing the highlighted screws in the photo below:
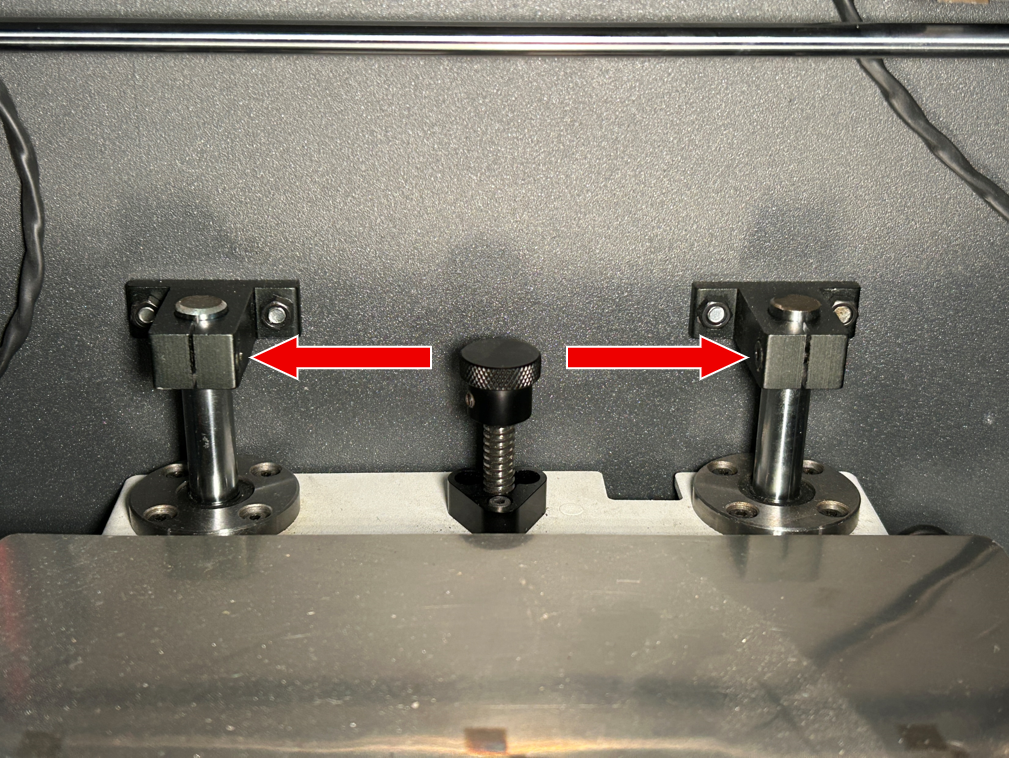
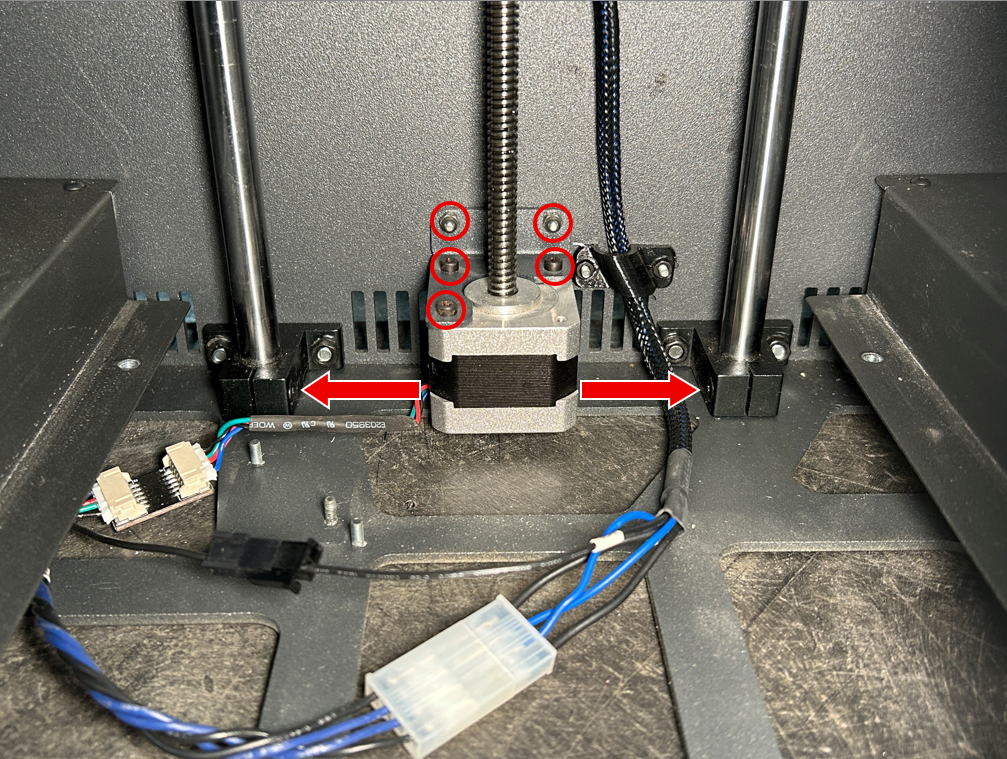
3. Partially loosen the set screws located on the clamps that hold the Z-axis sidebars in place, indicated by the arrows in the pictures below. Also loosen the screws holding the Z-motor in place, indicated by the circles.
|
|
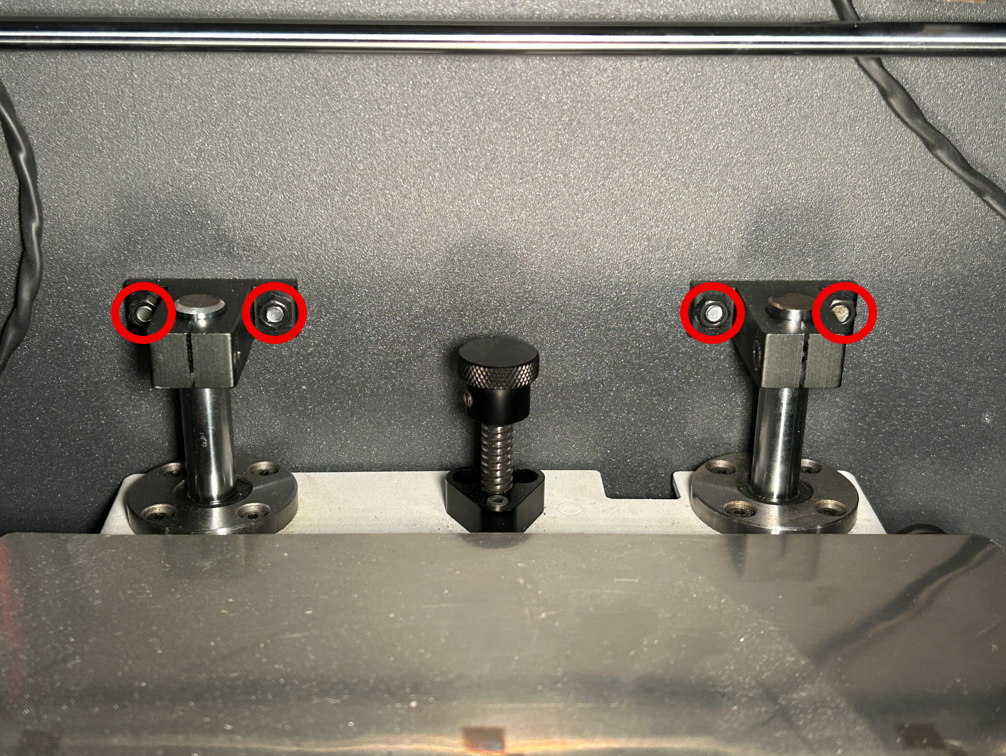
4. Partially loosen the nuts that hold the clamps to the printer frame using an 8mm nut driver, you should see that they admit some horizontal movement.
|
|
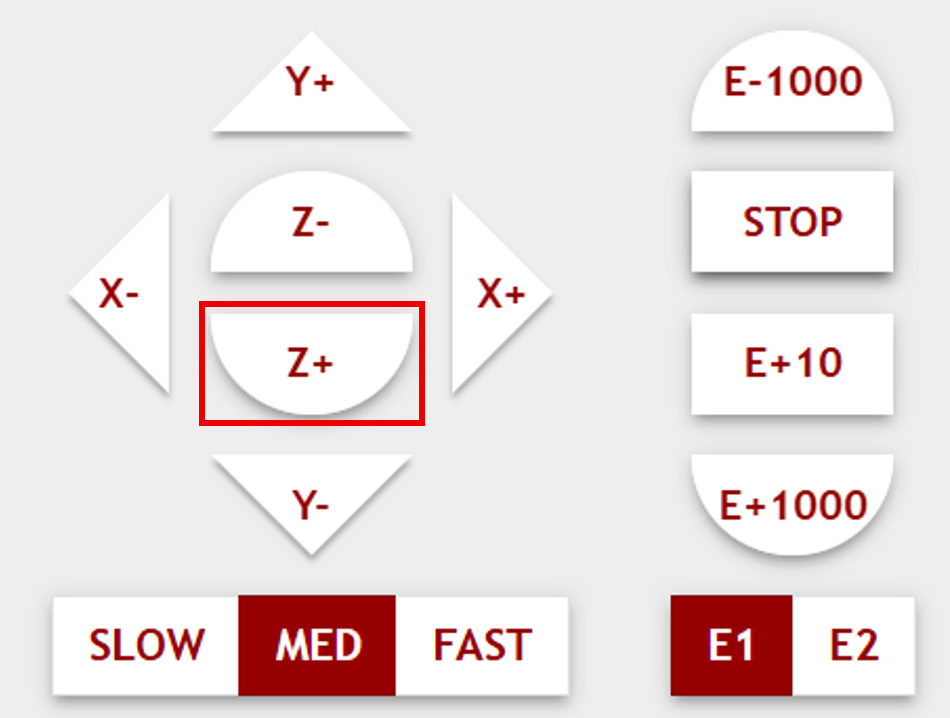
5. From the host software move the printing platform to its bottom position. Once the platform has reached the bottom move the platform all the way up to the top position, being careful not to damage the heating lamp shroud or bulb.
|
|
6. Move the printing platform between its maximum and minimum positions 2 - 3 more times until the Z axis is aligned.
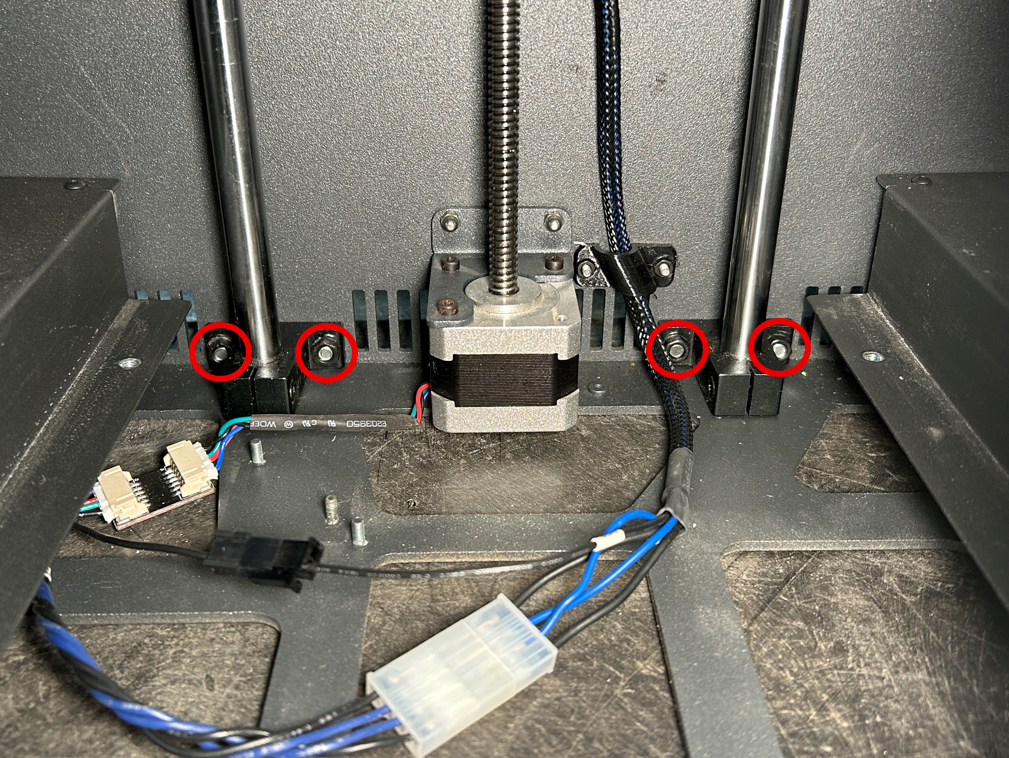
7. Once the Z axis is aligned, tighten the nuts and screws loosened in steps 3 and 4 before reinstalling the central bottom cover.