Nozzle assemblies consisting of nozzle body and tip, can be collectively replaced if spare is available. This illustrates a marginally faster alternative than just replacing the tip as instructed here: Changing the Nozzle Tip. Reasons a replacement might be necessary could be:
- Nozzle is damaged or bent due to malfunction or mishandling,
- Nozzle cleaning routine does not appear sufficient to improve print quality.
See full instructions for the routine to clean the nozzle here: Cleaning the Nozzle.
Rapidia is constantly striving to improve the printing experience for our customers by developing parameters that allow customization of slicer settings, print speed, and nozzle sizes. Reach out to support@rapidia.com to learn about the latest developments in offering 0.25mm and 0.60mm nozzles for the Conflux 1 Metal 3D Printing Platform.
¶ How To
Remove Nozzle
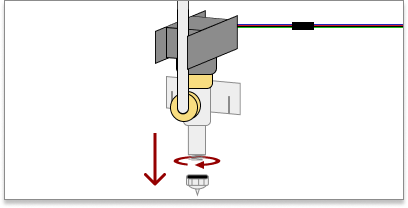
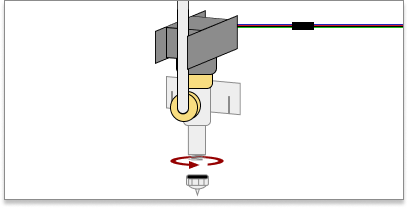
Remove the nozzle from the bottom of the extruder.

Attach Nozzle
Screw the nozzle onto the bottom of the extruder with your fingers and then make sure it’s firmly in place with a wrench.

Purge Nozzle
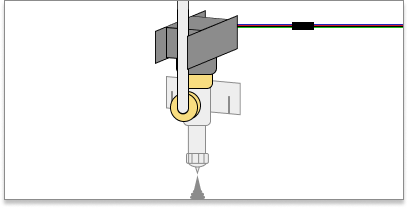
Purge the material from the extruder. If no material extrudes, there may be an issue with your newly installed nozzle, printer, or paste canister.
