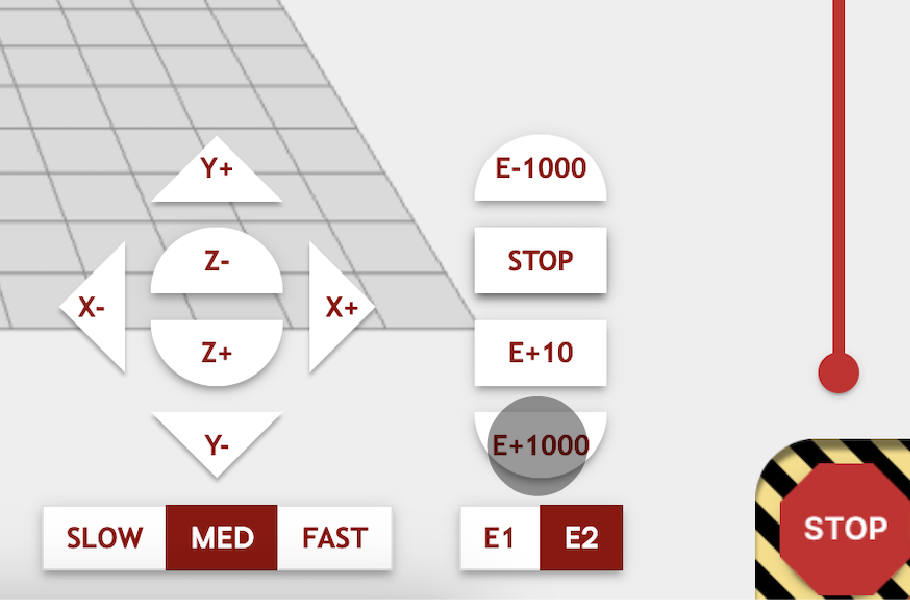
1. If the machine has not been used recently, we recommend going through the Initial Printer Setup to ensure that the machine is well set up. If it has been only a few days, we encourage to purge the toolheads ~ 100mm / 5 seconds to remove potential dried material sitting at the tip.
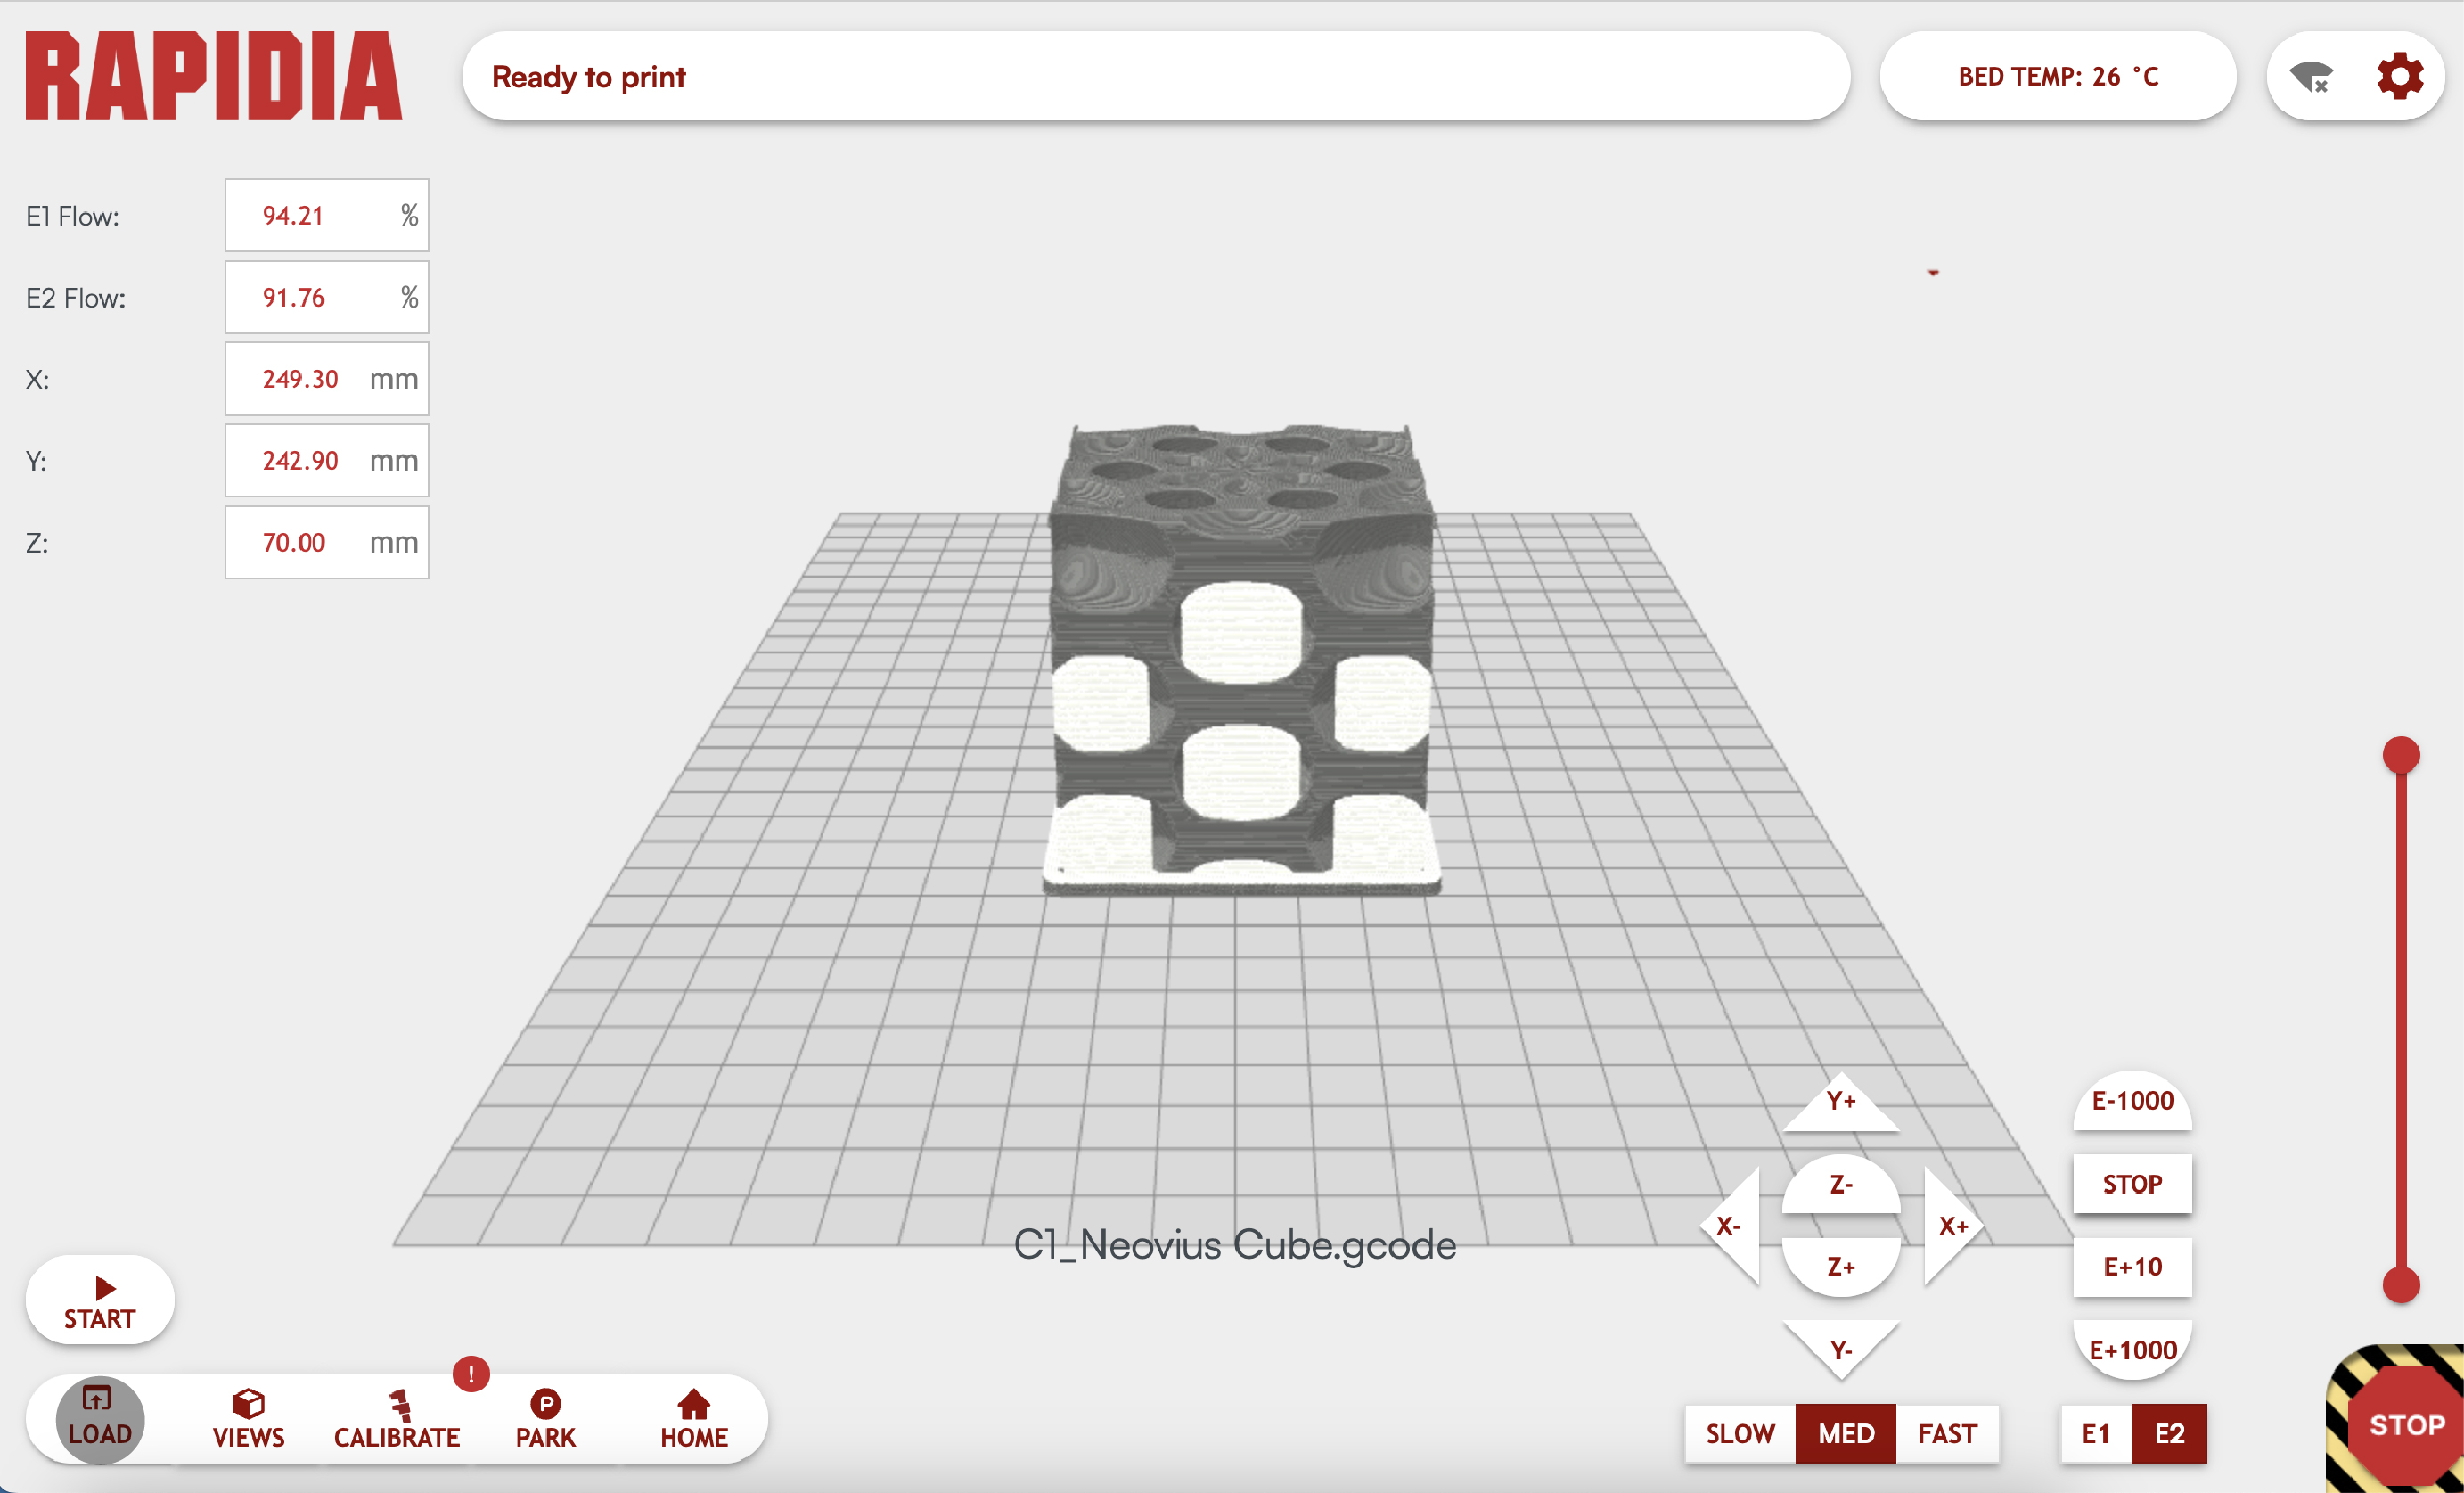
2. Load the G-code file to be printed into the Rapidia Software by dragging it onto the print bed, or clicking the LOAD button on the lower left corner, and browsing to locate the file.
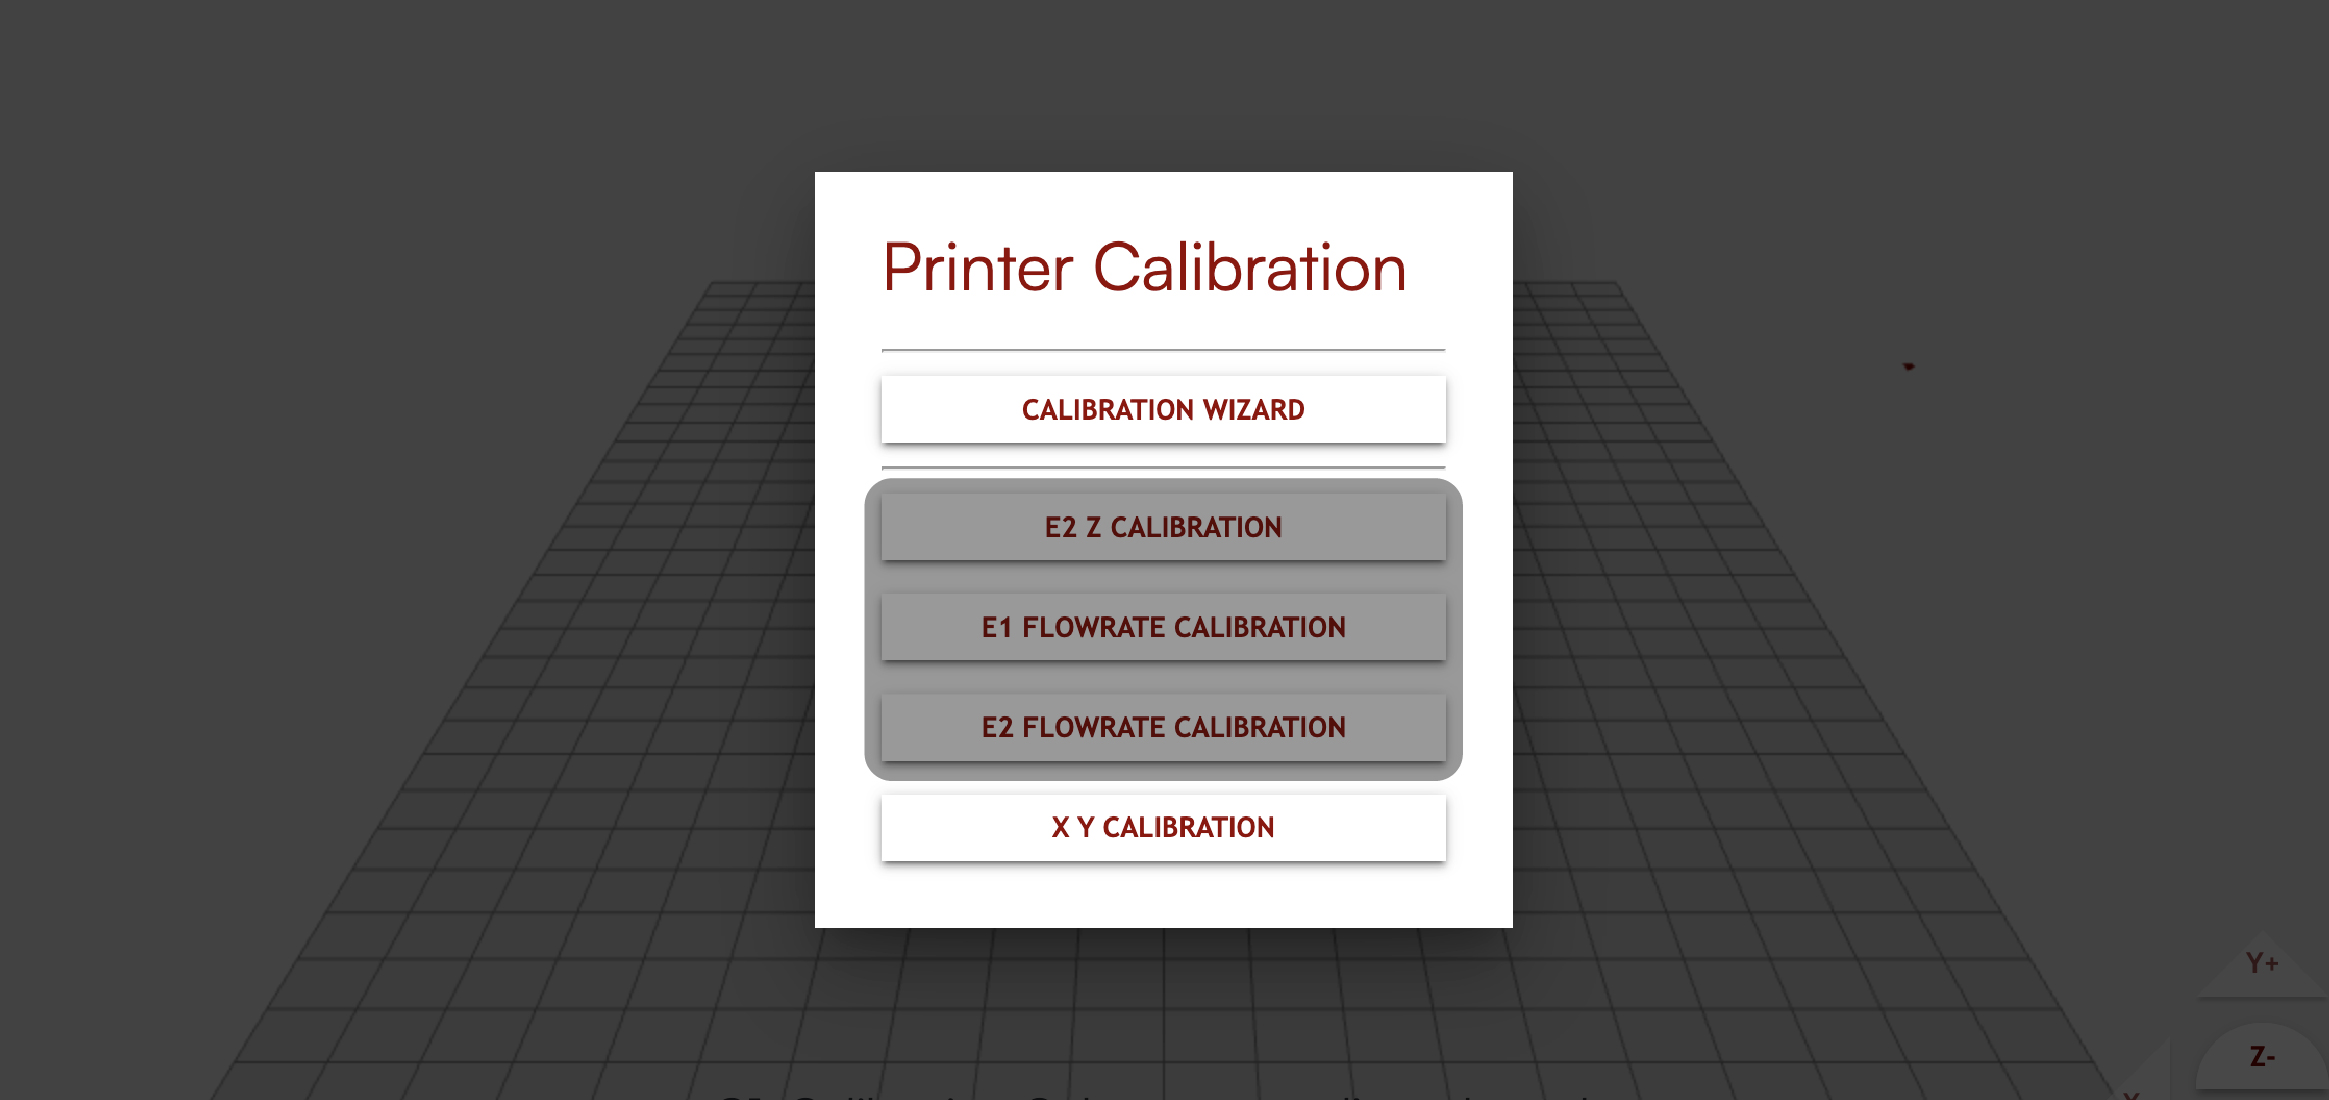
3. If not performed recently, calibrate the extruder flowrates and Z offsets. Having these well calibrated is crucial for achieving a high print quality.
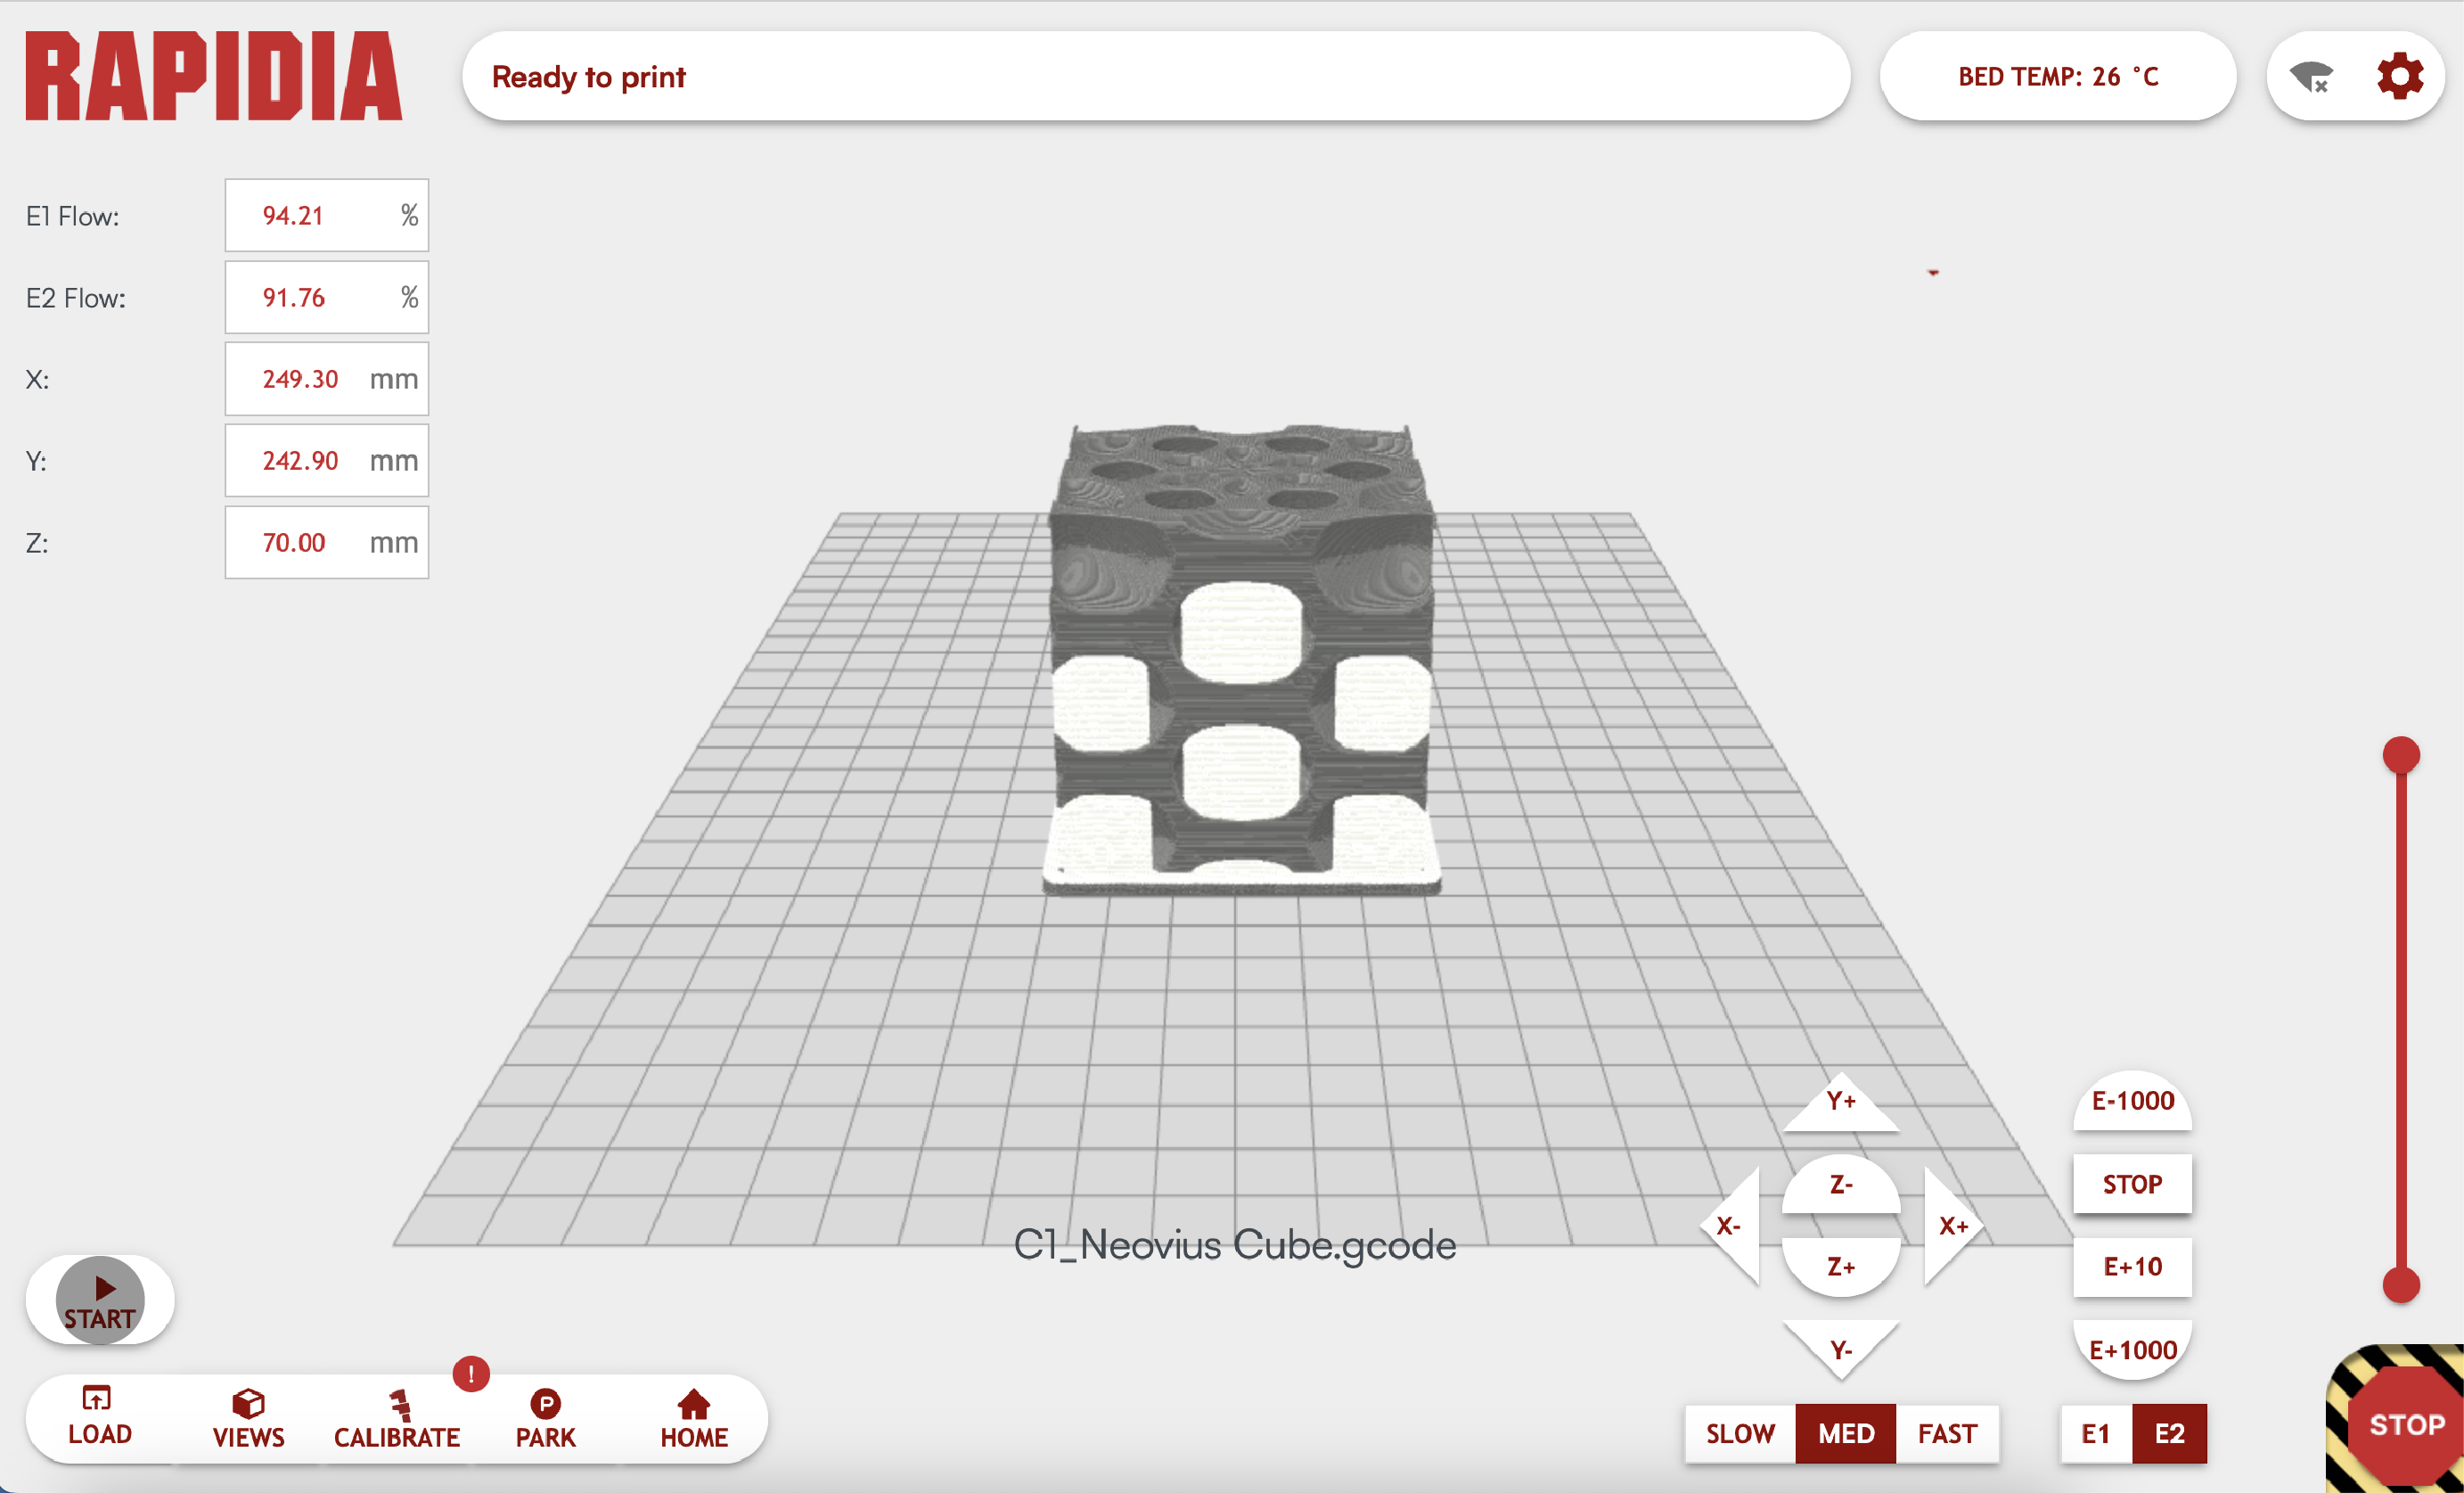
4. Ensure the printer door is closed and click START.
¶ Adequately Drying the Part
The Rapidia printer uses two sources of heat to dry the parts while they are being printed: The heated print bed that holds a fixed temperature throughout the print (find default settings here), and a heat lamp that passes over the parts once per layer. The heated print bed operates up to approximately 40°C, while the lamp gets much hotter but only heats the parts briefly while passing over. Because of how hot and bright the lamp is, it will not illuminate when the printer’s door is open.
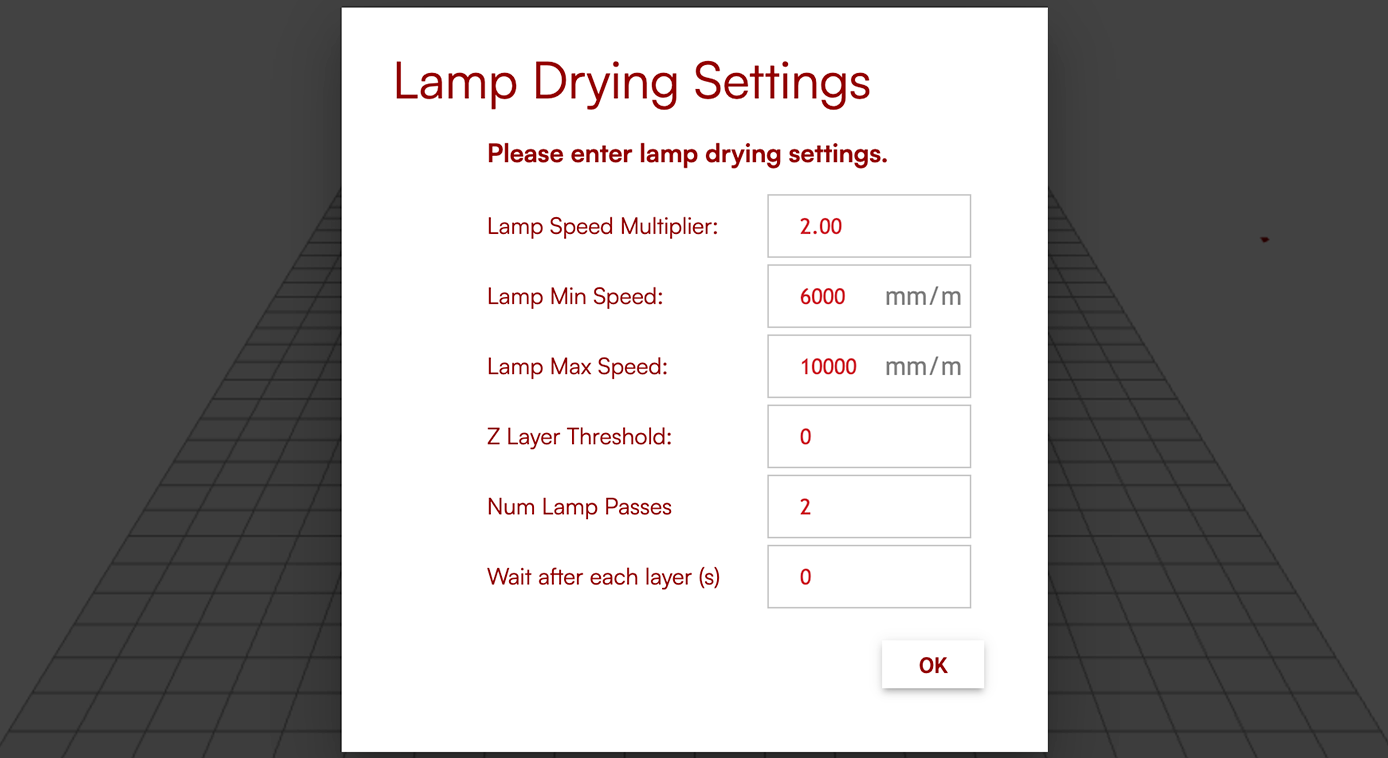
The bed temperature is most often set in the G-code for a given part, and Rapidia Cura already defines the default bed temperature, but it can also be manually overridden when desired during a print. The lamp settings are controlled under the Print Job Settings tab in Rapidia Print. Navigate Calibrate - Printer Settings - Print Job Settings. To increase the amount of lamp drying, slow the lamp by reducing the multiplier or the max speed. Likewise to decrease the amount of lamp drying, increase multiplier or the max speed.
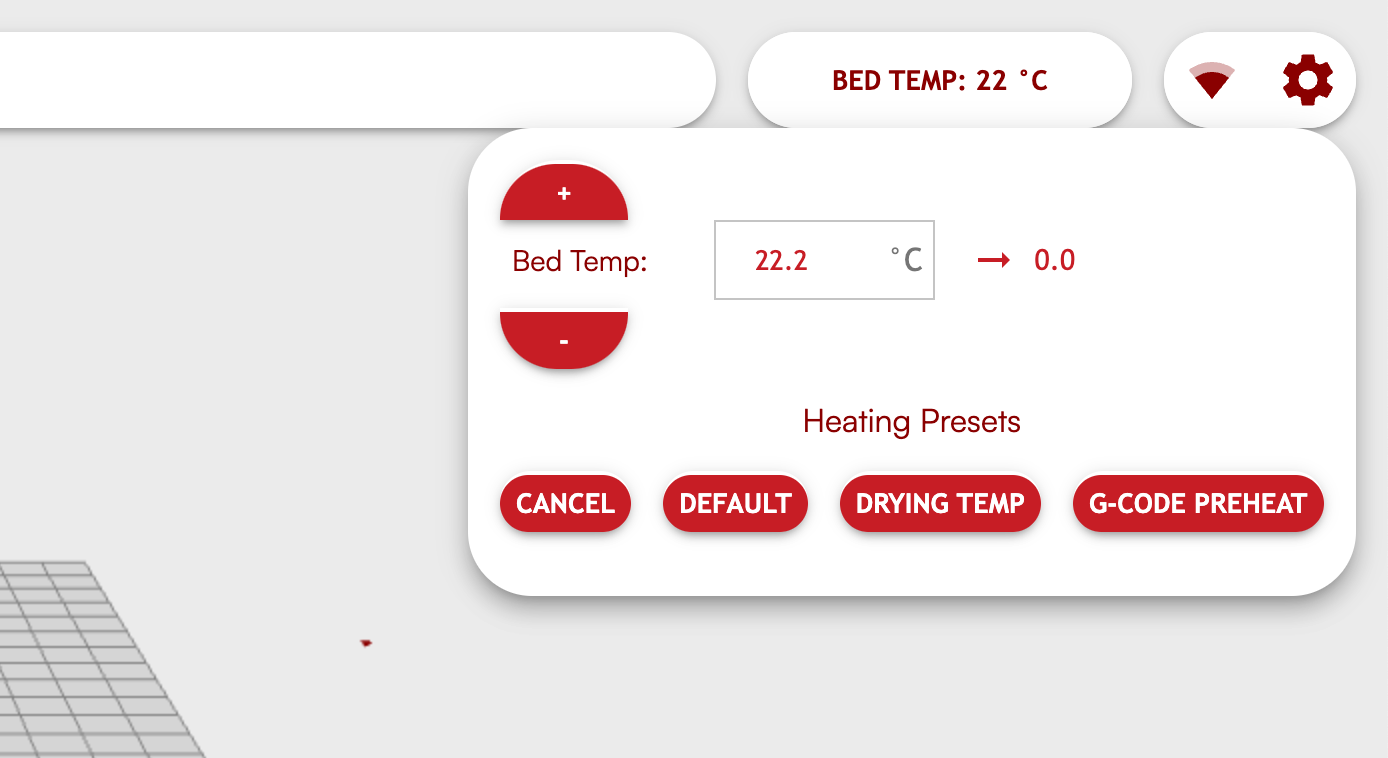
While the default bed temperature settings will be adequate for drying most parts, certain parts may require special attention.
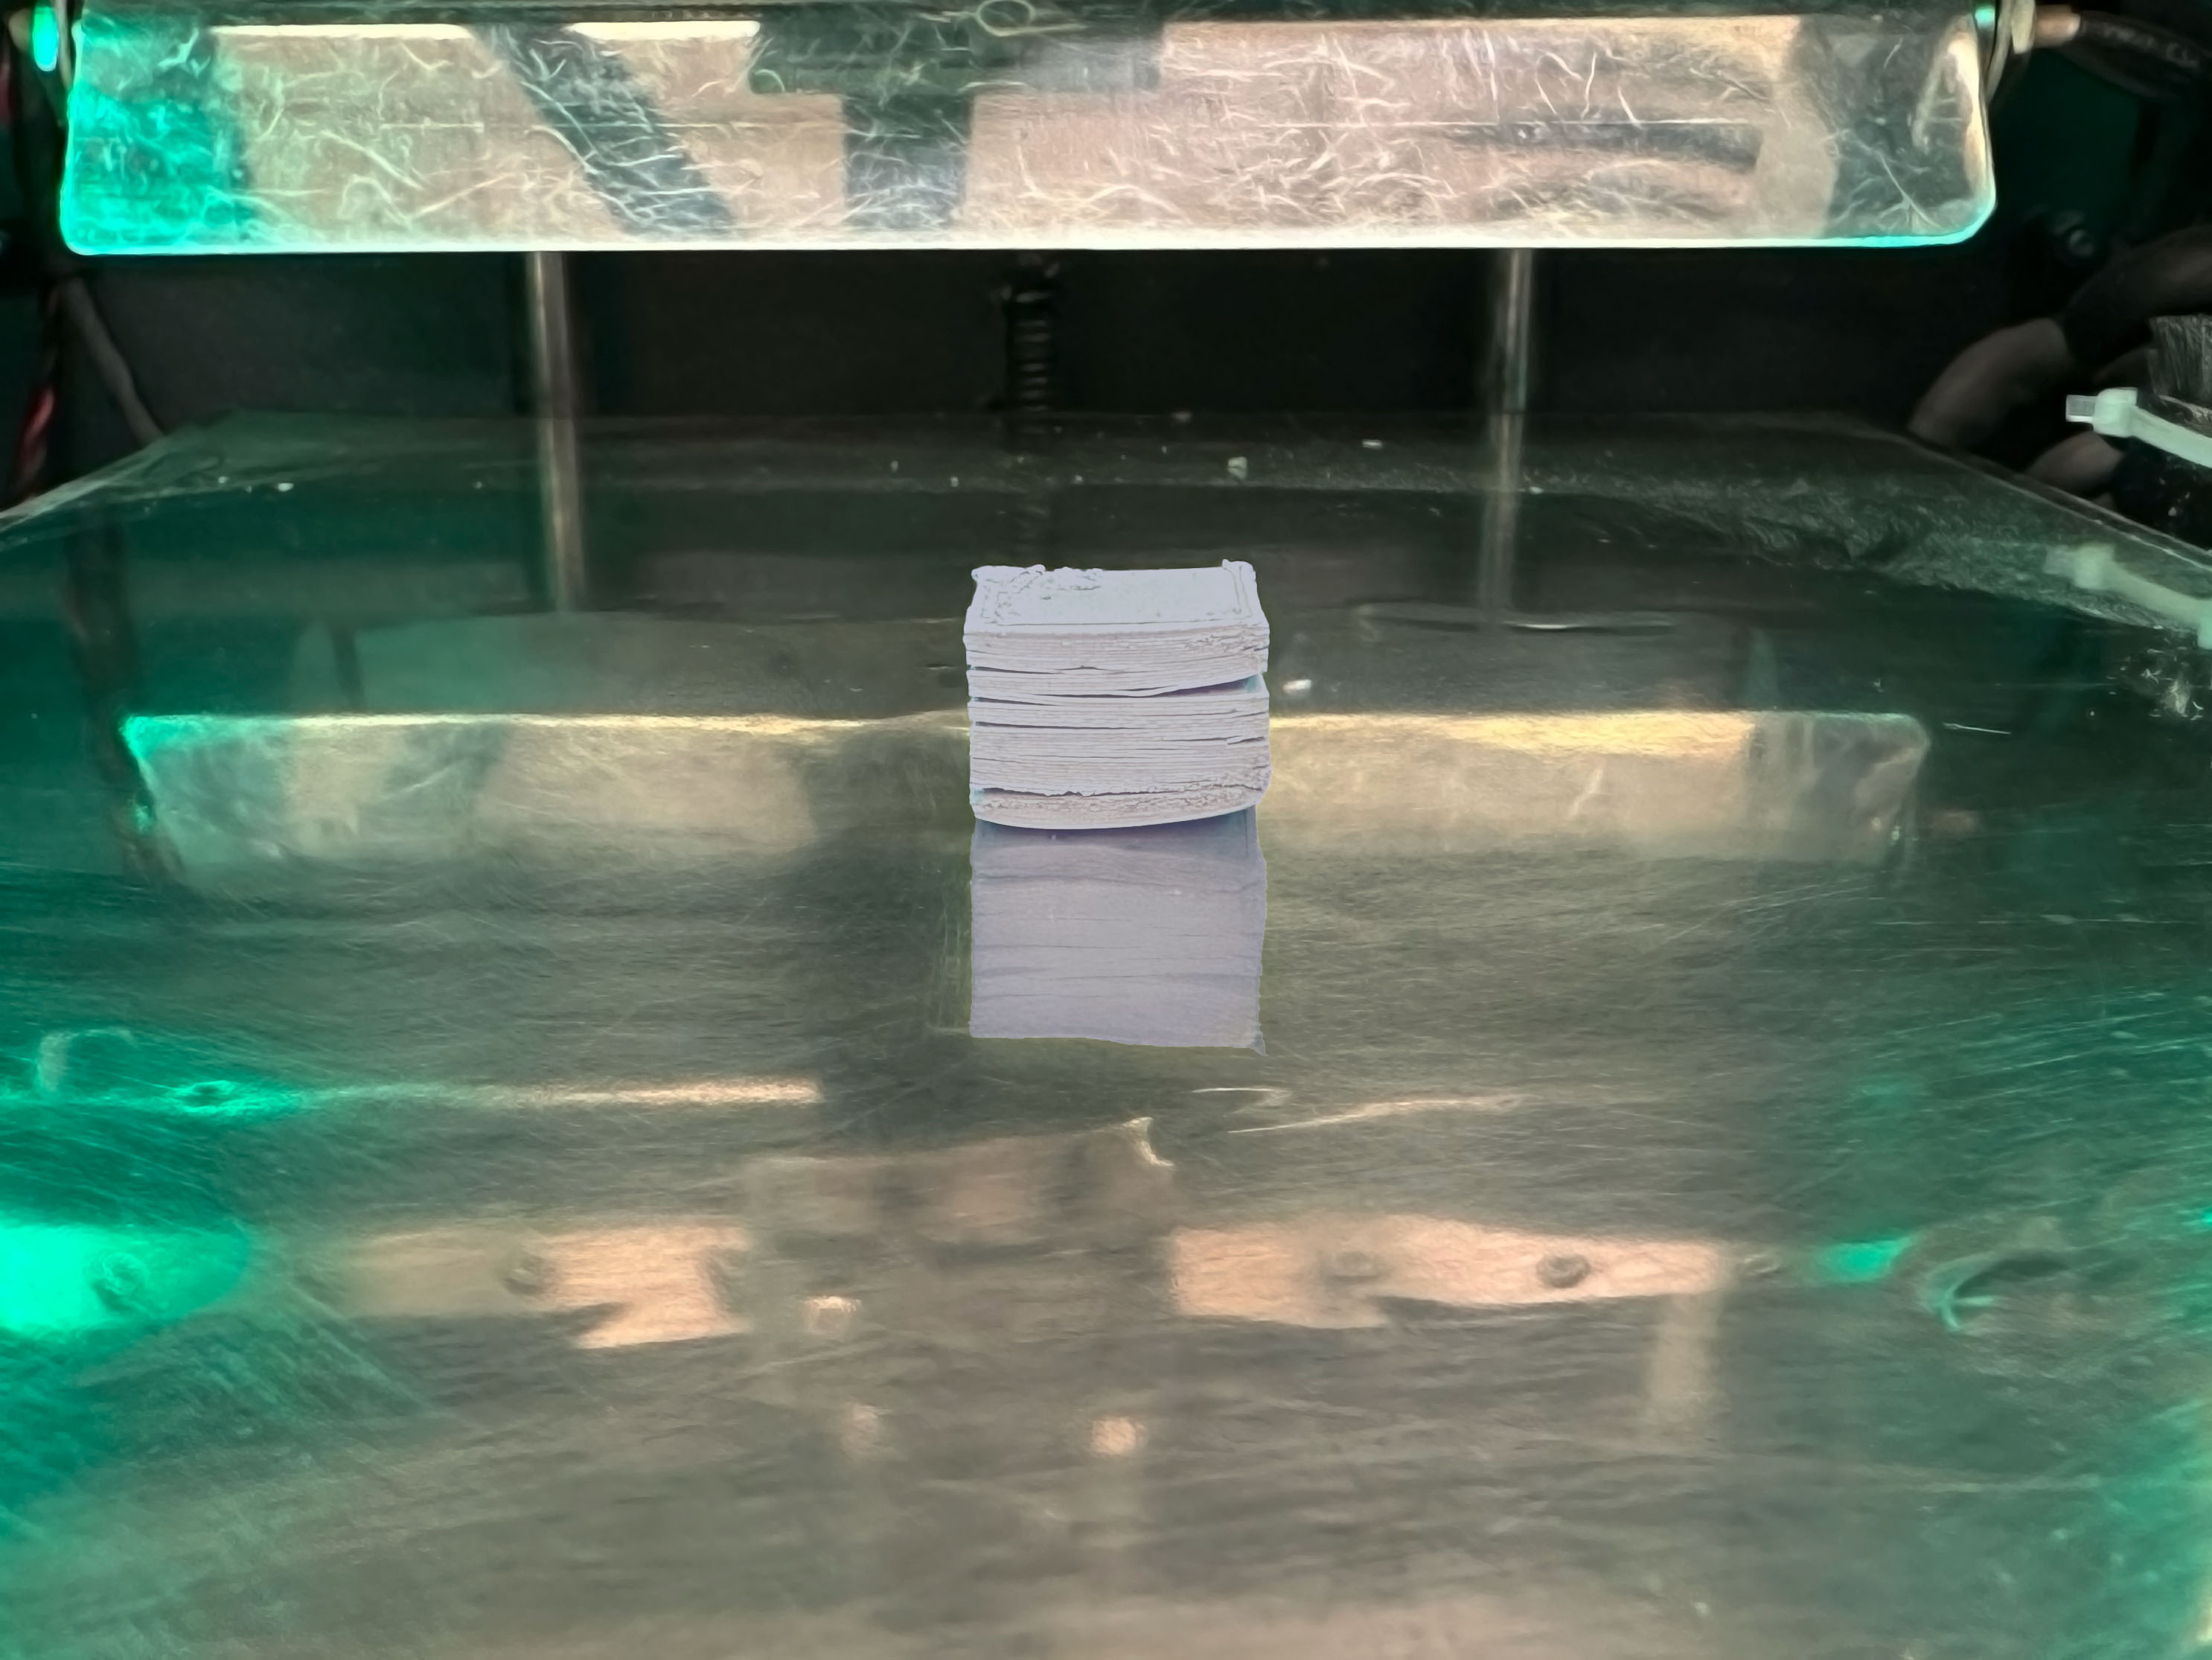
Parts with large (> 75mm x 75mm) footprints and thick sections may begin to peel from the bed around the part or raft’s edges. On these parts, dry gently with a lower bed temperature (<40°C). When the part is finished, remove the build plate gently from the bed and dry the part in a warm location before peeling it off the build plate.
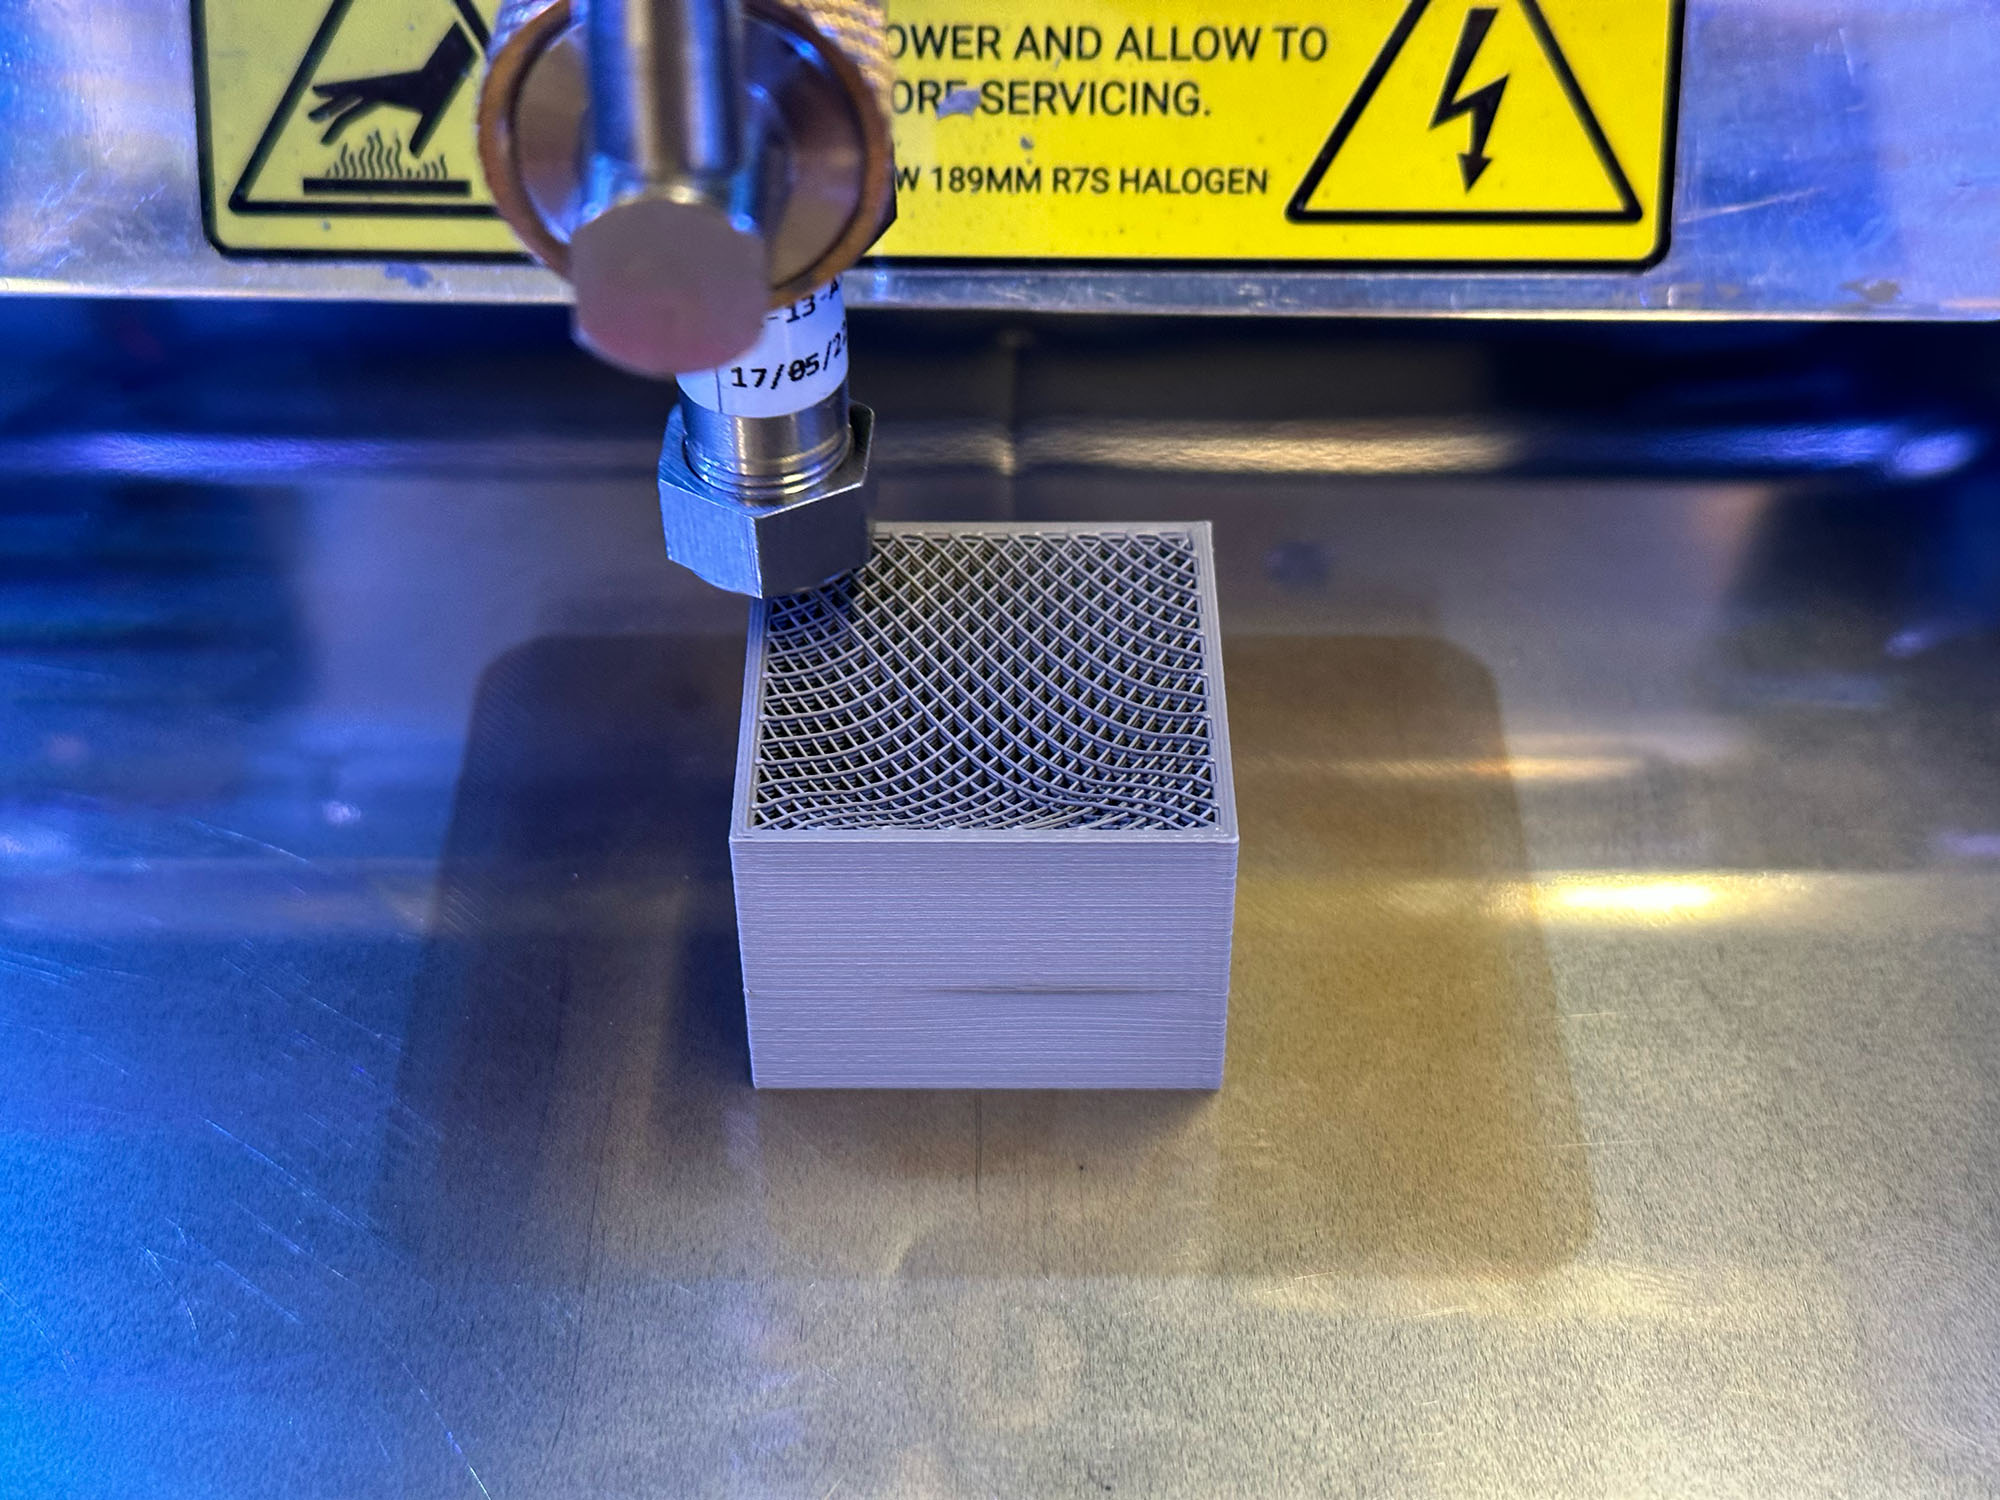
Parts with very narrow and tall features may not be dried adequately by a single lamp pass, leading to sagging in the part. Use the Print Settings tab to slow the lamp or increase the number of passes on these parts.
¶ Monitoring Your Print:
Most common issues while running a print can be the following:
| Problem | Root Cause | Solution |
| Overfill/Underfill | Incorrect extrusion value | Rerun Flowrate Calibration |
| Delaminating from bed | Bed temperature too hot | Lower initial bed temperature |
| E1/E2 causing messy interface | Incorrect E1/E2 offset | Rerun alignment calibration |
| Clogged Extruder | Material Issue |
Read about troubleshooting printer issues here: Troubleshooting.
Learn more about potential causes for low print quality in our library: Print Quality.
¶ After Running A Print
To maximize the life-time of your printer and feedstock, make sure to clean the print bed and nozzles after each print. Turn down the pressure if you're leaving the printer for a few days.