Initial setup of your machine has been performed by Rapidia’s technicians during installation. If the machine has been dismantled for moving or service, the procedure below can be followed to set it up again.
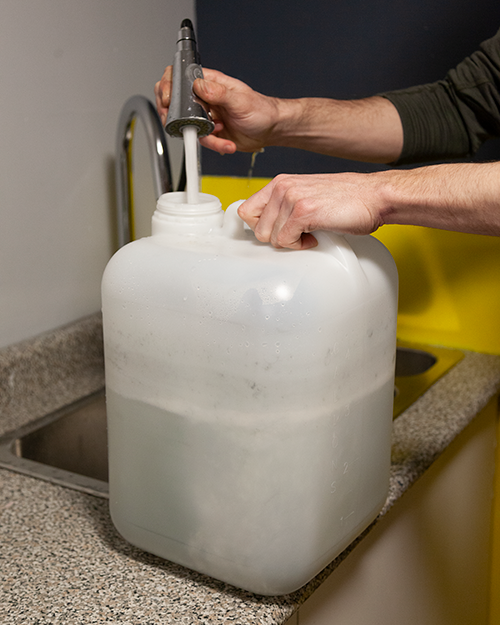
1. Fill the water reservoir approximately two thirds full. The reservoir can be removed from the cabinet for filling. If removed, the reservoir should be reinstalled with the opening facing the cabinet front.
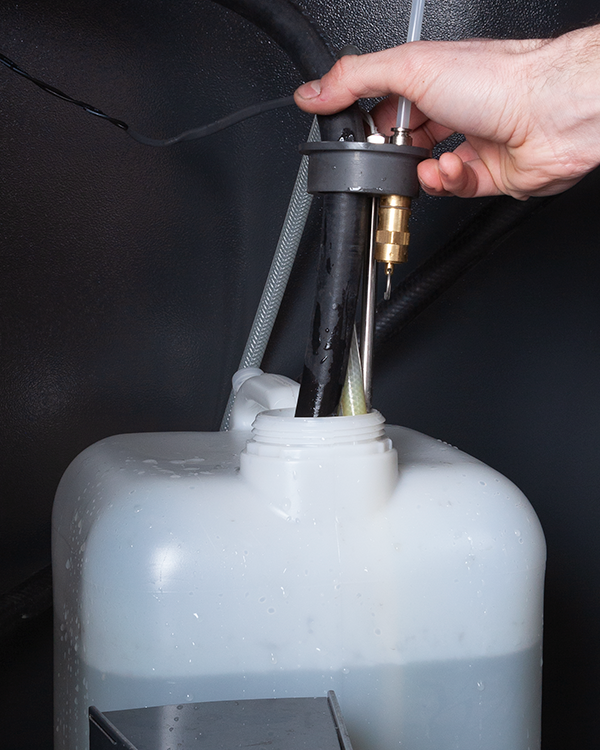
2. Insert the cap into the reservoir.
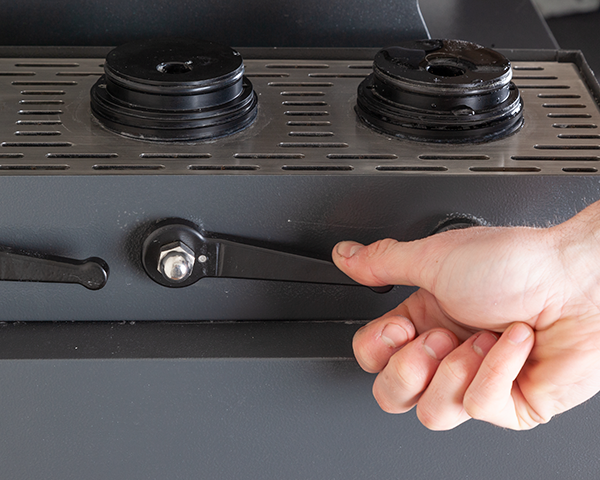
3. Ensure that all of the material selection levers on the material bay are lowered.
4. Power on the cabinet by using the main power switch located on the cabinet front.
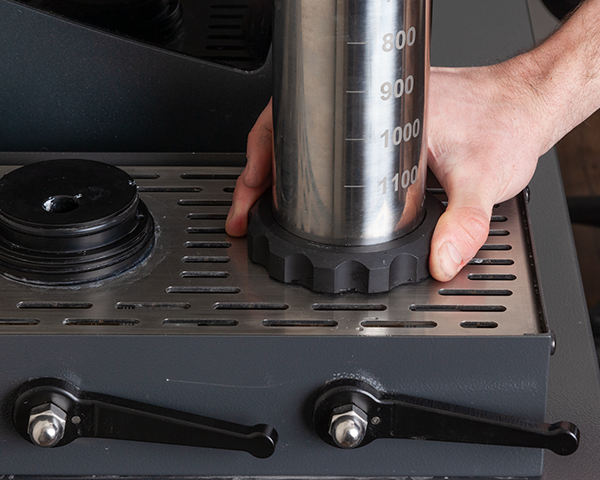
5. If not already installed, place material cartridges on their corresponding positions in the material bay. Metal should be loaded in one of the low- pressure positions, and support material in the high-pressure position. Ensure that cartridge nuts are securely fastened.
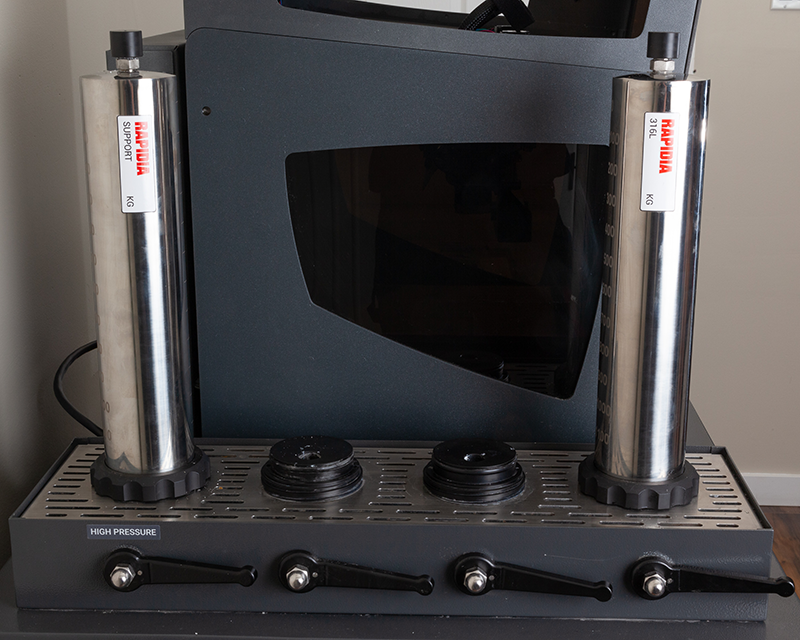
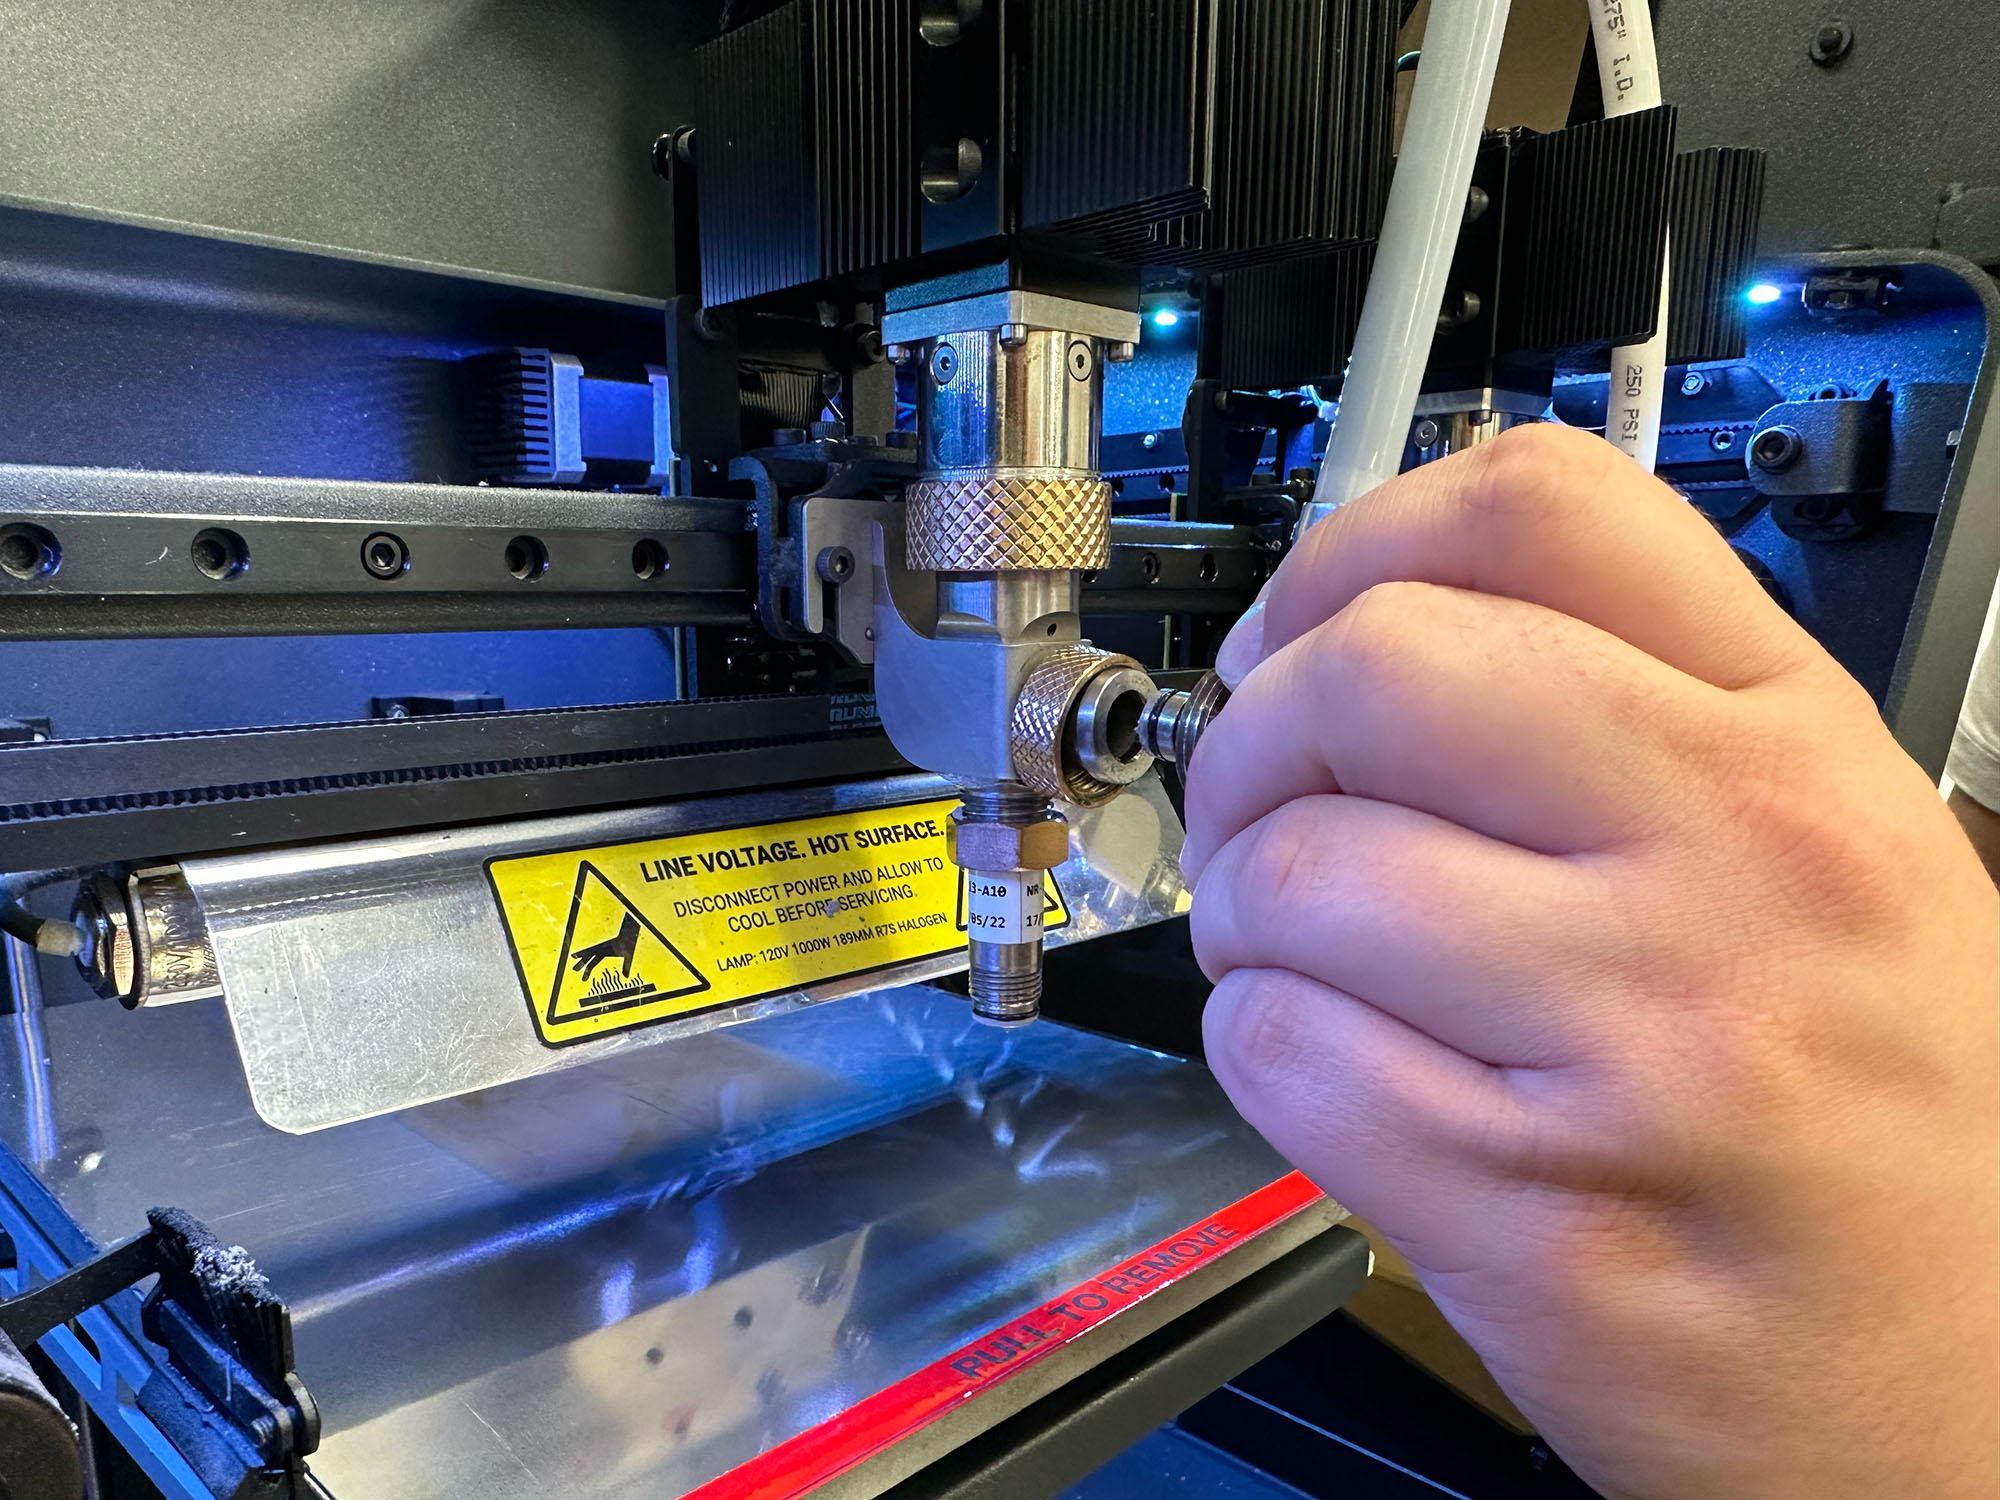
6. Connect hoses from the material cartridges to the paste extruders on the printer. If the paste extruders need to be cleaned, follow the procedure Cleaning Paste Extruder.
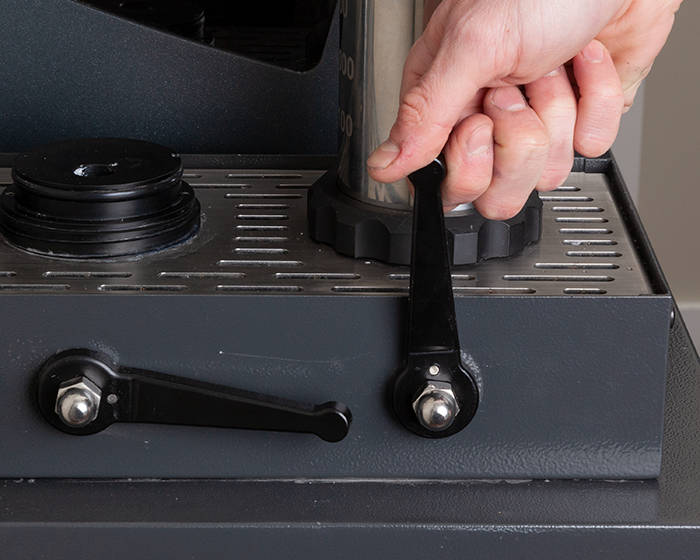
7. Raise the appropriate material selection lever and turn on the charge pump switch. Allow the system to come to pressure, after which the charge pump will disengage.
8. Connect the ethernet cable to your printer. Open the Rapidia software on your computer. The host will attempt a connection automatically at launch.
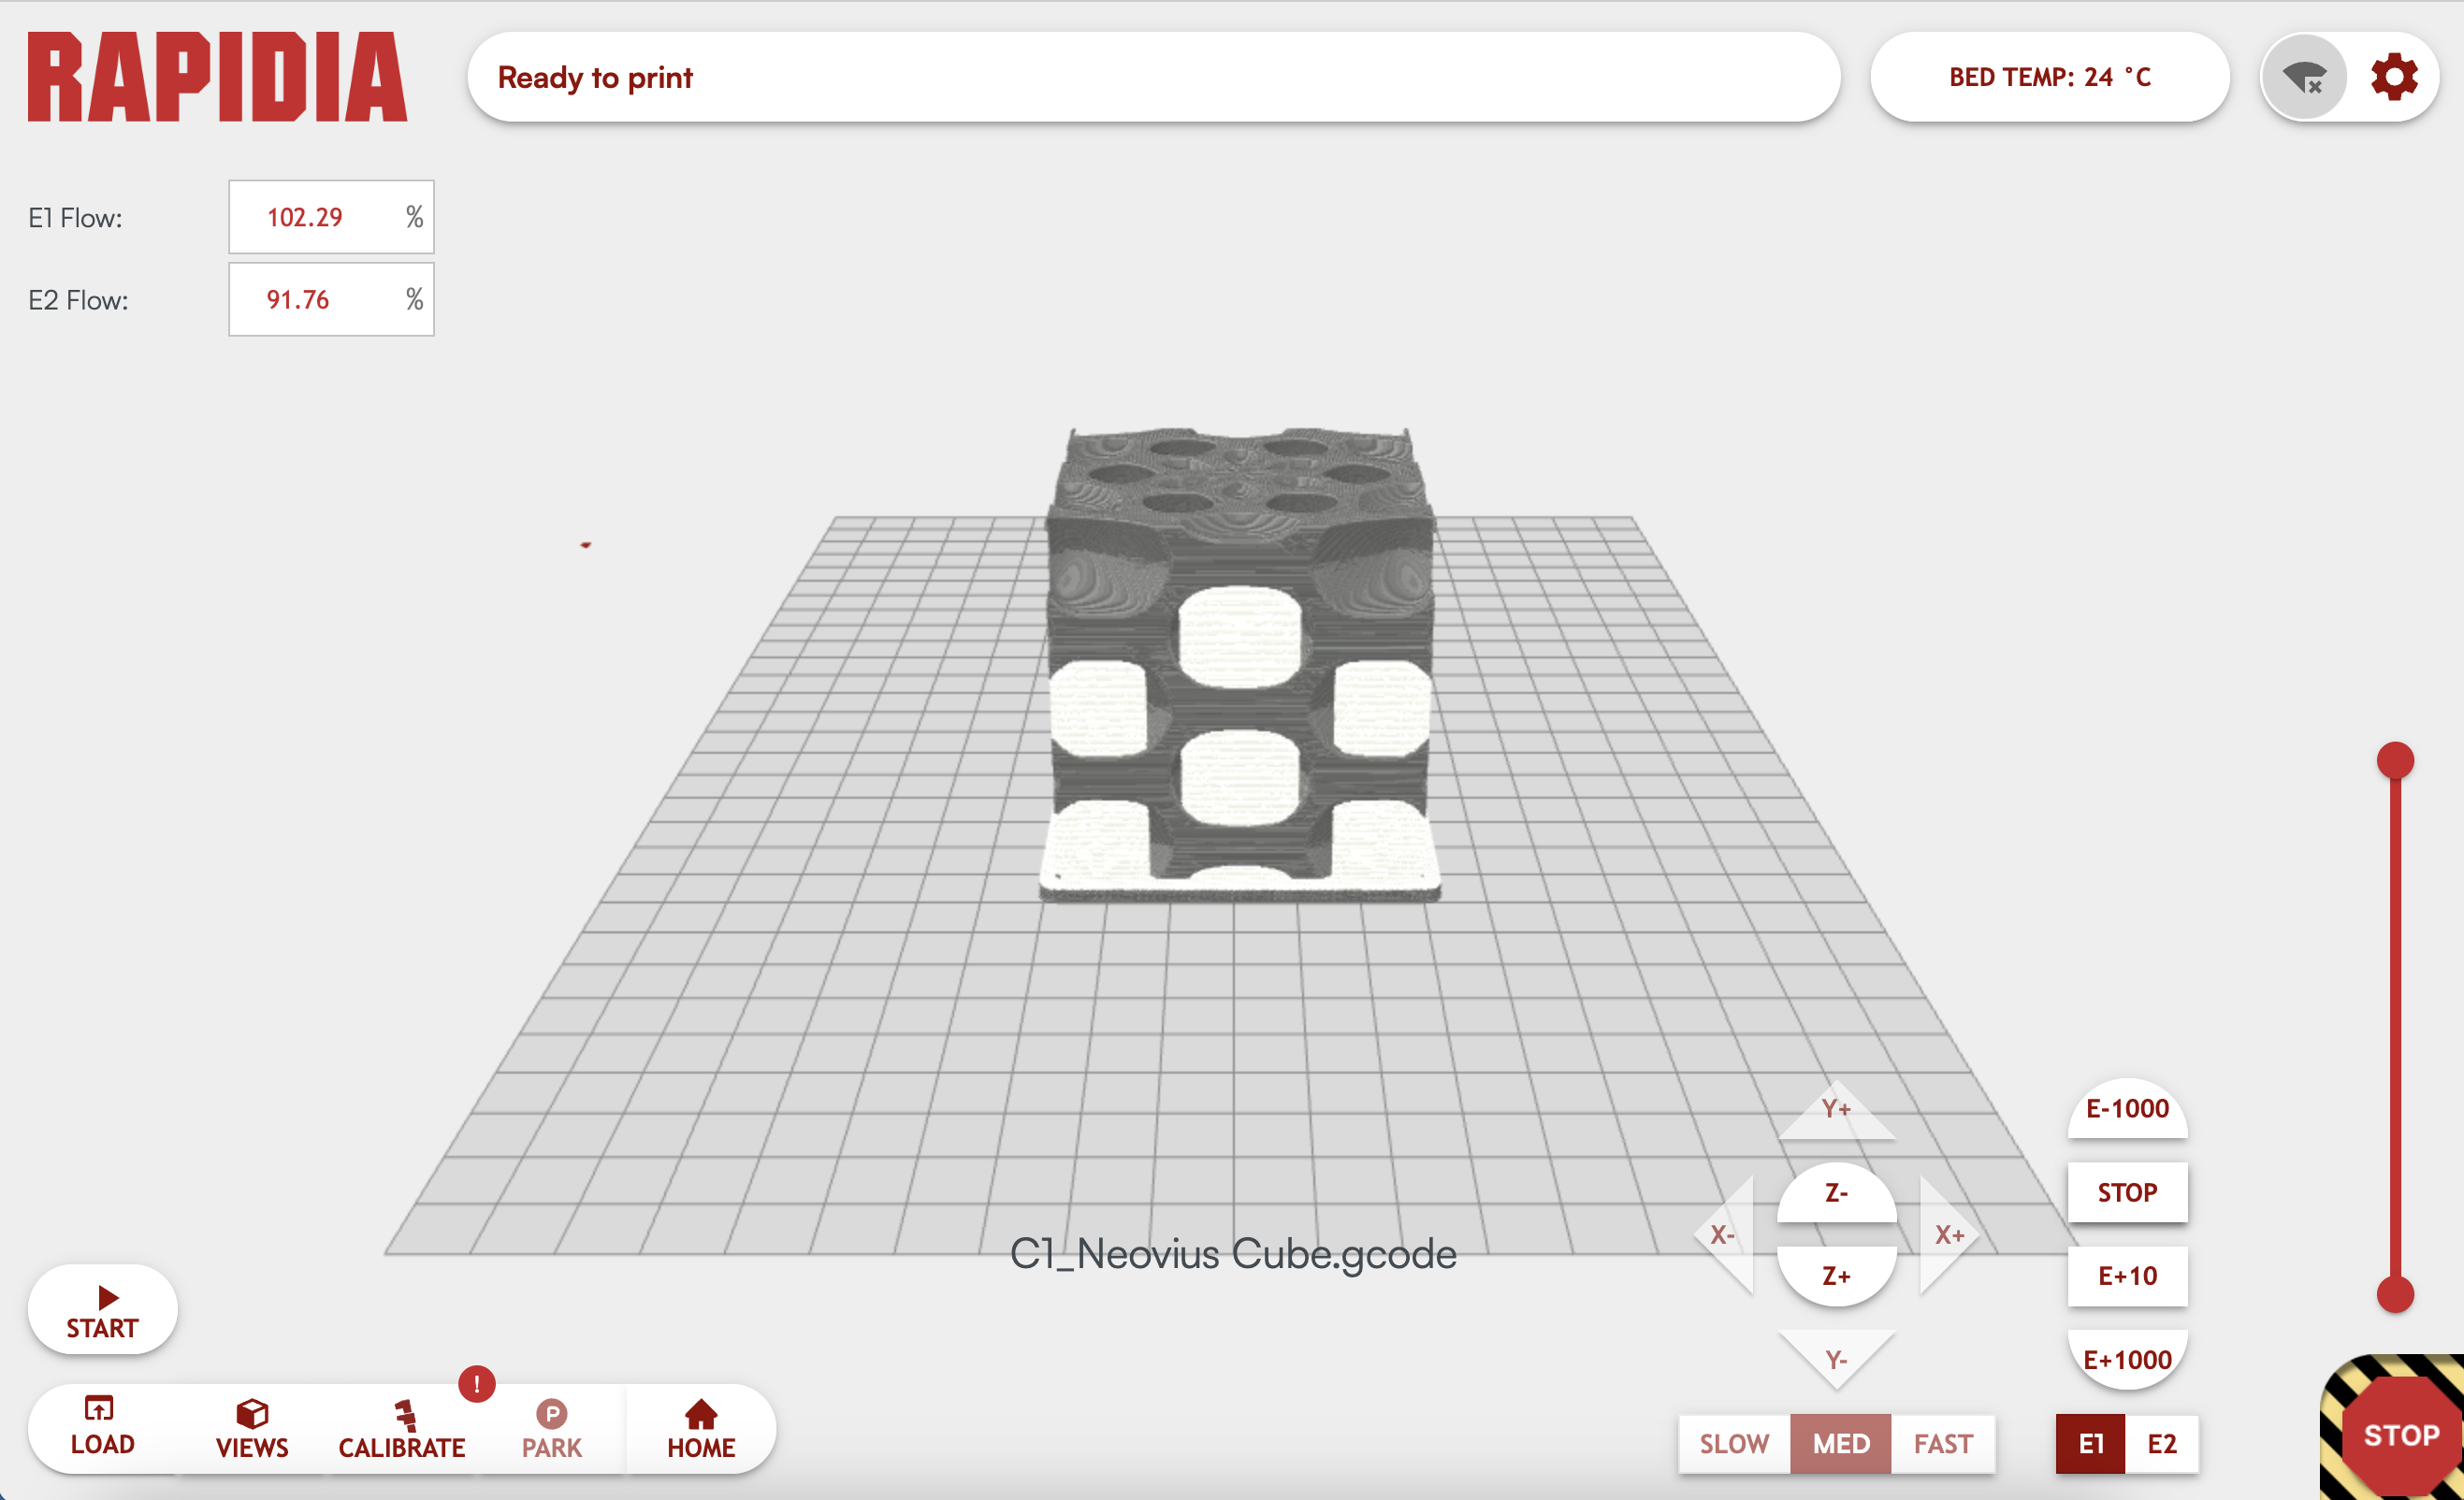
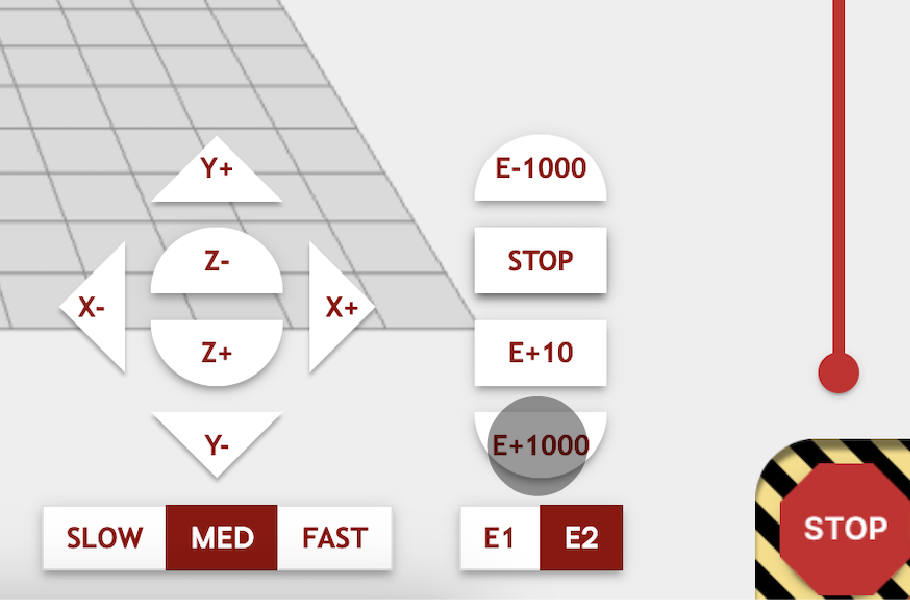
9. Purge material from the metering valve(s) by running the extruder until material emerges.
¶ Calibrate
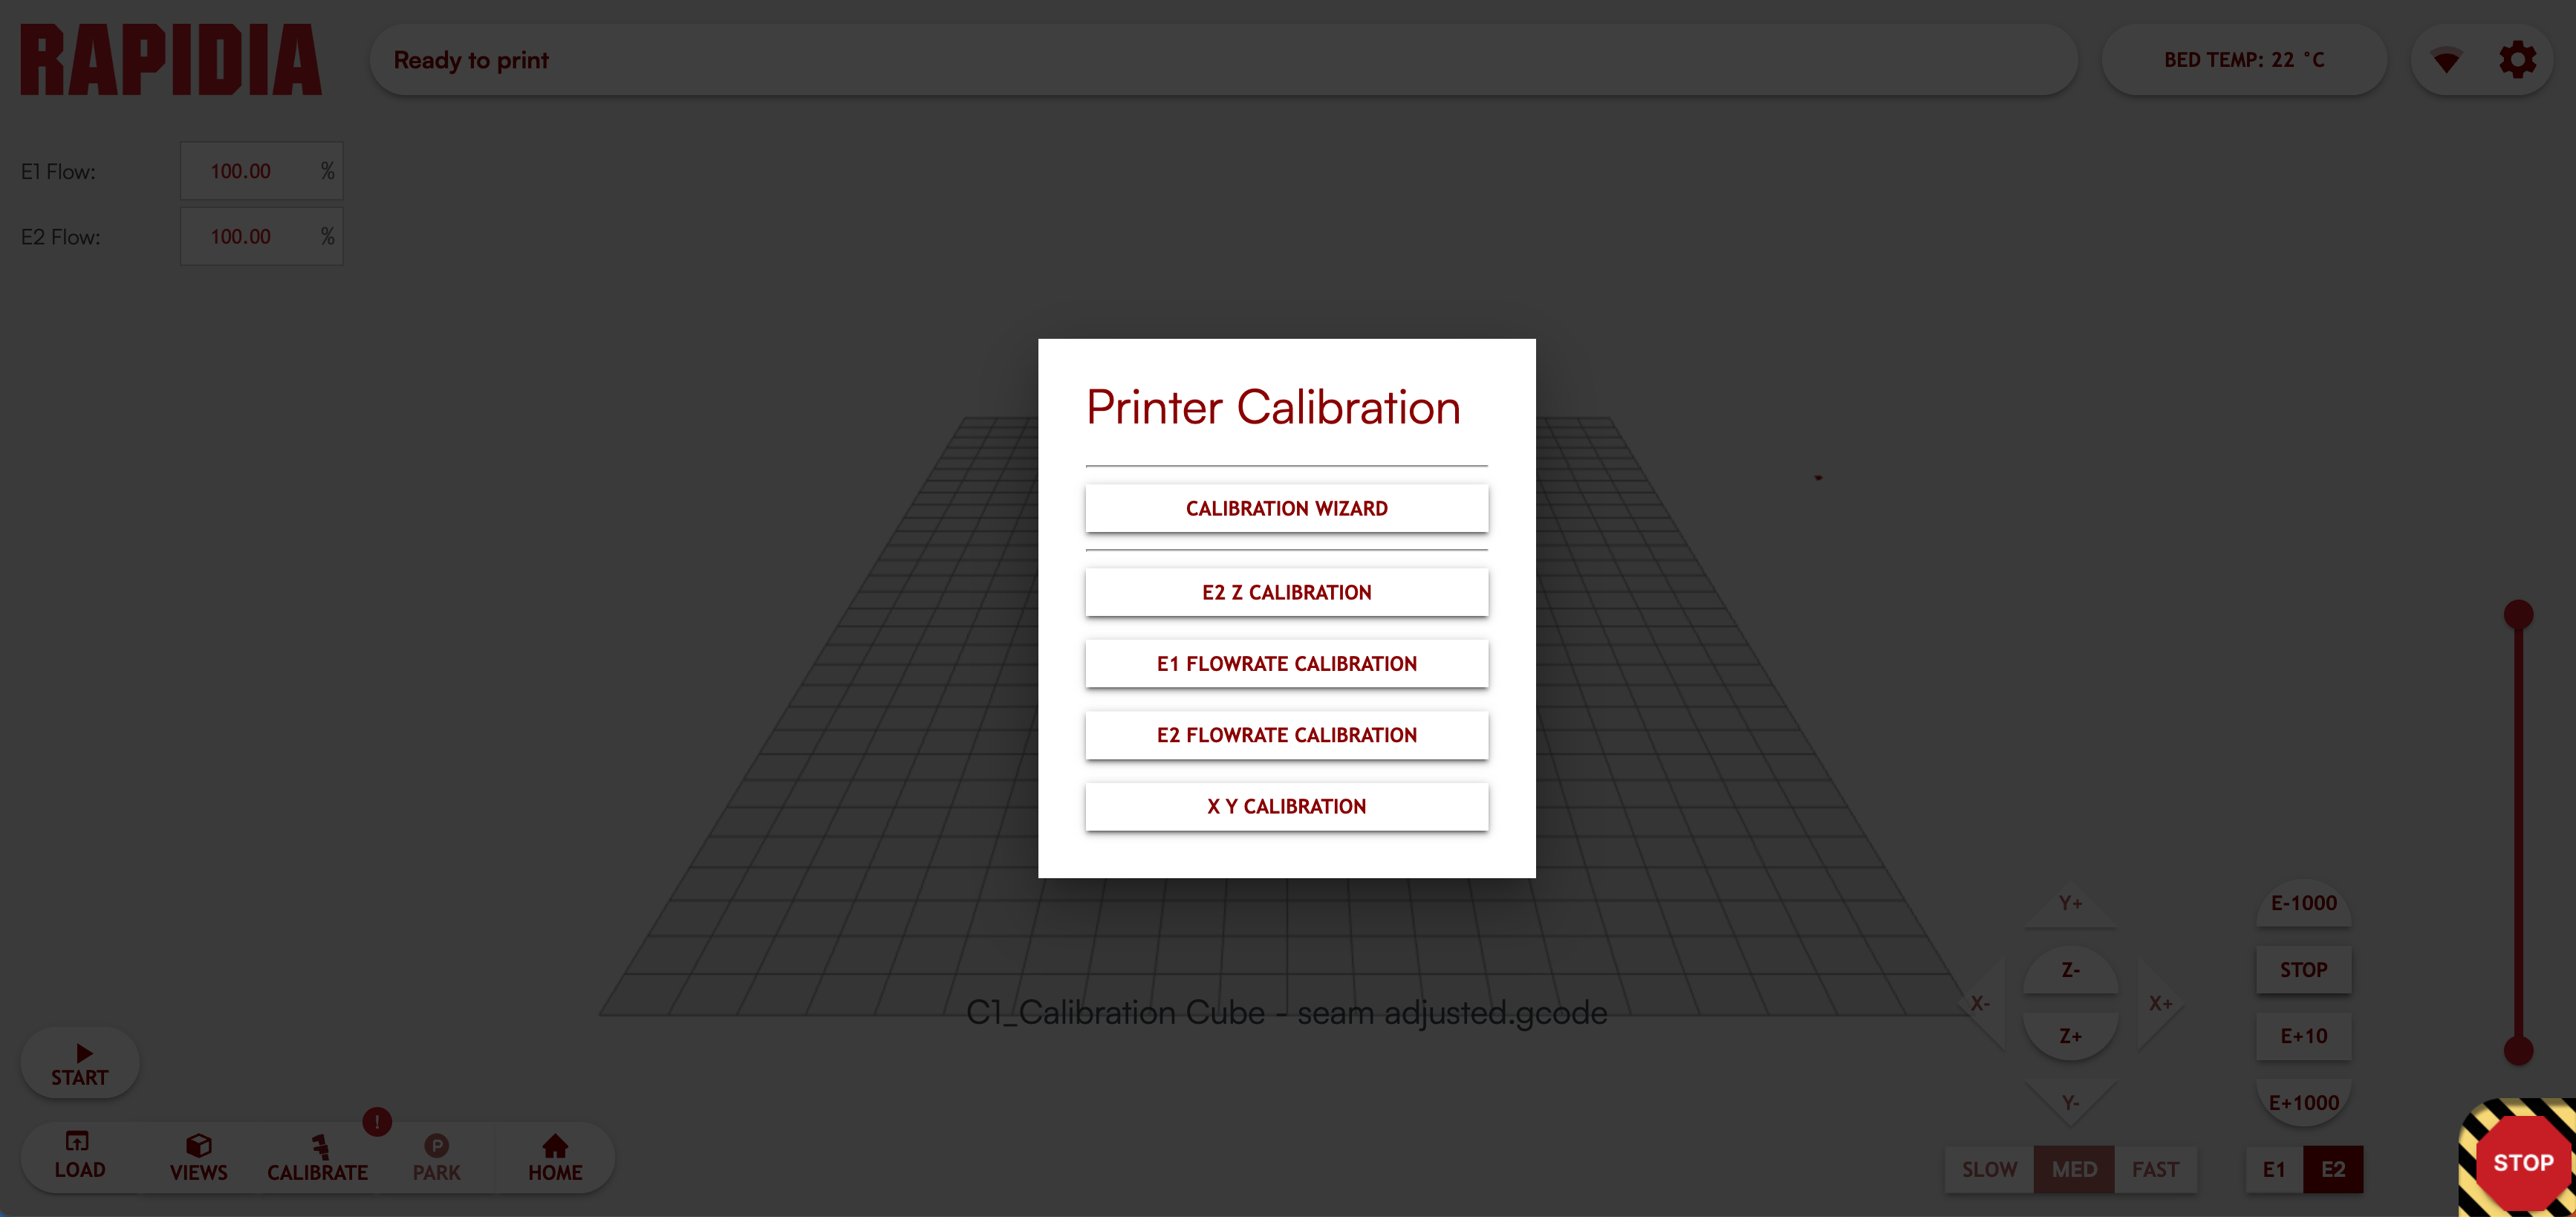
Selecting CALIBRATION WIZARD will guide you through each calibration routine. If you prefer to do each routine separately select between the options individually.
- 1. Perform the Bed Leveling calibration.
- 2. If using two materials, perform the XY Calibration routine .
- 3. Perform Extruder Flowrate calibration using the supplied scale.
- 4. Finally, perform Bed Offset calibration.
The printer is ready to use. We recommend printing a small test part to ensure that all calibration routines were successful.